How to Cook More Than Pizza in a Wood-Fired Oven
Everything you need to know about using a wood-fired pizza oven is right here including how to start it, what tools you will need and what to cook.
Introduction
A few years ago, I built a wood-fired pizza oven in my backyard. It came with sparse instructions and I struggled figuring out how to use the darn thing. As a result, I spent way too much money on tools that I didn't use and didn't need.
Well, I learned the hard way and created this blog to help others. I will show you what to do and what not to do. I will tell you what tools to buy and what tools you absolutely do not need. I'll show you how to light the oven, how to properly heat the oven in all weather conditions, and how to properly shut the oven down. I will show you what kind of wood to buy and the easiest way to light it. Basically, everything you need to know to use your wood-fired oven is right here.
The Joys of Cooking in a Wood-Fired Oven
Let me begin by saying that cooking in a wood-fired oven is a ton of fun. It's actually quite versatile and can cook much more than just pizza and calzones. I have roasted brussells sprouts in a cast iron skillet and baked bread in a Dutch oven, made garlic rolls in a pie pan, baked a pork loin in a cast iron skillet. I have even cooked a tomahawk steak over a Tuscan grill. Oh, and I have made a LOT of pizza, thin crust and deep dish.
I have a Kamado Joe, a gas grill and a big stick burner in my yard, all within 30 feet of my wood-fired pizza oven. While I use all four, the wood-fired pizza oven is, by far, my prized possession. If a man can fall in love with a pizza oven, I am guilty as charged.
I mention a number of different products in this blog post and have included links to some of the products at the bottom of the post. These are not sponsored links and I don't make any money at all from them. These are just products that I like after a lot of trial and error and I'm trying to make it easy for the next person.
Getting a Wood-Fired Oven Going
The information in this section is designed for those of you who own a wood-fired pizza oven. If you have a gas oven or a hybrid oven, you will need to follow the manufacturer's directions on how to light it and get it going.
Weather is a Factor
It's important to consider the weather conditions before lighting your oven. For example, if it's summertime you can fire it right up and build a big fire and start cooking within about an hour or so. However, if it's the dead of winter then you will need to start the oven slowly and bring it up to temperature slowly over several hours. Why? If you don't, you run the risk of cracking the oven. The cement, stone, and or brick need to come up to temperature slowly. Otherwise, the thermal shock will cause cracking and potentially damage your oven. When in doubt, go slow.
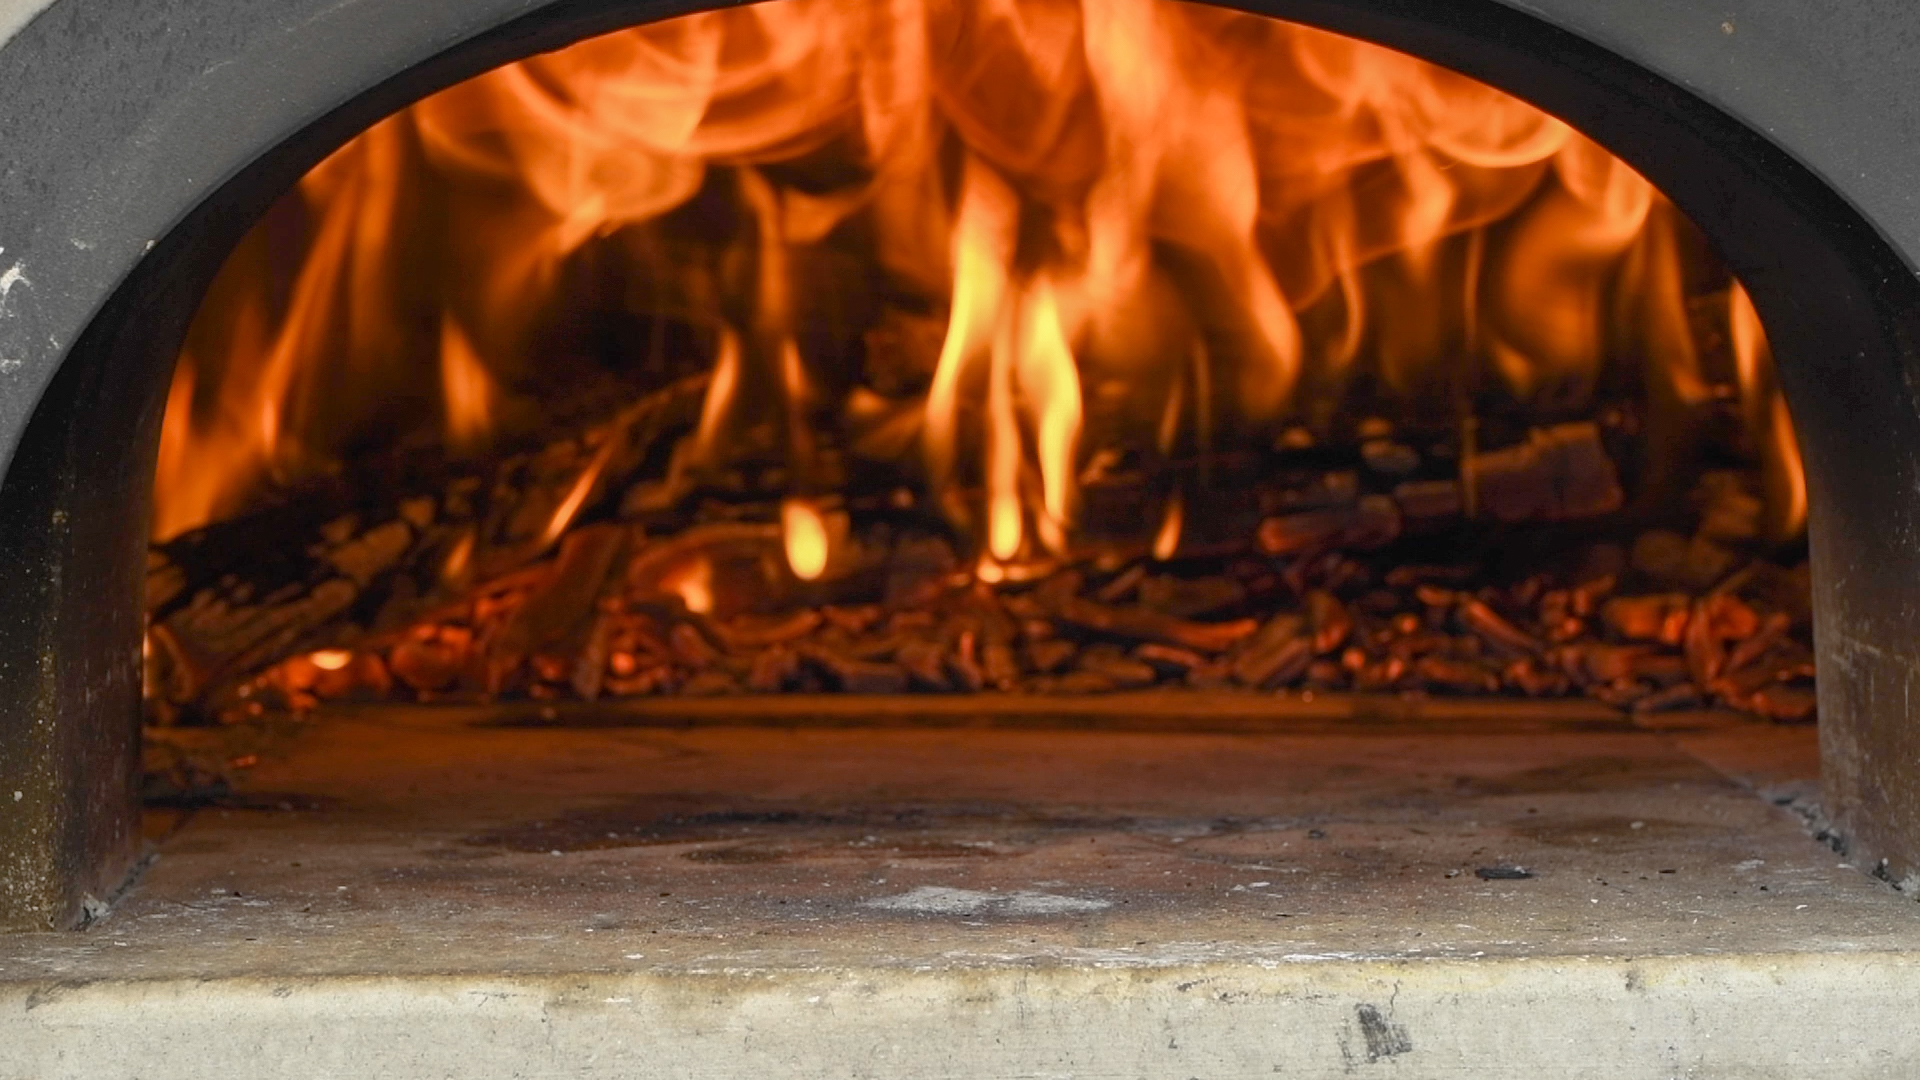
Whether it's hot or cold, the procedure to light the fire is the same. If your pizza oven has a chimney just inside the front door, then you will build a fire just past that chimney opening. You never want to build a fire so close to the opening that flames will escape up the chimney. The chimney is not designed to handle high heat.
Arrange the Logs
I have experimented with a lot of different configurations of logs and kindling to start the fire, and finally settled on one that works well for me. Begin by gathering seven firewood logs and some small kindling wood. For me, kiln dried oak worked the best. It is easy to light and burns hot. For my pizza oven, 16 inch lengths of oak work best.
Begin by placing two logs inside the oven oriented front to back about 10" apart. Place one on the left and one on the right. Each log should be just inside the dome and clear of the chimney. Next, build a small tower of kindling about 6-8" high in the center between the two logs. I found kindling wood on Amazon that works well. I usually stack them and build a tower several levels high.
Now, place two logs perpendicularly across the first two logs. One log should be oriented left to right near the rear the pizza oven, and the second log in the same orientation near the front of the pizza oven. Finally, add three logs on top of the existing four logs, oriented front back and centered over the existing logs. You now have a structure that will have a lot of airflow and will reflect heat left right and top down when lit.
Light the Logs
Use a map gas torch or, better yet, the Grill Gun by Grill Blazer. This is basically a flame thrower that makes quick work of lighting a wood-fired oven. Focus the flame on the kindling in the center. Once lit, focus the flame on the logs on the lower left and lower right. It may take two or three minutes for the logs to actually catch fire so be patient. Now, just wait and let the fire take over. In 15 minutes, check the fire. You may have to add a log, or you may have to relight all of the logs. This is not the time to stoke the fire. You want to get the logs lit and burning first. Check the fire in another 15 minutes, and add more logs if necessary. Only add one or two at a time.
After the fire has been burning for about 15 minutes, gently push the burning logs and coals back about 6 inches and add another log or two. Come back in another 15 minutes and push it back another 6 inches and add another log. The fire should now be burning in the center of the oven. Let the fire burn another 30 minutes before cooking. The floor of the oven needs to get up to operating temperature. By the way, if the weather is cold, you should add logs very slowly. It's very important to bring the temperature of the oven up slowly in cold weather to prevent cracking your oven.
Getting the Oven Ready to Cook
Push the logs to the back and measure the temperature of the floor using a laser thermometer. The floor of the oven should be somewhere between 875°F and 905°F before the first pizza goes down. If it's not, pull all the logs forward, spread them out over the center floor of the oven, add a few more logs, and check back again in 15 minutes. If the floor is not hot, the pizza will not turn out.
Now it's time to start cooking. Push the logs to the back of the oven with an ember rake and add a log or two to to keep the fire going. Check the temperature of the oven floor again using a laser thermometer. If in range, use an air compressor and a copper pipe with a reducer to blow all of the debris off of the floor of the oven and into the coals. See the discussion below on using the copper pipe.
Keeping it Warm
If you are going to cook more than a few pizzas, you will want to keep the floor of the oven warm by moving the coals forward from time to time. After three or four pizzas, I will use the ember rake to pull coals forward and cover the area where I cook the pizza. Just let the hot coals sit there for five minutes or so, then push them back to the back of the oven and add a log. Use the air compressor and copper pipe to blow any dust off the floor of the oven and you're ready to cook more pizza.
Shutting Down a Wood-Fired Oven
When you're done cooking and it's time to shut down your pizza oven, don't just close the door. The heat inside the oven can warp the door and cause other problems. Simply leave the door open and let the fire die. I leave my pizza door open all the way while the oven cools, unless it's pouring down rain. Then I'll close it all but a few inches. In the morning, come out with the ember rake and remove the ashes.
Cleaning a Wood-Fired Oven
It's very important to keep your oven clean. After you've cooked in it, be sure to clean out all of the remaining ashes and unburnt logs the next day. If you don't, they will get wet and make a mess in your oven. Also, don't clean it out when it's hot. The hot coals can burn you or ignite anything combustible that they come in contact with. Just wait until morning to clean it out. Simply use the ember rake to pull all of the ashes to the entrance. Put into a metal trash can using a dust pan. Rather than use a brush to clean the floor, just use the air compressor and the copper pipe to blow out all of the dust and debris. Close the door, and you are ready for the next time.
Cooking Low and Slow - Bread
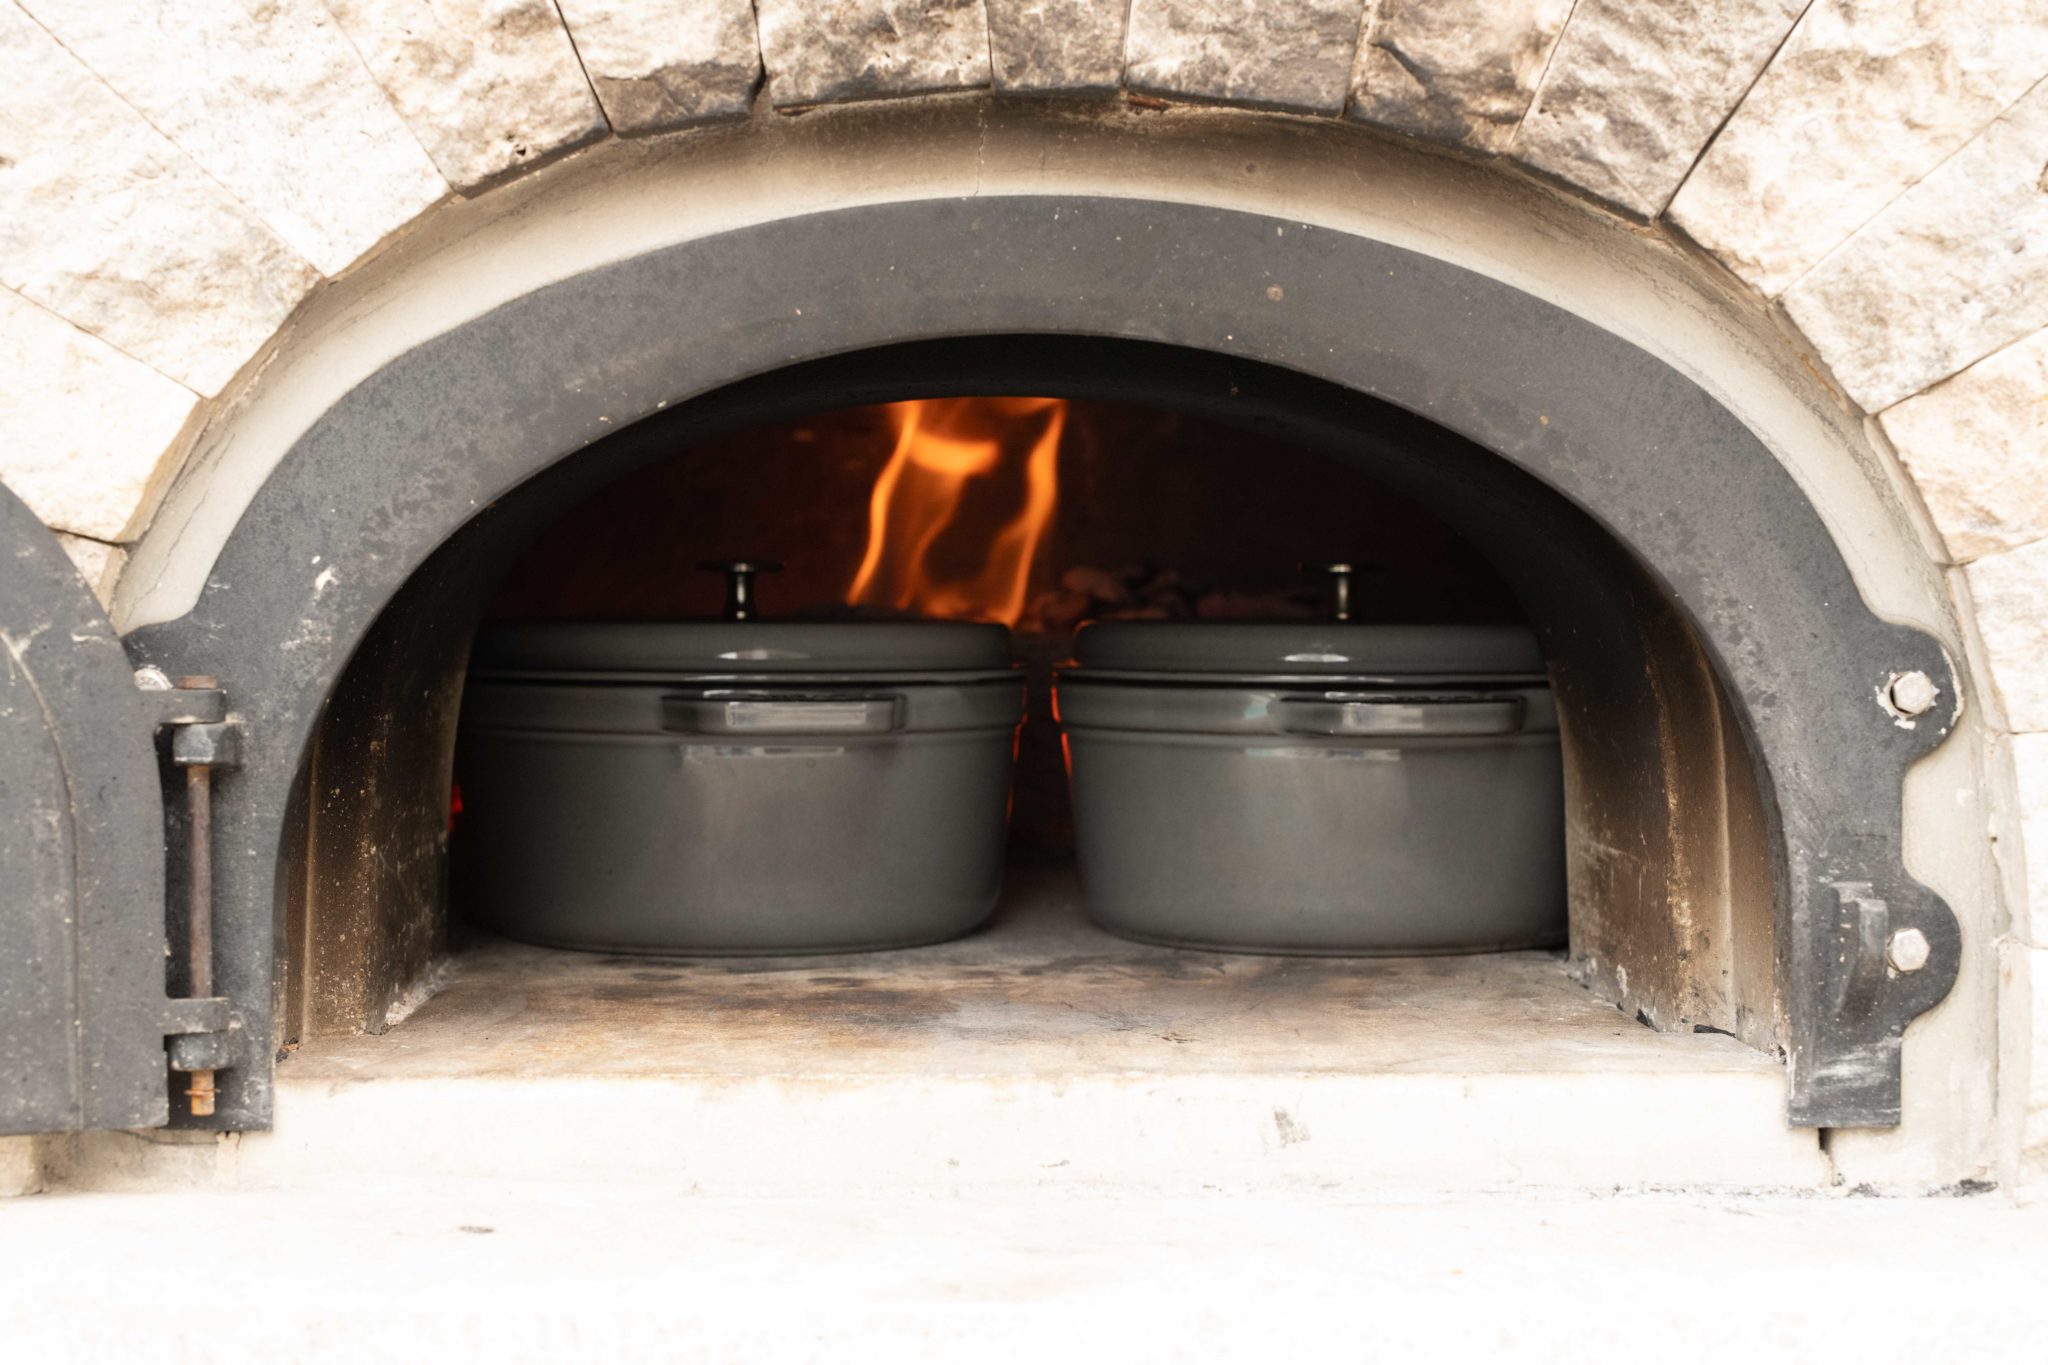
Think about baking some bread when the fire is dying down and the oven is beginning to cool. It will will take quite awhile to cool so there is plenty of time to bake some bread. I like to bake bread in a small Dutch oven with the lid on. Look for my recipe for sourdough bread on this website in the fall of 2023. I will just say that homemade sourdough bread is well worth the time and effort to maintain the starter.
Cooking in a Cast Iron Skillet
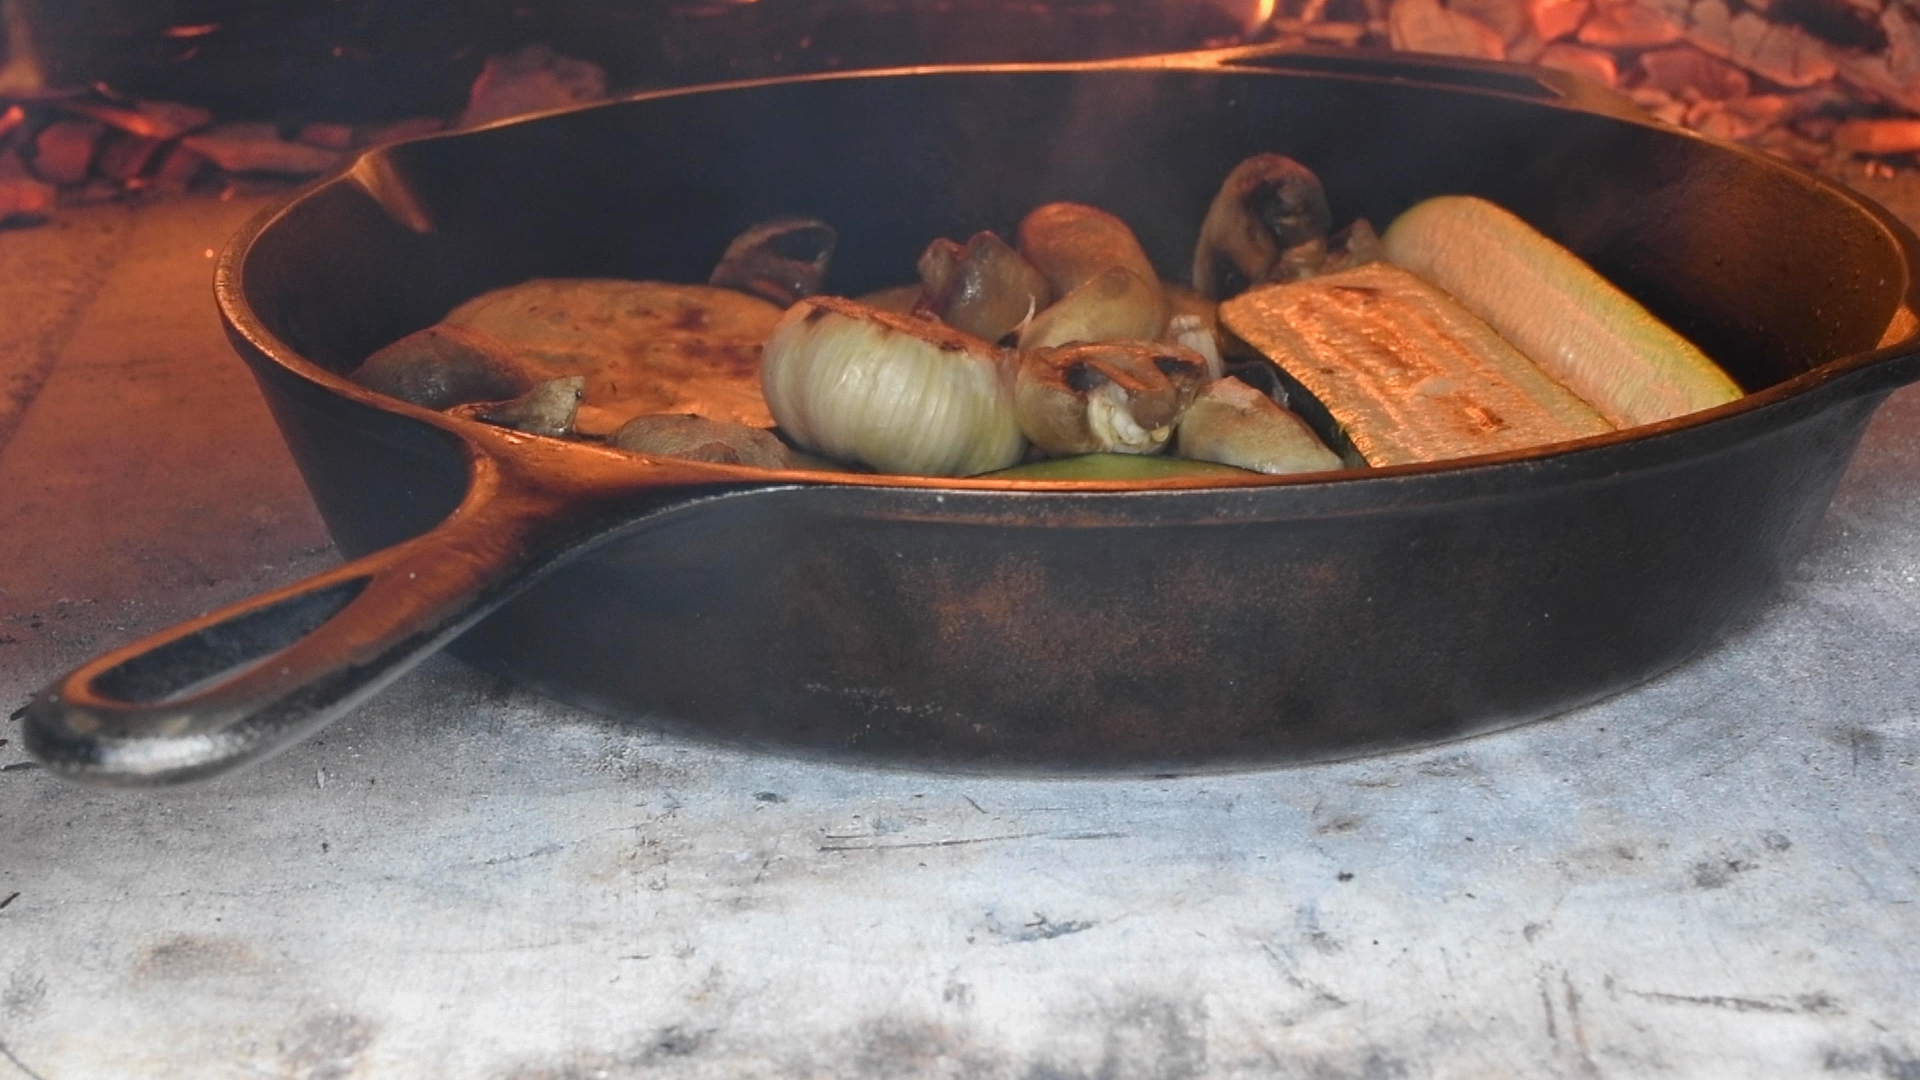
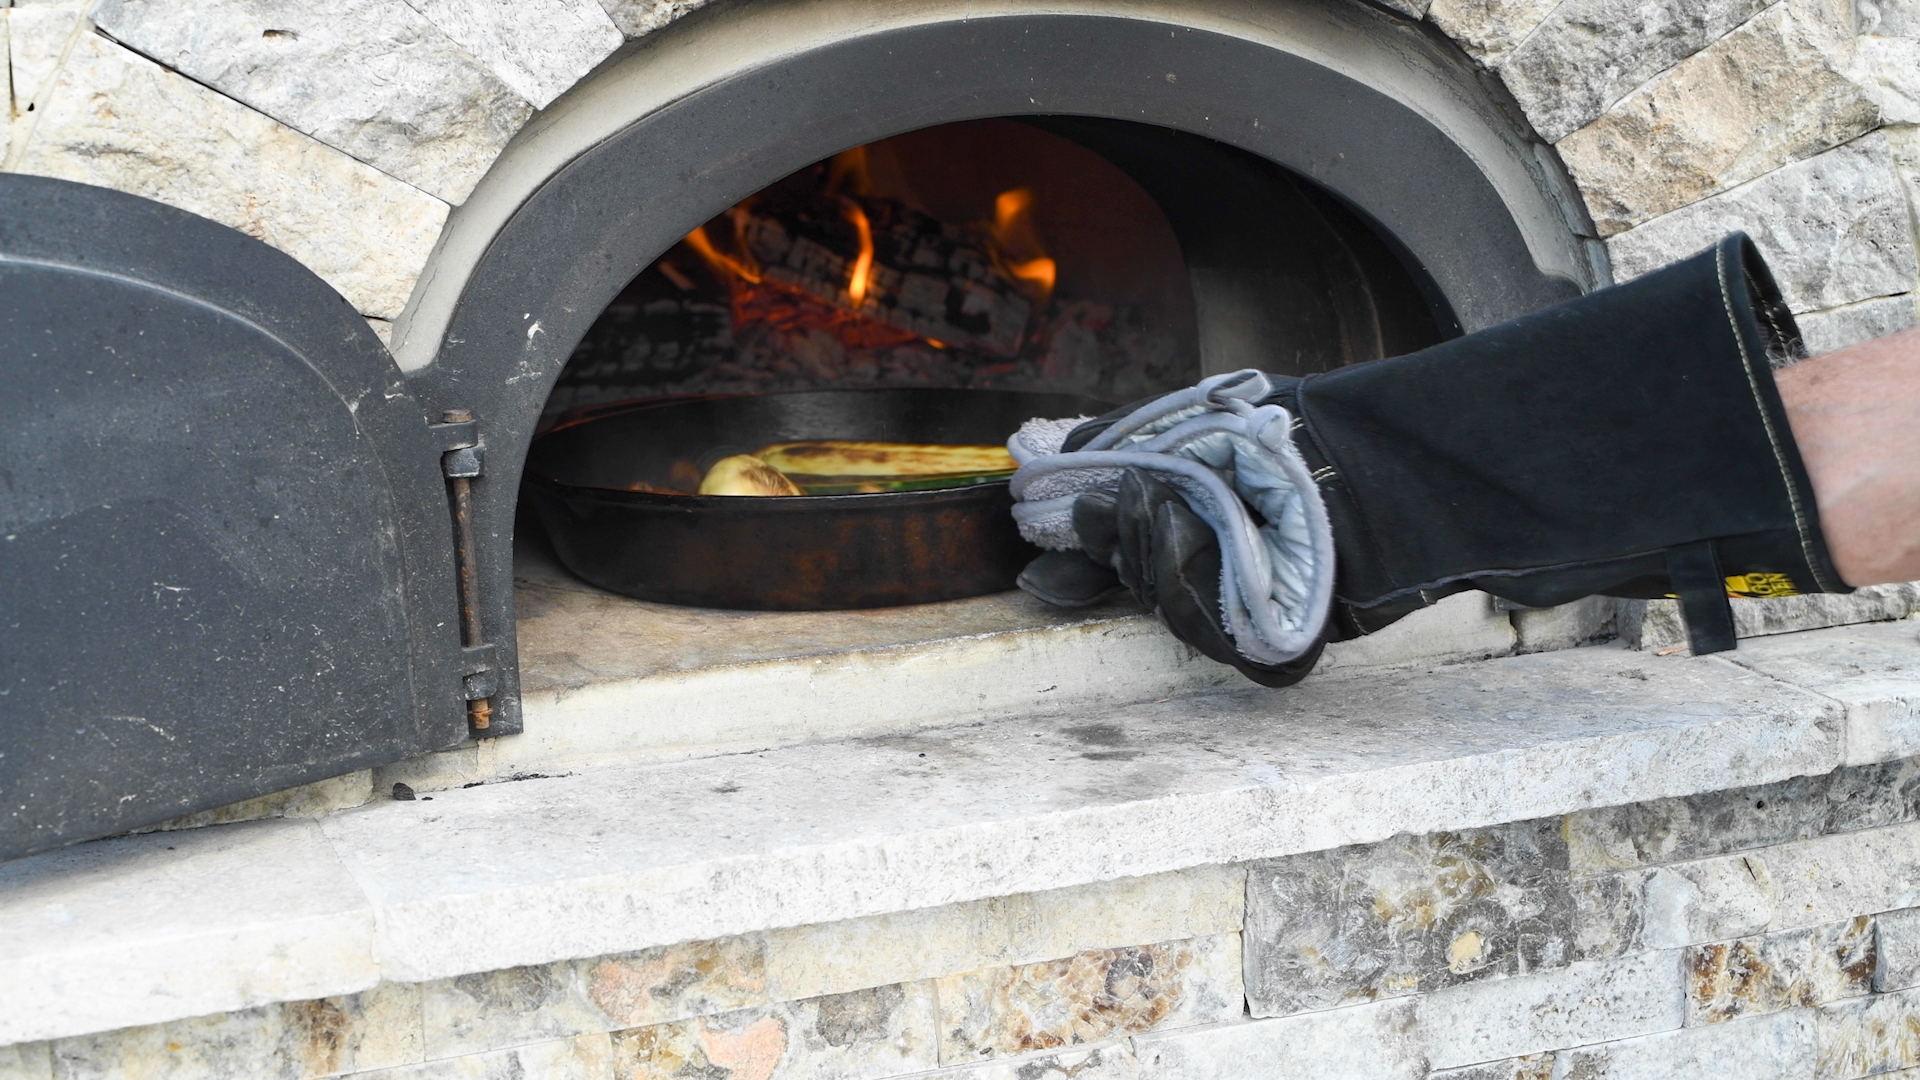
A wood-fired oven is perfect for roasting anything that you would cook in a hot oven. I typically heat up the oven as described above, then push back the coals, add a log and cook in a cast iron skillet just inside the door. That last part is important. Remember, your wood fired up and will have fire coming up the back of the oven and over the top. Whatever you put in side the oven is going to cook relatively fast. By placing the cast-iron skillet just inside the door you are you utilizing the cooler part of the oven and have a little bit more control.
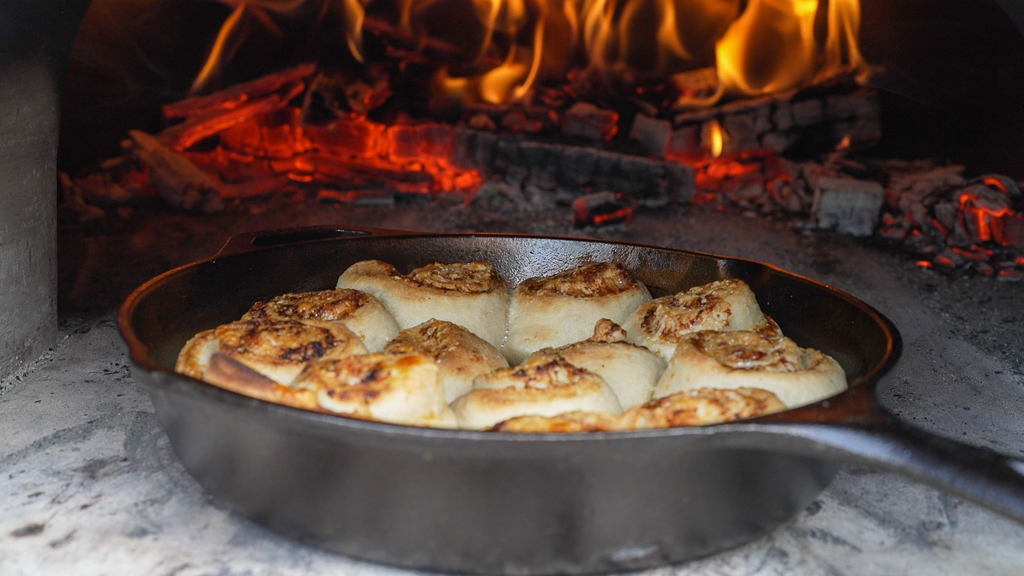
IMPORTANT SAFETY TIP: The cast iron skillet handle will be HOT. Make a habit of using your welding gloves with two thick pot holders anytime you are using a cast iron skillet in a wood-fired oven. I prefer a cast iron skillet that has a small handle opposite the main handle. It helps to be able to hold it from both sides because it can get quite heavy when loaded with food.
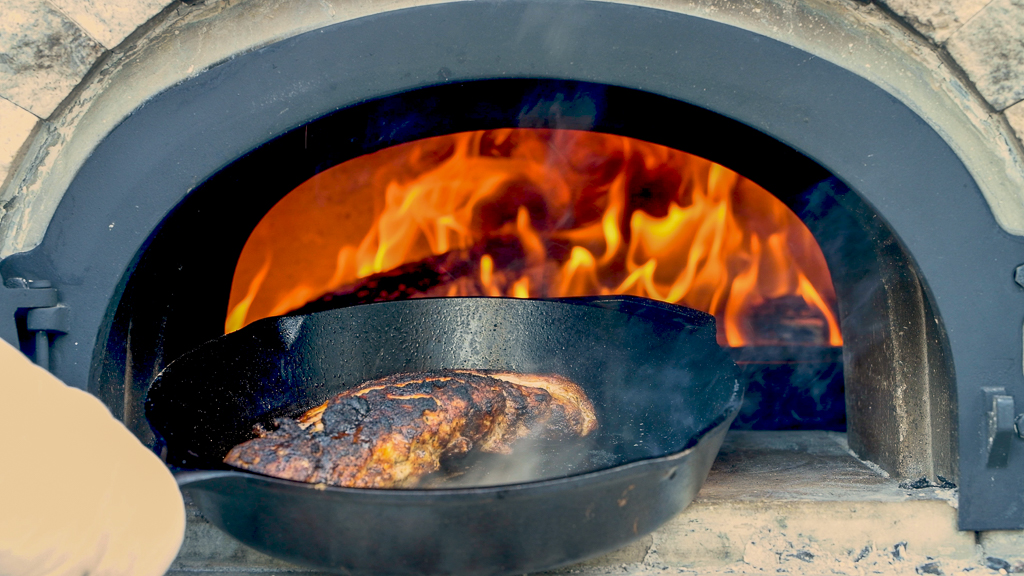
I have used my cast iron skillet to cook all kinds of things in my wood-fired oven including roasted brussels sprouts, Cornish game hens, garlic rolls, a pork loin, sweet potatoes and baked potatoes.
Cooking with a Tuscan Grill
A Tuscan grill is a great addition to a wood-fired oven. It allows you to cook directly over hot coals inside your oven. I purchased a small rectangular replacement grill for a barbecue at my local hardware store and rigged four 4" bolts with nuts and washers as legs. To use the grill, I would heat up the oven and pull forward hot coals to make a layer about 2" deep. I would then carefully place my homemade Tuscan grill on top of the coals and let it heat up for about 10 minutes. Finally, I would add a few more coals if needed and then cook a steak on the hot grill. The picture below is a huge tomahawk steak cooking on the grill.
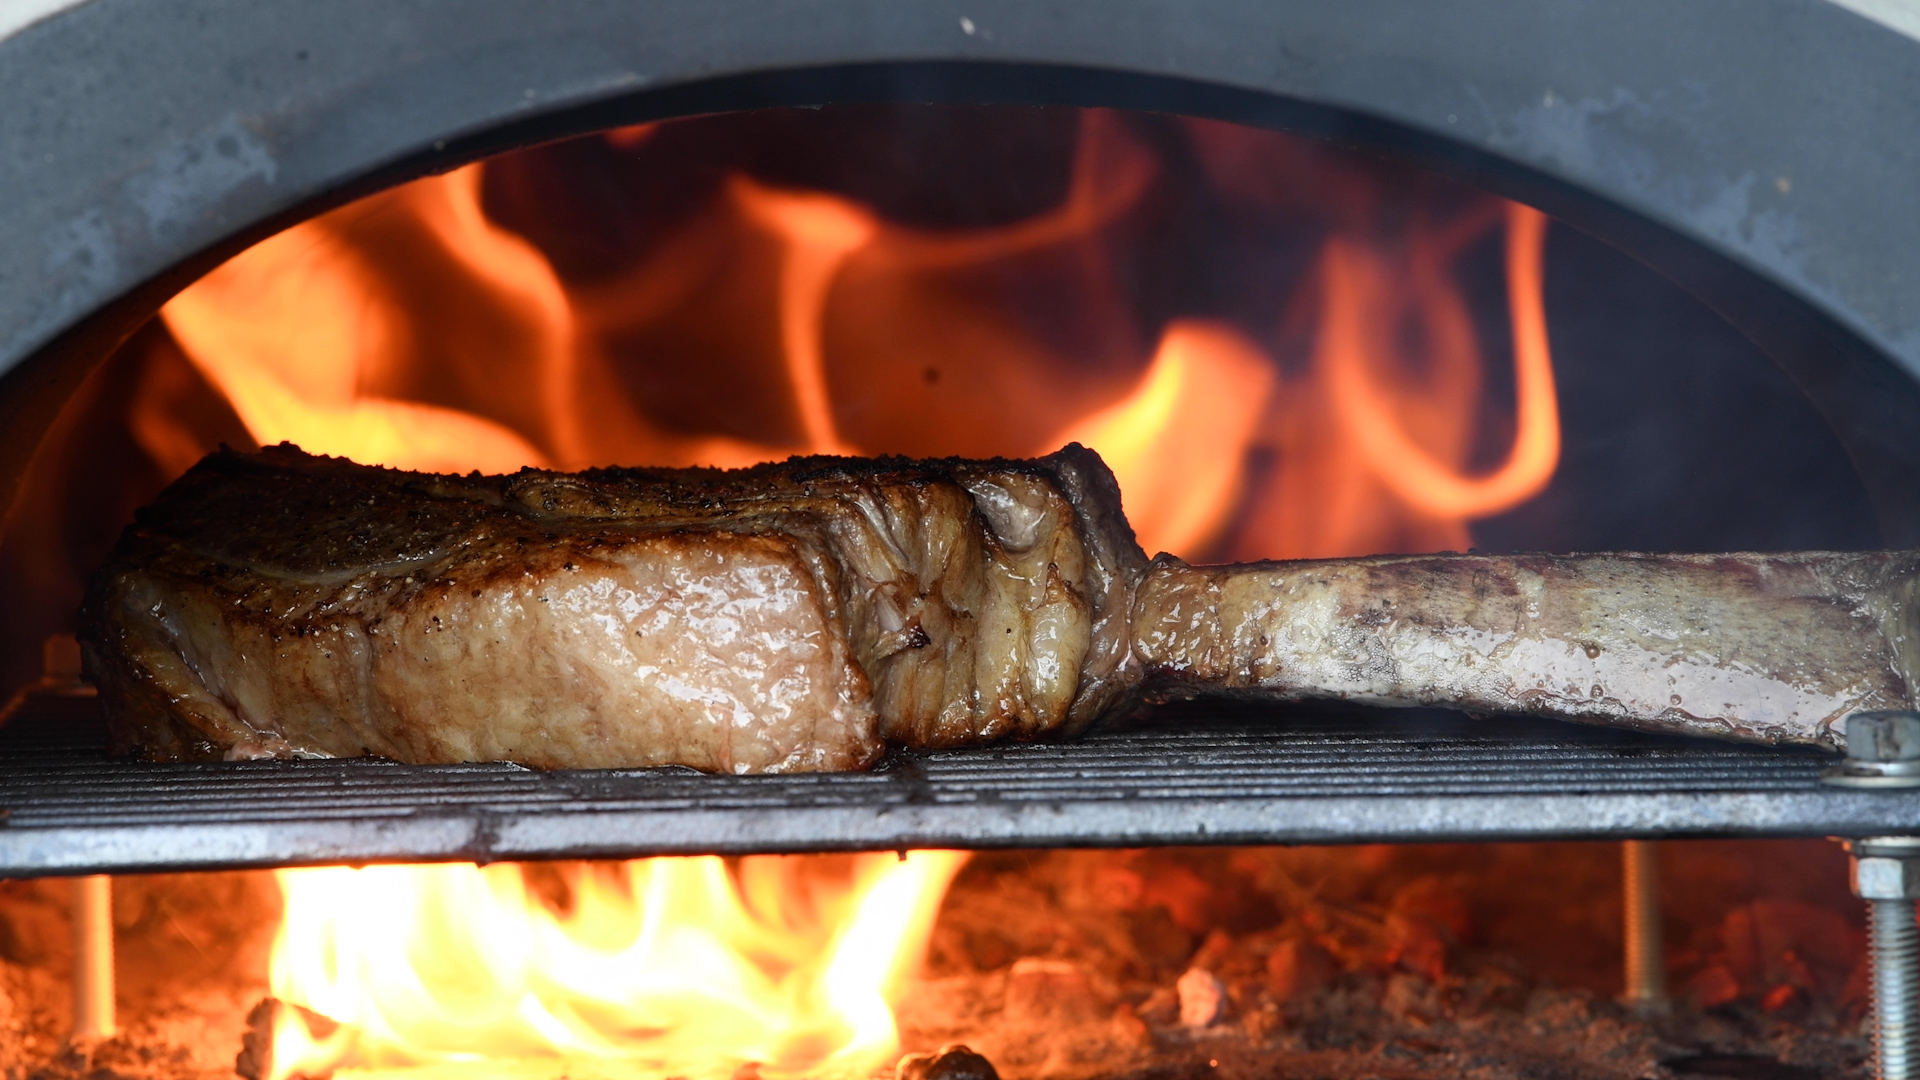
A Tuscan grill is not without its downside. Depending on the cut of meat you use, it can make a mess. All that fat has to go somewhere and that is on the floor of the wood-fired oven. But, don't worry, it is easy to cleanup. When you're done cooking, push the Tuscan grill to the side of the oven and pull forward all the hot coals that you can. Position them directly over the grease spot and walk away. The heat from the hot coals will vaporize the grease as the oven cools. In the morning, remove the coals and you will be amazed that the mess is gone.
Tools for a Wood-Fired Oven
When I first built my wood-fired oven, I didn't know what tools to buy. So, I bought way too many, and didn't use most of them. Here is my rundown on what tools you need and what tools you don't.
12 X 14" Wood Pizza Peel
This is a must-have tool. Why? Because it makes getting the pizza off the peel and into the oven easy. I sprinkle a bit of very coarse semolina flour, that I found online ,on the pizza peel and then place my stretched dough out on top of that. Then I finish building the pizza and transfer it to the floor of the oven using the wood peel. I place the peel inside the oven about 10 inches from the coals on the back wall. I tip the handle up about 30° or so and give it a shake. The pizza will slide down the peel and hit the oven floor. That's when I pull back the peel and let the pizza slide into place.
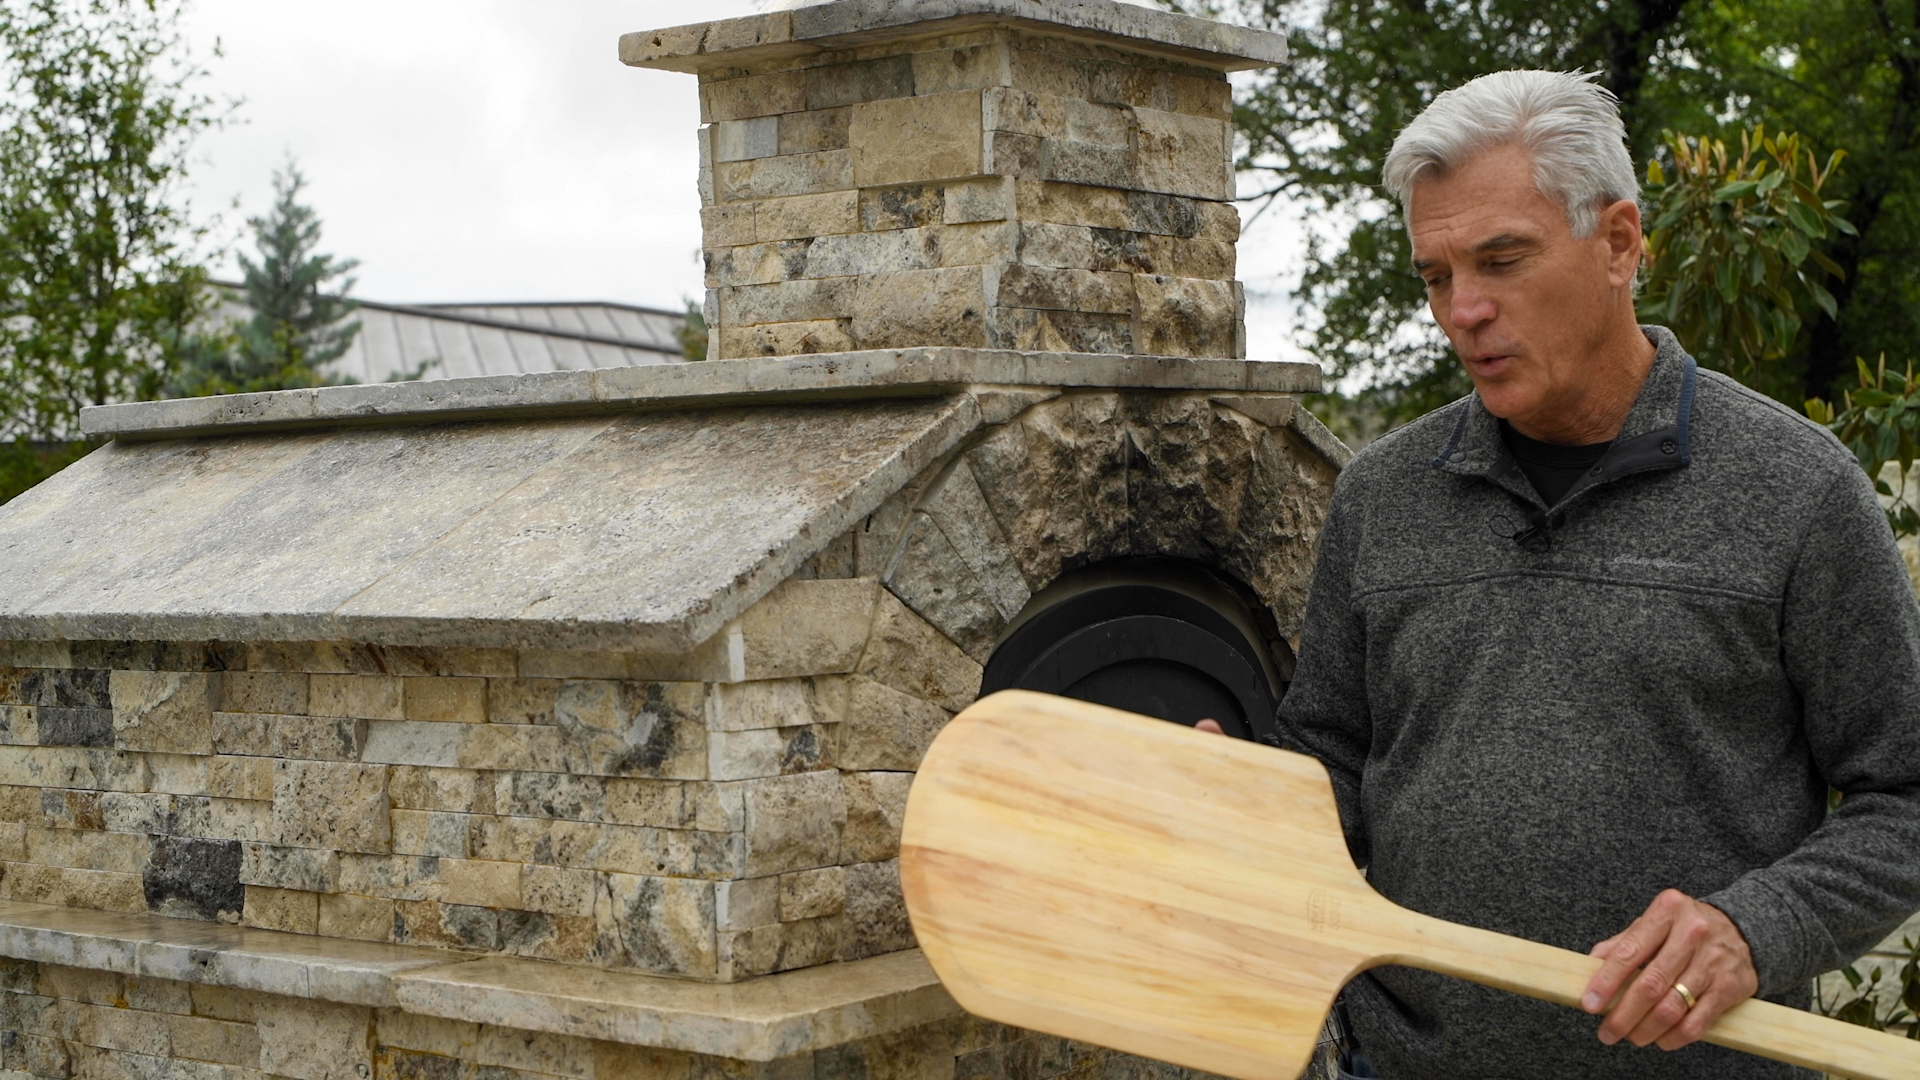
Do not make the mistake of using the wood peel to move or extract the pizza once it is in the oven. It's far too thick and you will just ruin your pizza by pushing it into the fire. See the information on using the small pizza turning peel below.
When the pizza is done, remove it using a small turning peel (see below). Place it back on the 12" wood peel and carry it inside. Important, do not cut your hot pizza while it is on the wood peel. Grease from the pizza will get on the wood peel and that will make getting the next pizza difficult to get off the peel. Instead, transfer the pizza from the 12" peel to a cut board before cutting it up.
12 X 14" Metal Pizza Peel
I must own three or four of these in various configurations. Some are solid metal, some have holes, some have slots. I bought them thinking I was going to use them to get pizzas in and out of the oven. They will all get a pizza out of the oven, but none of them will get a pizza into the oven. Why? Because the dough sticks to the metal. I had the best luck with solid metal peels when I would load them up with coarse ground semolina flour before putting a stretched piece of pizza dough on top. But, it still stuck a bit. Using the same method with a wooden peel worked so much better. The dough just didn't stick.
The metal pizza peels with the holes or slots were even worse. The semolina flour just fell through the holes which made the dough stick even more. There is nothing more frustrating than watching your pizza fall apart or curl into a ball in front of your eyes.
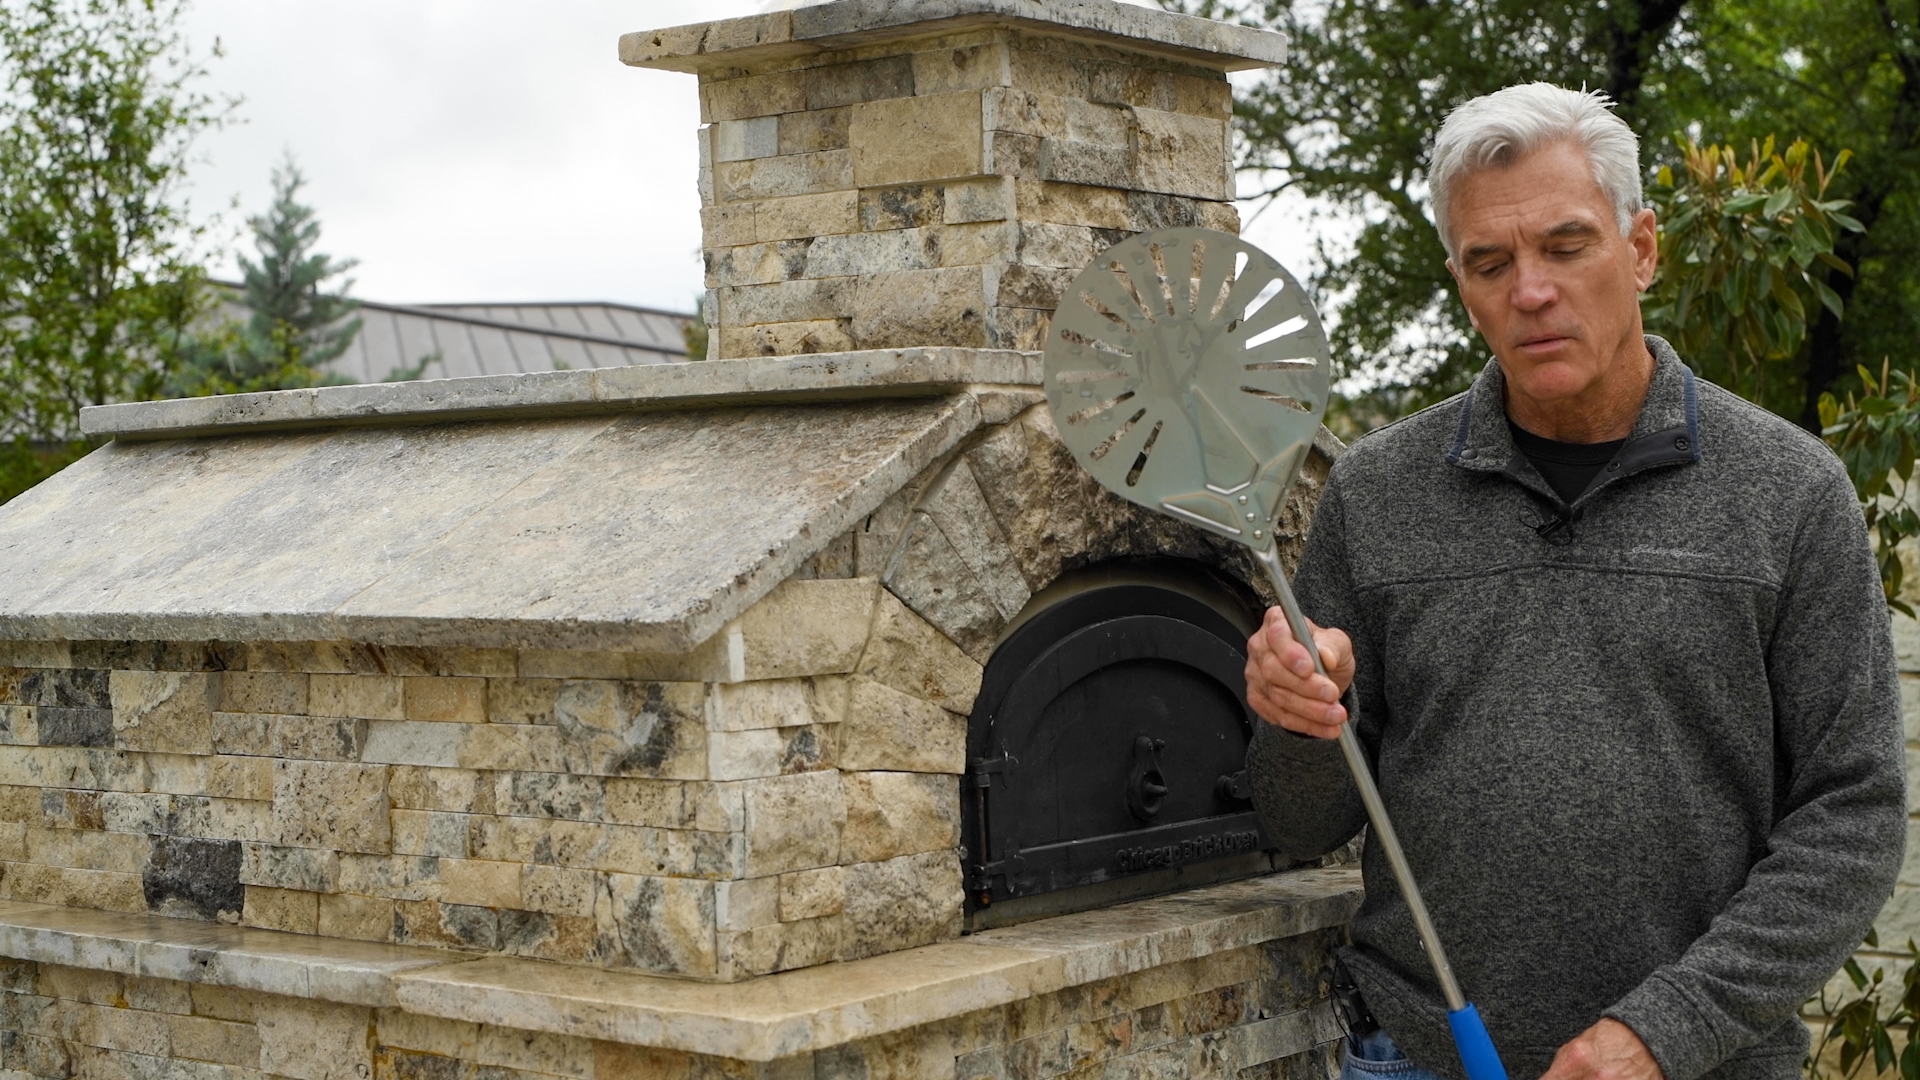
9" Round Perforated Pizza Turning Peel
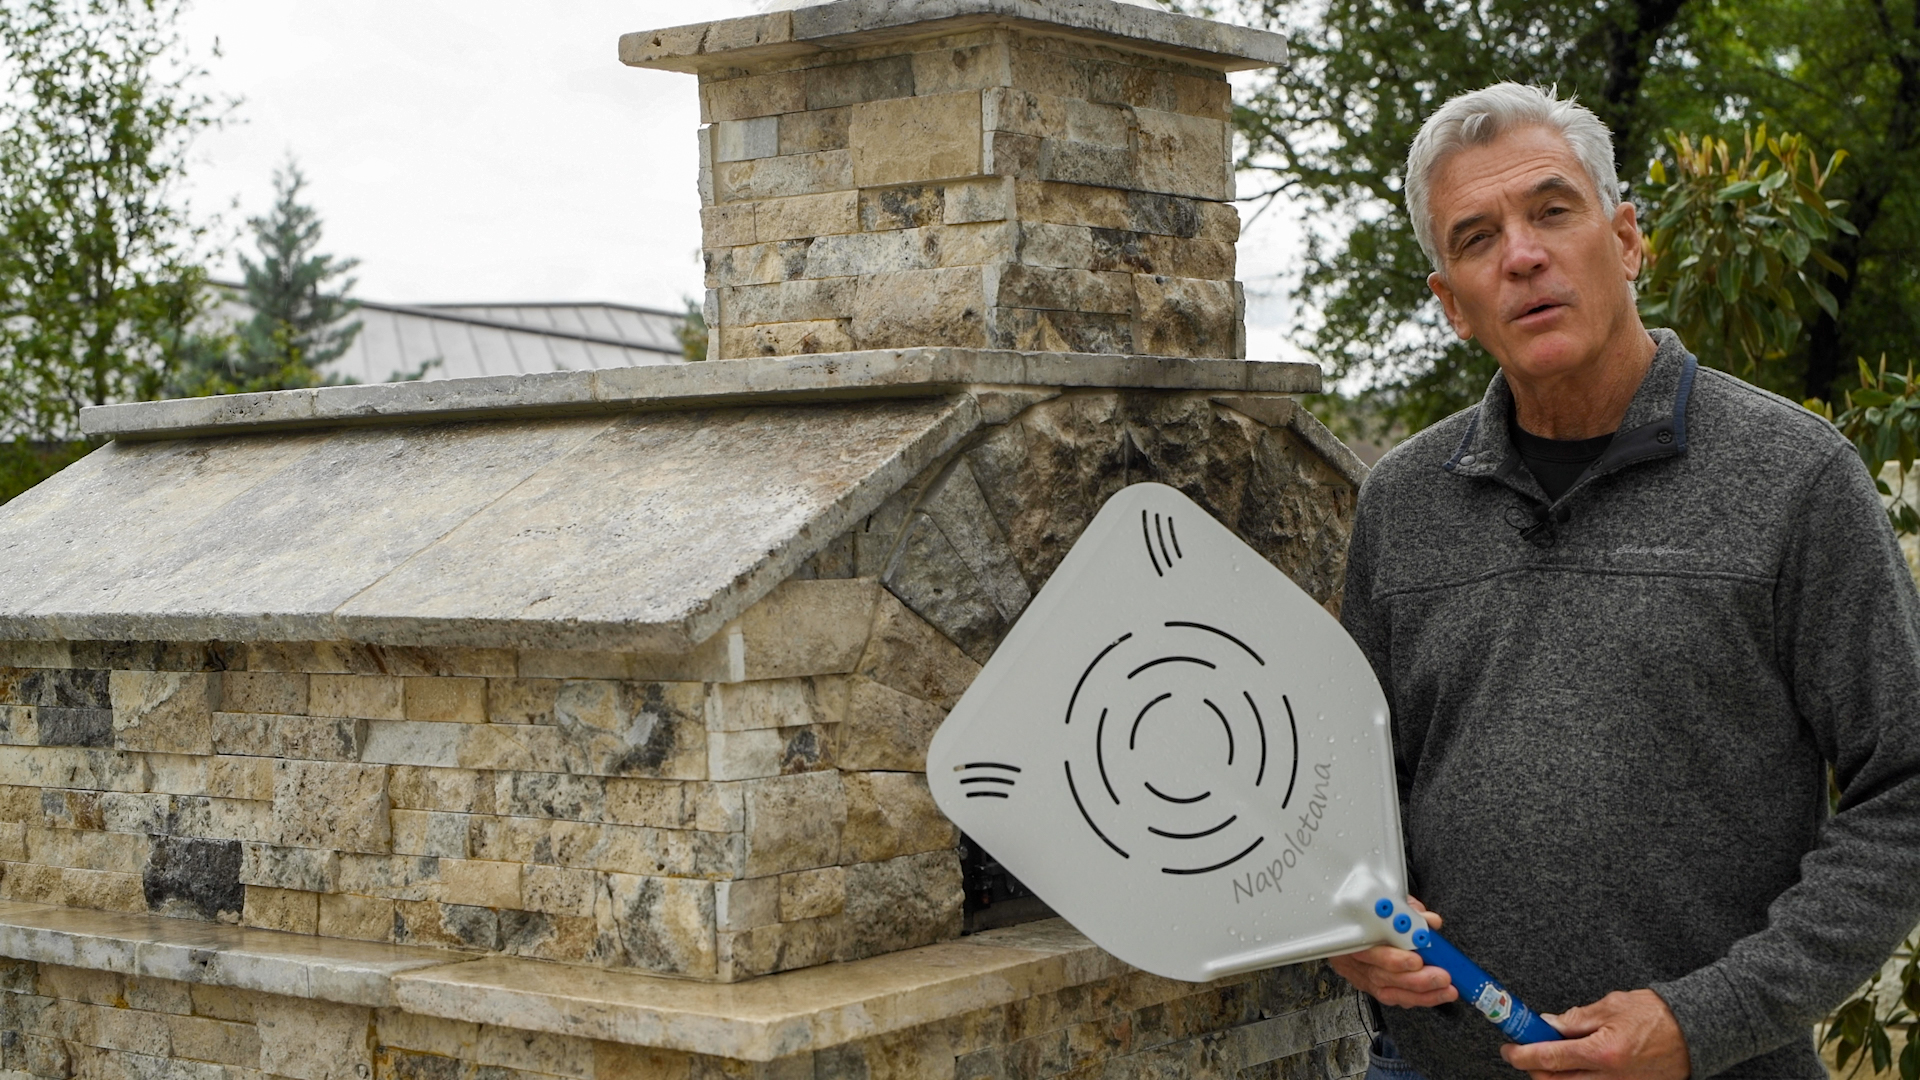
This is an important tool to own. It's small size allows you to easily move and rotate a pizza while it's in the oven. I typically rotate a pizza 90° every 20 - 30 seconds. Slide the 9" peel under the right side of the pizza so that the left edge would end up under the right ⅓ of the pizza (about 3" to the right of the center). Then, keep the right edge of the peel on the bottom of the oven and lift up on the left edge about 1" and pull the peel back towards the opening. That simple action will drag the pizza in a clockwise rotation. Stop when it rotates 90° and reposition the pizza back in the center of the oven if necessary.
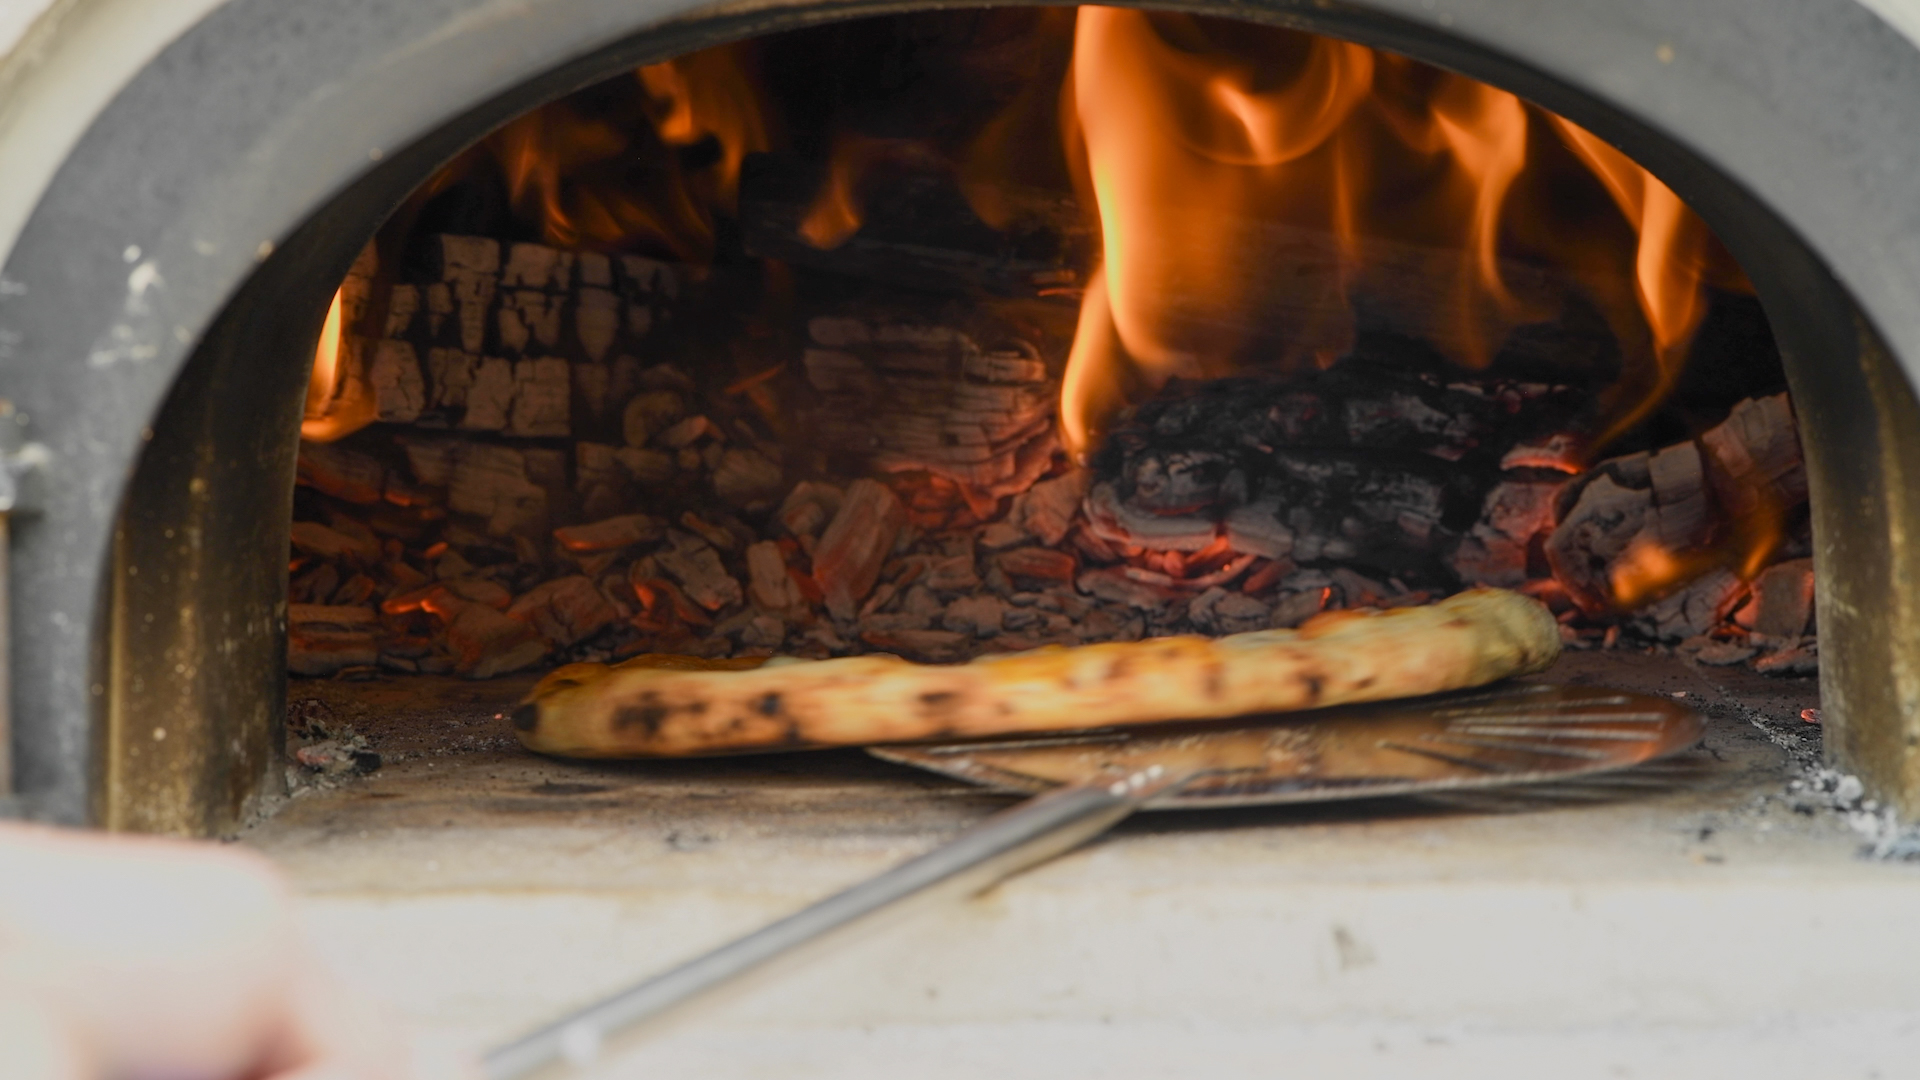
This tool is also my go to for adding logs to the fire when the coals have been pushed to the back of the oven. Just balance a log on the peel inside the door of the oven, and use the peel to lift the log and place it on the burning embers. It's OK if it touches the embers, it's made of steel and the hot coals will not hurt it a bit.
Ember Rake
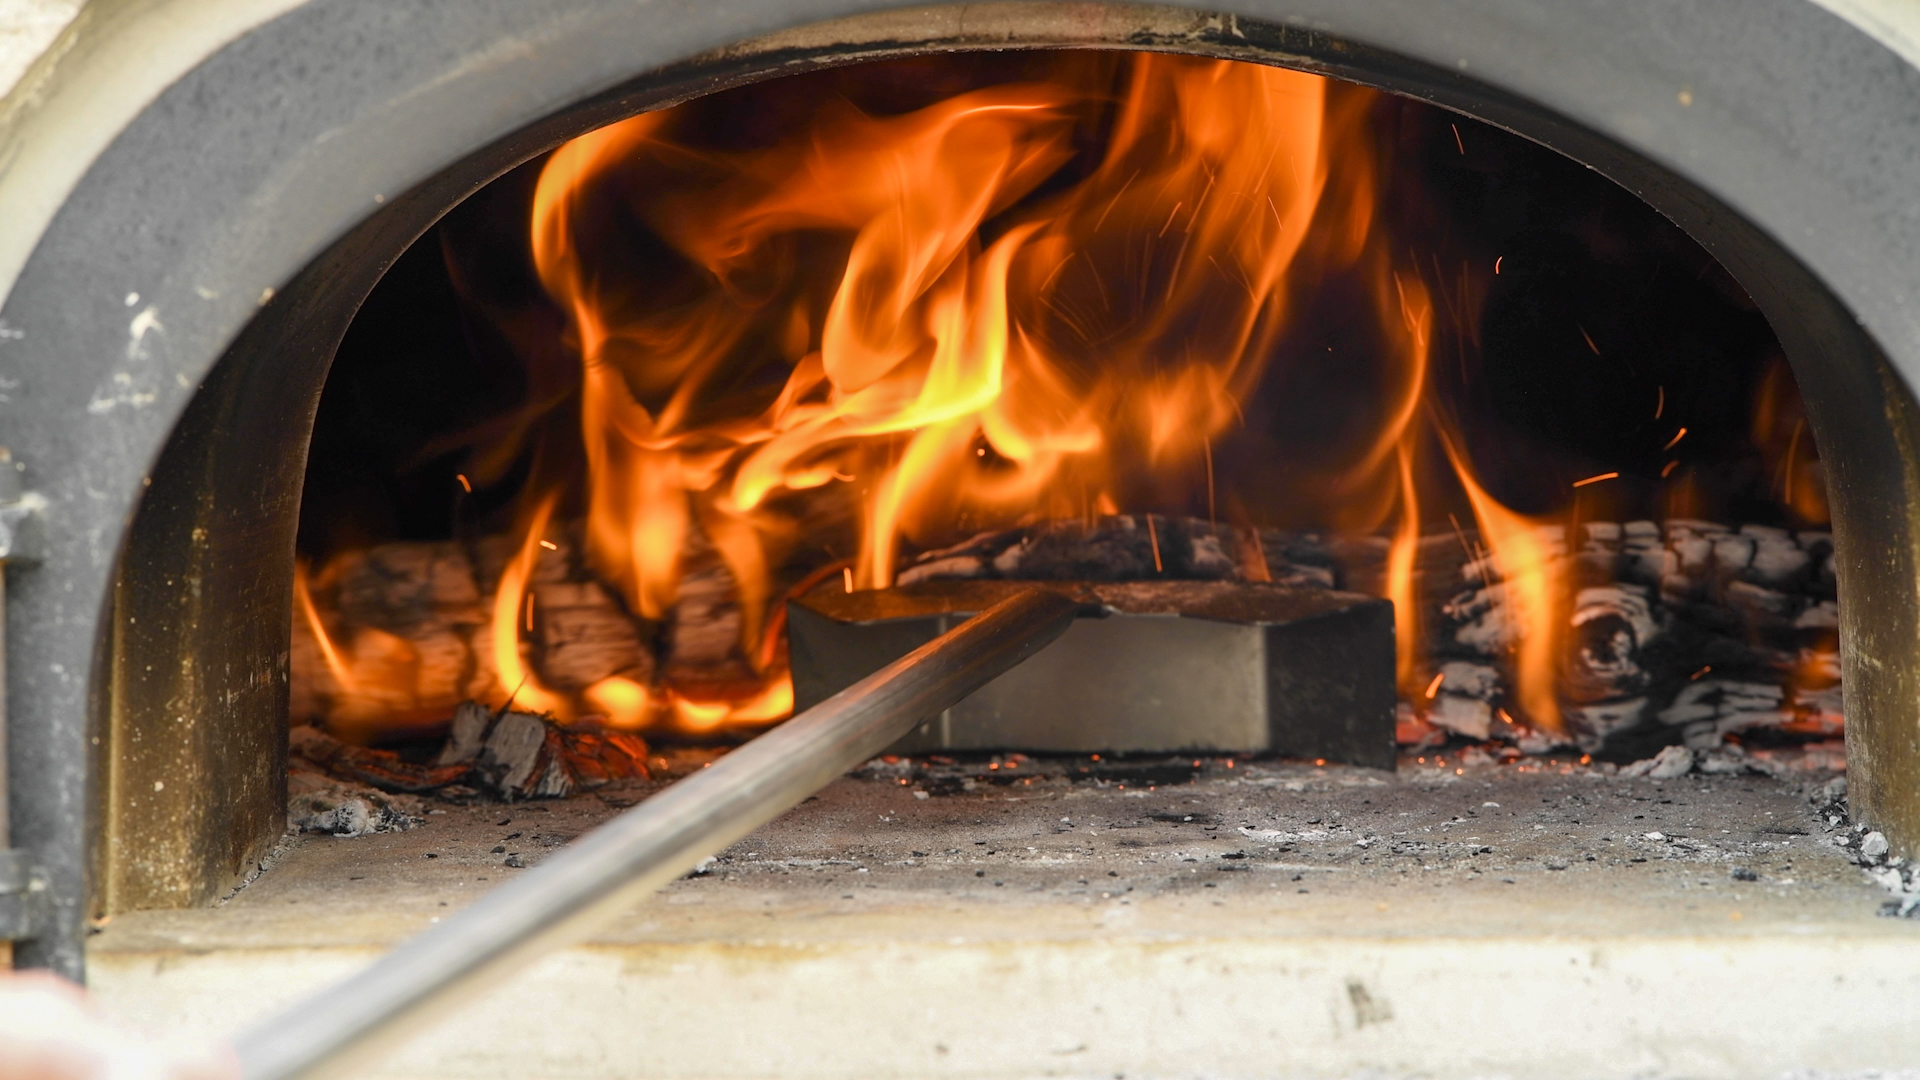
This is another important tool to own. It is used to push hot logs and coals to the back of the oven and pull cold coals forward and out of the oven. I have owned several different types of ember rakes and prefer the GI Metal AC-TB 61" Stainless Steel Ember Spreader with Polymer Grip Handle. It has a slightly rounded back which is perfect for pulling coals forward.
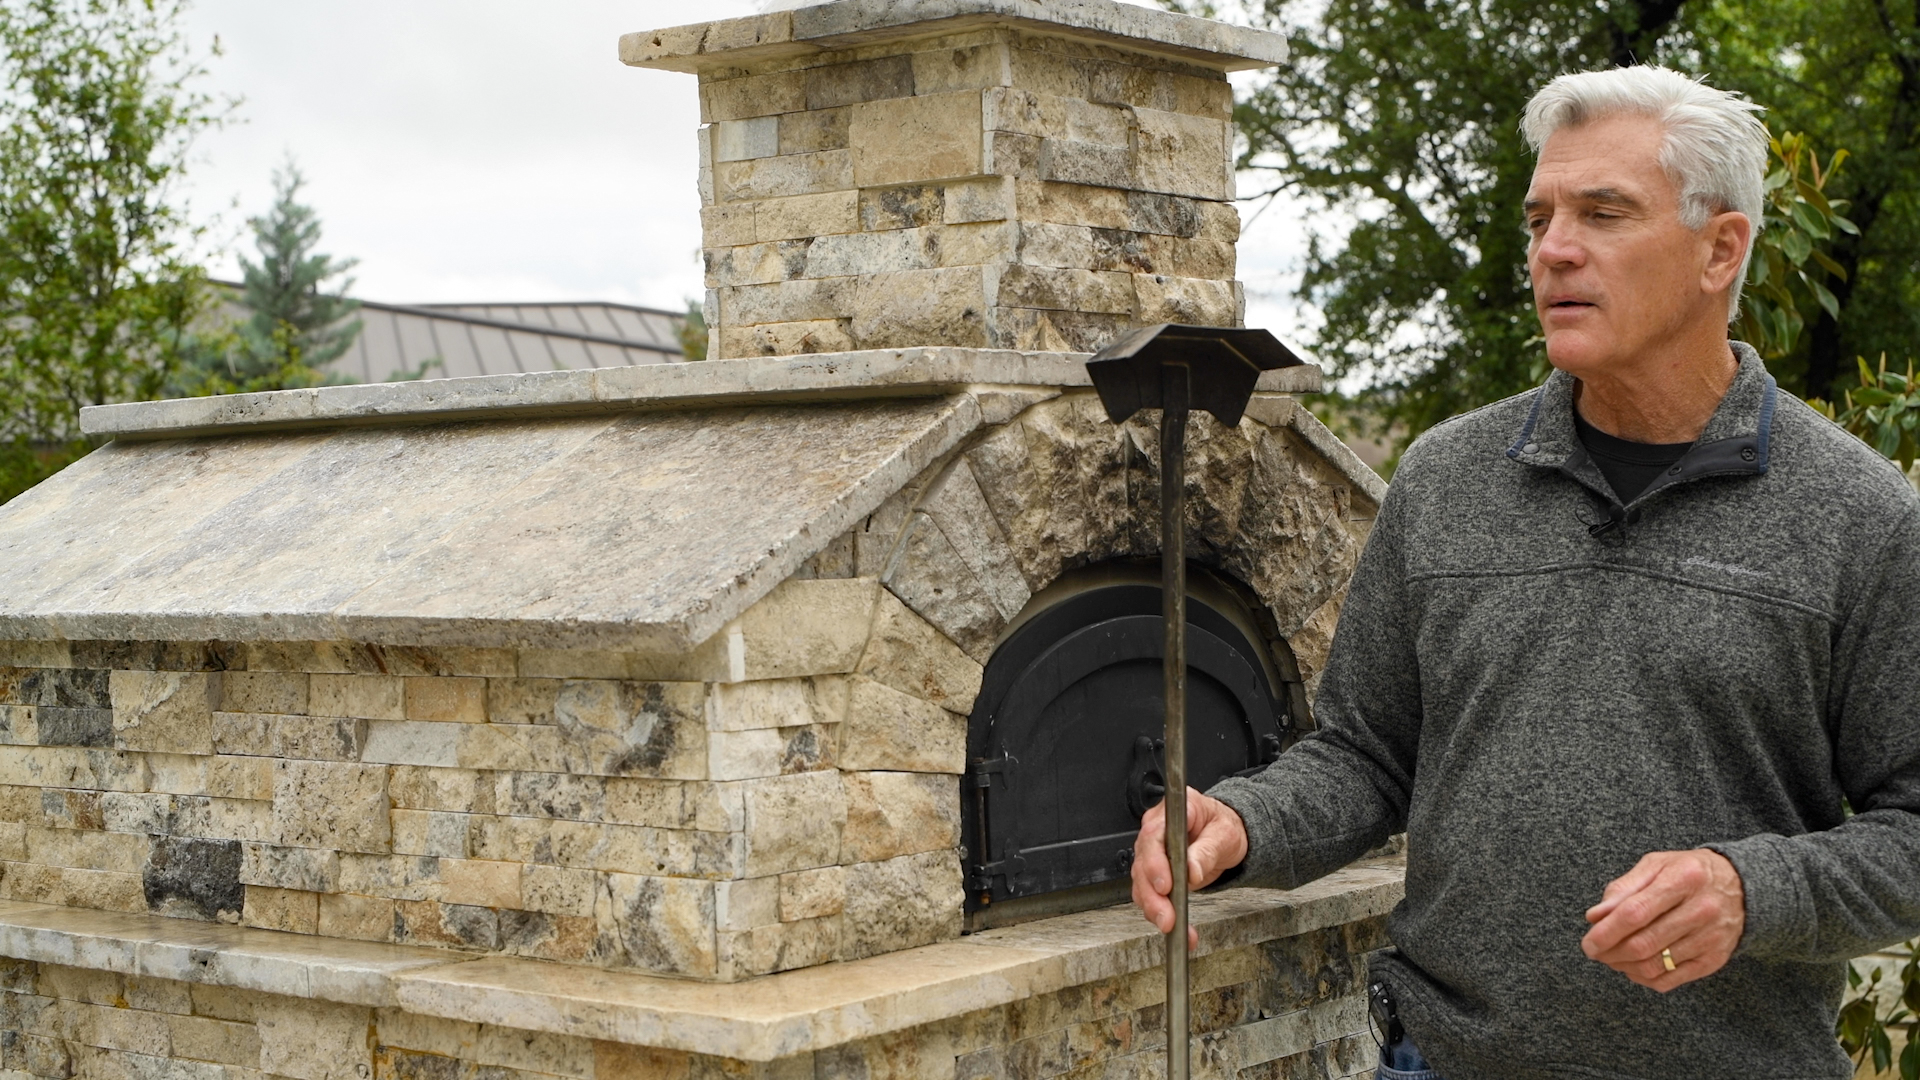
It's important to own an ember rake that is sturdy enough to handle pushing the burning logs and coals to the back. I broke several trying to do that but this particular ember rake stood up to the task.
Handle Length
Most of these tools come in various handle lengths. It's important to buy the handle length that meets both the task that you will use it for and the size of your oven. My pizza oven is 28" wide and 38" deep. To safely reach the back of the oven with an ember rake or 9" pizza peel, I chose a 59" handle. That gave me enough handle length to safely manipulate the tools without having to put my hands into the oven.
I chose a much shorter handle for my wood pizza peel because the furthest it would ever go into the oven was about 24". I chose a 12 X 14" wood pizza peel with a 28" handle and it worked just fine.
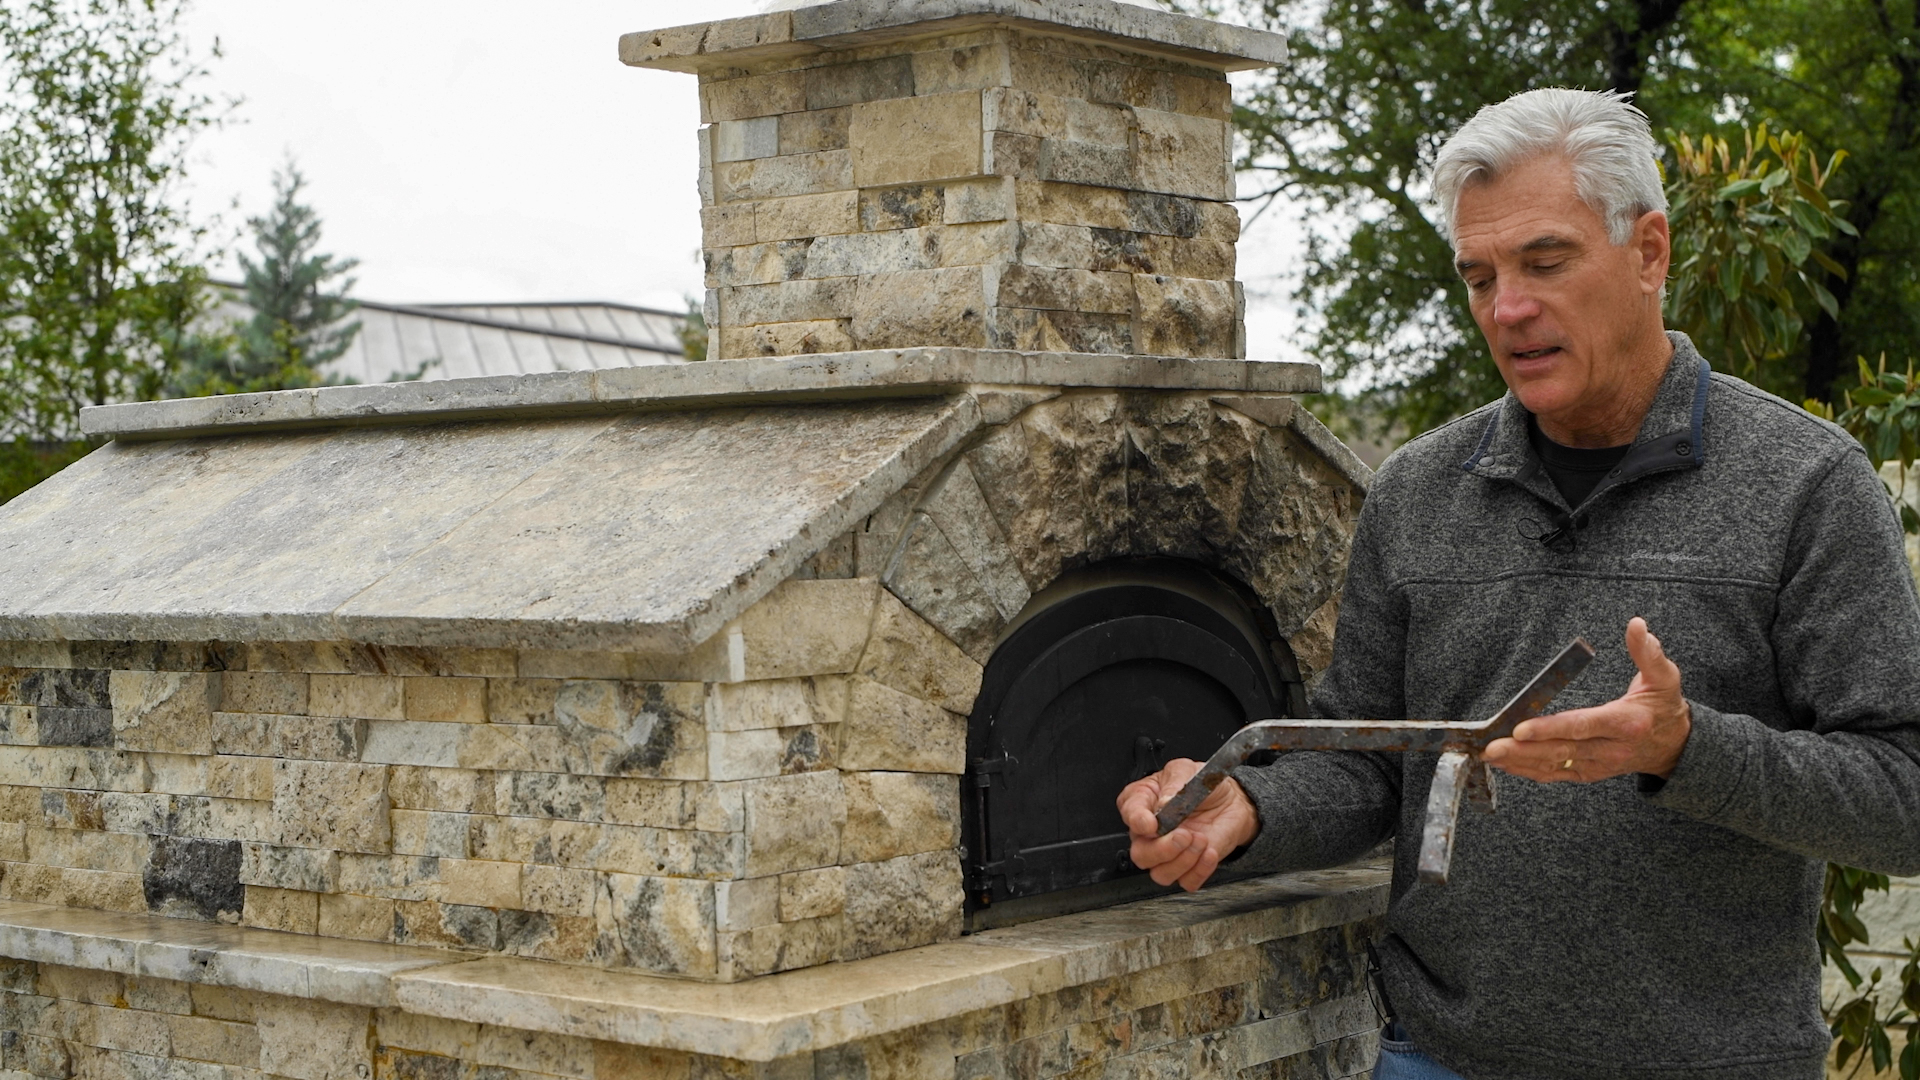
Andiron
An andiron is a heavy piece of bent steel similar to a fire grate that you would find in a wood-burning fireplace, but smaller. The idea is to position one edge of a log on the andiron and then stack additional logs on top. Having the end of a log slightly elevated helps air circulate around the log and that helps keep the fire going. The problem is that these things take up a lot of real estate. My oven is only 28" wide and 38" deep. The smallest andiron I found was 12" long. With that in the back of my oven, the burning coals and logs ended up closer to the center of the oven and that just didn't work. I ended up not using the andiron at all and instead learned hot to stoke the fire from time to time with a copper piper and air compressor.
Copper Pipe and Air Compressor
This is another essential tool combination. I purchased a 60" length of ½" copper pipe at my local hardware store and fitted one end with with ½" to ¼" reducer. There was no need to solder it on, I just pushed it on and it stayed put. I also purchased the smallest air compressor that I could find. Stoking a fire does not take a lot of air at high volume so there is not point in buying a big air compressor.
Stoking a Fire
To stoke the fire, I would position the reduced end of the copper pipe up against coals that had gone out and place the air compressor gun up against the other end. I fitted the air compressor gun with a rubber tip that nicely fit up against the pipe. I would turn the air compress pressure to something low and gently release air into the pipe and up to the hot coals. After about 30" the coals would ignite and I would add a log and be done.
This tool is also great to blow off the floor of oven after you push the coals back or even between pizzas. I would much rather eat a pizza that didn't have a bunch of debris stuck to the bottom.
WARNING
This is also the MOST DANGEROUS tool that you could own. Used incorrectly, it will cause serious injury. There are two important points to consider when using an air compressor with a wood-fired oven. First, NEVER turn the compressor all the way up. You need a low setting of about 20 PSI, that's it. Second, NEVER use the air compressor to blow air into the fire without the copper pipe. If you saw the movie Backdraft, you will know that this sudden burst of air will cause a fireball that will blow out of the oven and burn you. You avoid that problem by using the copper pipe and placing small amount of air exactly where you want it.
Welding Gloves
Welding gloves are needed anytime you are using a cast iron skillet or Dutch oven inside your wood-burning oven. It's easy to forget that the handles will be hot. Welding glove by themselves will protect hour skin from the high heat of the oven but they are insufficient to prevent burns on the palm of your hands. You will need to use one or two heavy pot holder in addition to the welding gloves to prevent burns.
Pizza Cutter
I own several different round pizza cutters that work well enough. They always seem to cut only part way through the edge of the crust and I wind up pulling apart the pieces of cut pizza. I solved that problem when one of my sons bought me a 20" rocker pizza cutter. This is a curved blade that you place over the pizza and push down on one end the rock the blade across the pizza to the other end. Every cut is clean through the crust. It works better than any round pizza cutter that I have ever tried. The only problem is that it's big and hard to store. It does not fit into my knife drawer. The one that I own has holes drilled through the blade near each handle so hang it using a hook on the side of a rack in my pantry.
Dust Pan and Steel Can
An inexpensive metal dust pan work well to remove cold coals. I pull the cold coals forward using the ember rake and they go right into the dust pan. I dump them into a small galvanized steel trash can and cover them with the lid. Don't waste your money on long handled steel dust pans or long handled brushes. You don't need them. Use this technique then blow out the remaining dust with the air compressor and copper pipe.
Links to Recipes and Videos
There are some links below to my pizza recipes and my videos on how to operate a pizza oven. Have fun.
- Pizza Dough Common Mistakes Video
- Introduction to Wood-Fired Oven Cooking Video
- Operating a Wood-Fired Oven Video
- For the Love of Pizza Video
- Overnight Pizza Dough for a Wood-Fired Oven
- Wood-Fired Oven Pan Pizza Recipe
- Wood-Fired Pepperoni Pizza Recipe
- Wood-Fired Mushroom and Goat Cheese Pizza Recipe
- Wood-Fired Margherita Pizza with Buffalo Mozzarella Pizza Recipe
- Chicago Style Deep Dish Pan Pizza in a Wood-Fired Oven
It's a Wrap
I hope you found this guide helpful. I encourage you to experiment and try cooking a lot of different things in your wood-fired oven. Please use the contact form if your have any questions.


Taylor says
I wish you could be here with me making pepperoni sausage and mushroom pizzas every weekend grandpa.
-Taylor
dvscott902 says
Me too Taylor, that would be fun.