Picture it... You’ve invested a lot of time and fair amount of money in that brisket that is in your smoker. You've carefully watched the temperature and pulled it out when you thought it was done. You let the brisket rest an hour, then cut into it, only to discover it was tough as an old shoe. The problem is that although the smoked brisket was fully cooked to the right temperature, it was not cooked at a low temperature for a long enough time to break down the tough collagen. So, how do you know when a smoked brisket is done? Let’s find out.
Jump to:
Getting Ready to Cook
Trimming the Brisket
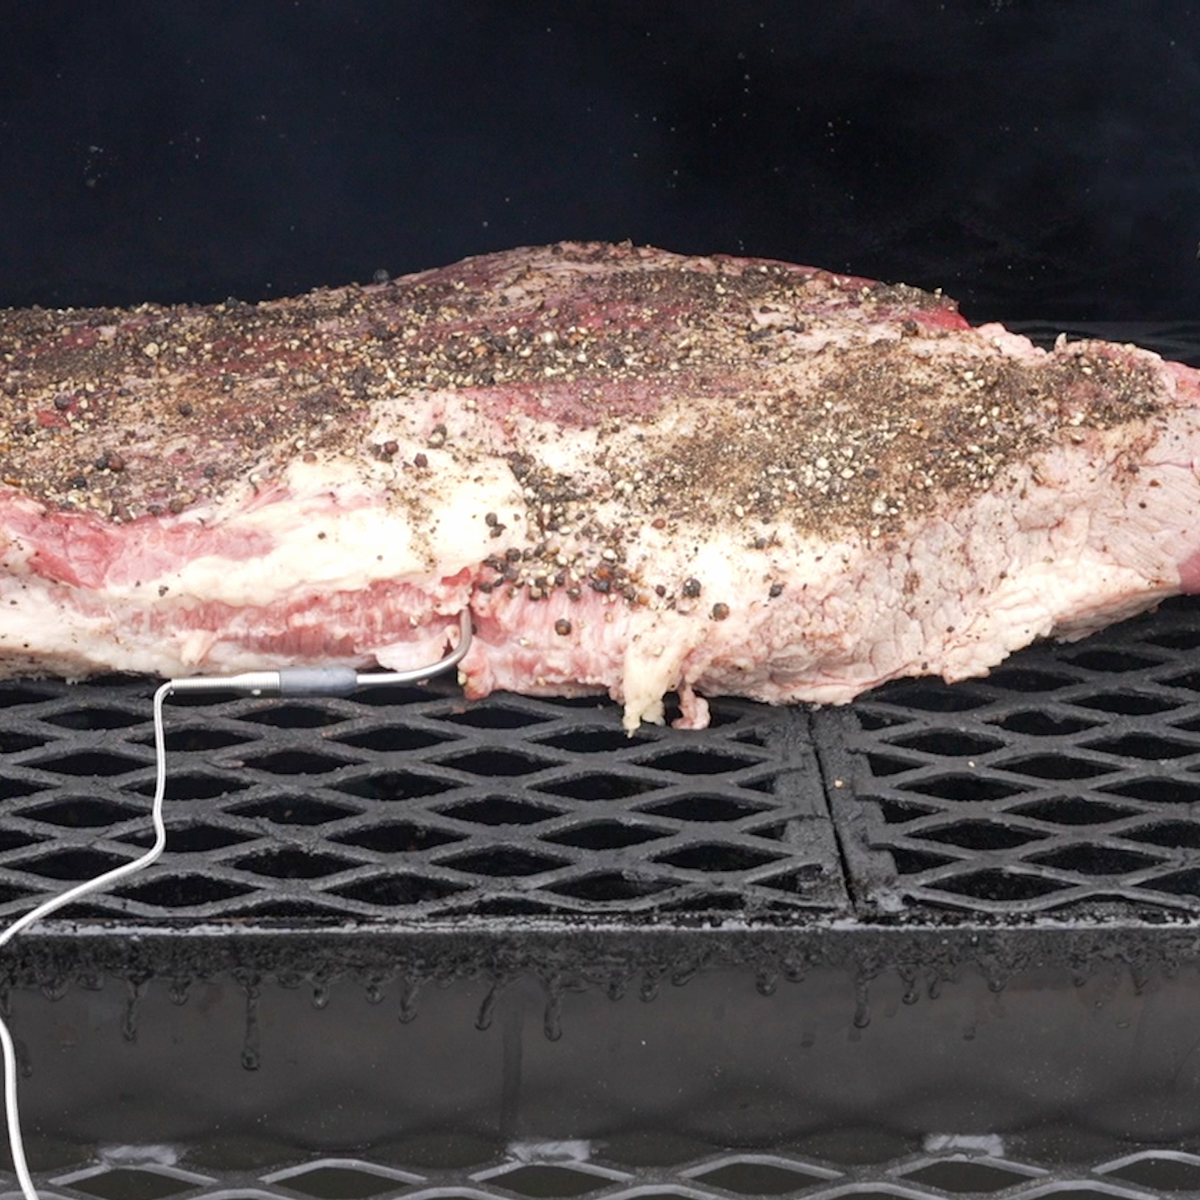
Basically, the fat cap needs to be trimmed down to about ¼" thick and any thick pieces of fat should also be removed. In addition, all silver skin should be removed. For more information, watch my video on How to Trim a Brisket. Also watch my video on Smoked Beef Brisket and Burnt Ends for tips on how to notch the brisket before cooking to make cutting across the grain easier.
Fat Side-Up or Fat-Side Down?
Ah, herein lies the eternal brisket debate. Renowned pit master Aaron Franklin likes to cook brisket fat-side up because the heat in his smokers comes from the top. By placing the brisket with the fat cap facing up, the fat acts as a bit of a shield and protects the meat from the heat inside the smoker. Other BBQ enthusiast prefer a fat-side down approach, particularly when the heat comes from the bottom of the smoker.
I have made brisket in Big Green Eggs, Kamado Joes and traditional stick burners and I prefer fat-side up for all three.
Monitoring the Internal Temperature
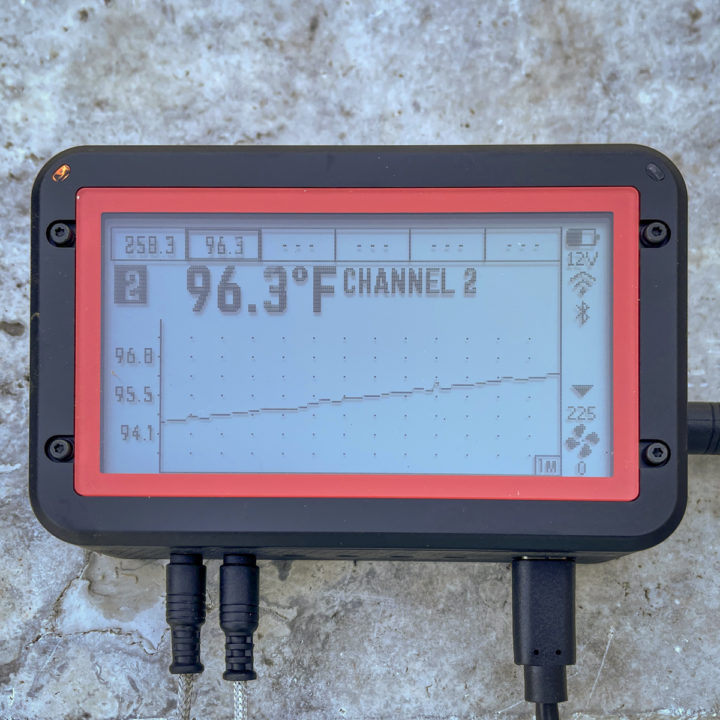
It's important to monitor what is happening inside your smoker so a good temperature control device or temperature monitoring tool is essential. It is just not practical to cook a brisket using an instant-read thermometer. Every time you open the smoker lid, you let out a lot of heat and let a lot of cool air in. It takes about 8 – 10 minutes for the smoker to normalize and get back to where the internal temperature was each time you open the lid. Invest in a good meat thermometer with a remote capability that will link to your phone. Watch my video on the Fireboard temperature control device to see how they work.
I like to set the low alarm for 210°F and the high alarm for 265°F. This lets me keep the temperature inside the smoker near my target of 225°F. Whenever the low alarm goes off, increase the heat by adding more fuel or opening up the ventilation. If the high alarm sounds, cool things down by partially closing the vents.
To ensure accurate temperature readings, attach the air probe of your thermometer to the grate of your smoker using the grate clip. Position it about an inch from the brisket and two or three inches from the outer edge of the grate. If your thermometer has enough probes, place one in the thickest part of the flat and the other in the thickest part of the point. If you only have one meat probe, place it in the thickest part of the point. This is important because if the thermometer probe is not in the thickest part of the meat, the temperature reading may be inaccurate causing the brisket to be underdone.
The First Stage of Cooking
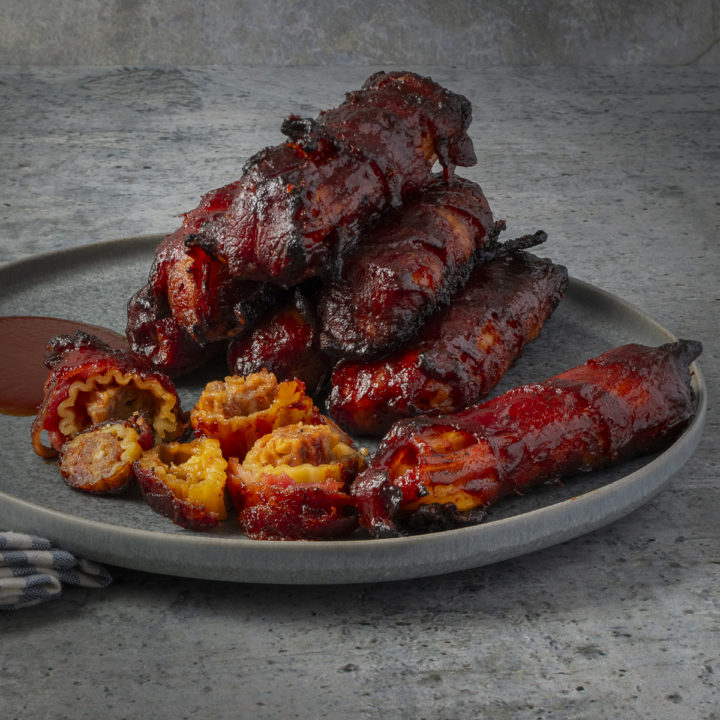
A brisket is one big dumb cut of beef and cooking brisket takes a long time. A full brisket, also know as a packer brisket, actually has two different muscles in one roast. One side has a large, flat piece of meat that extends through the entire roast. This is the flat. It is where lean brisket comes from and has grain going one direction. The other side has a thick layer of fat and a small piece of meat on top with grain going in the other direction, 90° to the flat. This is the point of the brisket and it’s one of best things that can come out of a smoker. The point is where burnt ends come from. Take a look at my recipe for Smoked Brisket and Burnt Ends for more information.
Before discussing when a brisket is done, we need to understand the cooking process. Smoking a brisket actually involves two distinct stages of cooking. In the first stage, the brisket cooks over a pan of water over indirect heat at 225°F. I don’t like using a higher temperature because it is more difficult to control the process when the brisket is cooking faster. This first stage is when the brisket picks up the smoky flavor and forms a nice crust.
The pan of water helps maintain a humid environment inside the smoker. Humidity slows down the evaporation of moisture, allowing for a gradual breakdown of collagen and rendering of the fat. Additionally, a moist environment helps the smoke penetrate the meat enhancing the overall flavor and texture of the brisket. See my post on Using a Water Pan in Your Smoker for the Best Results for more information.
The best brisket is cooked low and slow, meaning over a low temperature for a long period of time. By maintaining a low temperature over an extended period of time, the collagen will breakdown resulting in the melt-in-your-mouth texture that we love.
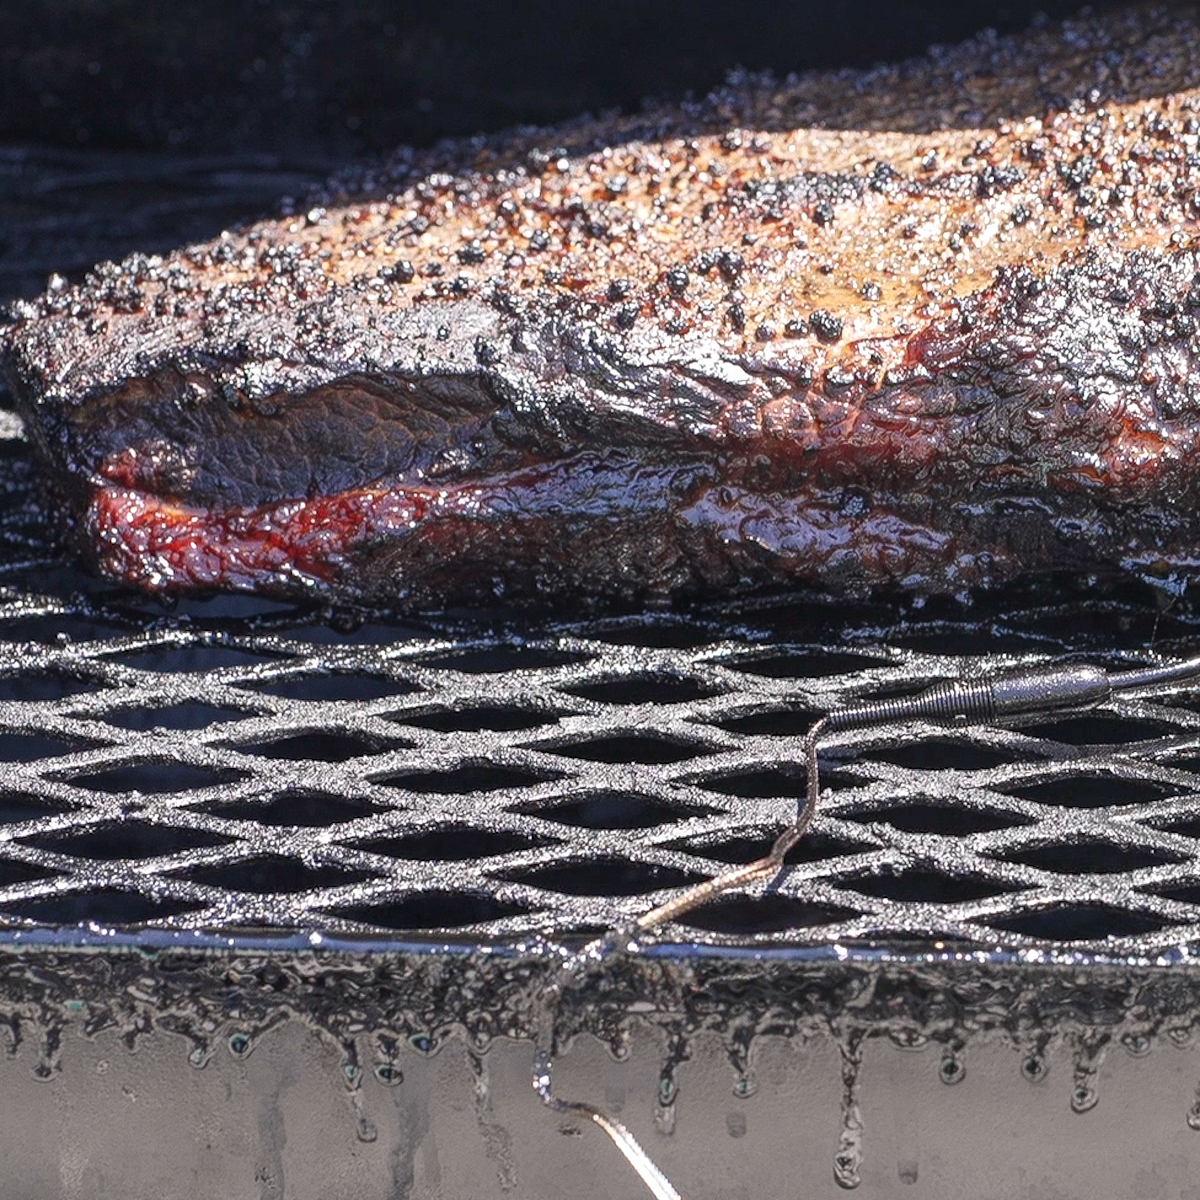
During this initial phase of cooking, the internal temperature will climb steadily to about 165°F and then stop rising. The internal temperature will just sit there hovering around 165°F and not move, seemingly forever. Welcome to the stall.
The Stall
The stall is the mysterious point in cooking a brisket where the cooking temperature stops climbing until some moisture in the brisket burns off. Remember separating two or more mixed liquids in chemistry class? You would heat the liquid over a Bunsen burner and the temperature would rise and then stall at the boiling point of one of the liquids. Then, it would rise until the boiling point of the next liquid was reached. Cooking a brisket is kind of like that. The brisket will form moisture on the crust that cools the brisket as it evaporates. The evaporation process keeps the internal temperature from rising. The internal temperature of the brisket will not move until the evaporation stops.
This first stage of smoking a brisket can take a while. A 15-pound full packer brisket could easily take 7 – 9 hours to reach the stall and another hour or so to break through the stall. If you are concerned about the total time, think about starting to cook the brisket early. It's better to have a brisket done an hour or two before it needs to be served and hold it wrapped in a cooler as described below, than have hungry guests waiting for their meal to be done.
As mentioned above, resist the temptation to open the lid and peak or add more wood. You will just add 10 minutes to the overall cooking time every time you do. Be patient, the stall will break. When it does and the temperature starts to climb, the first stage of cooking is done. It’s time to take the brisket out and wrap it up.
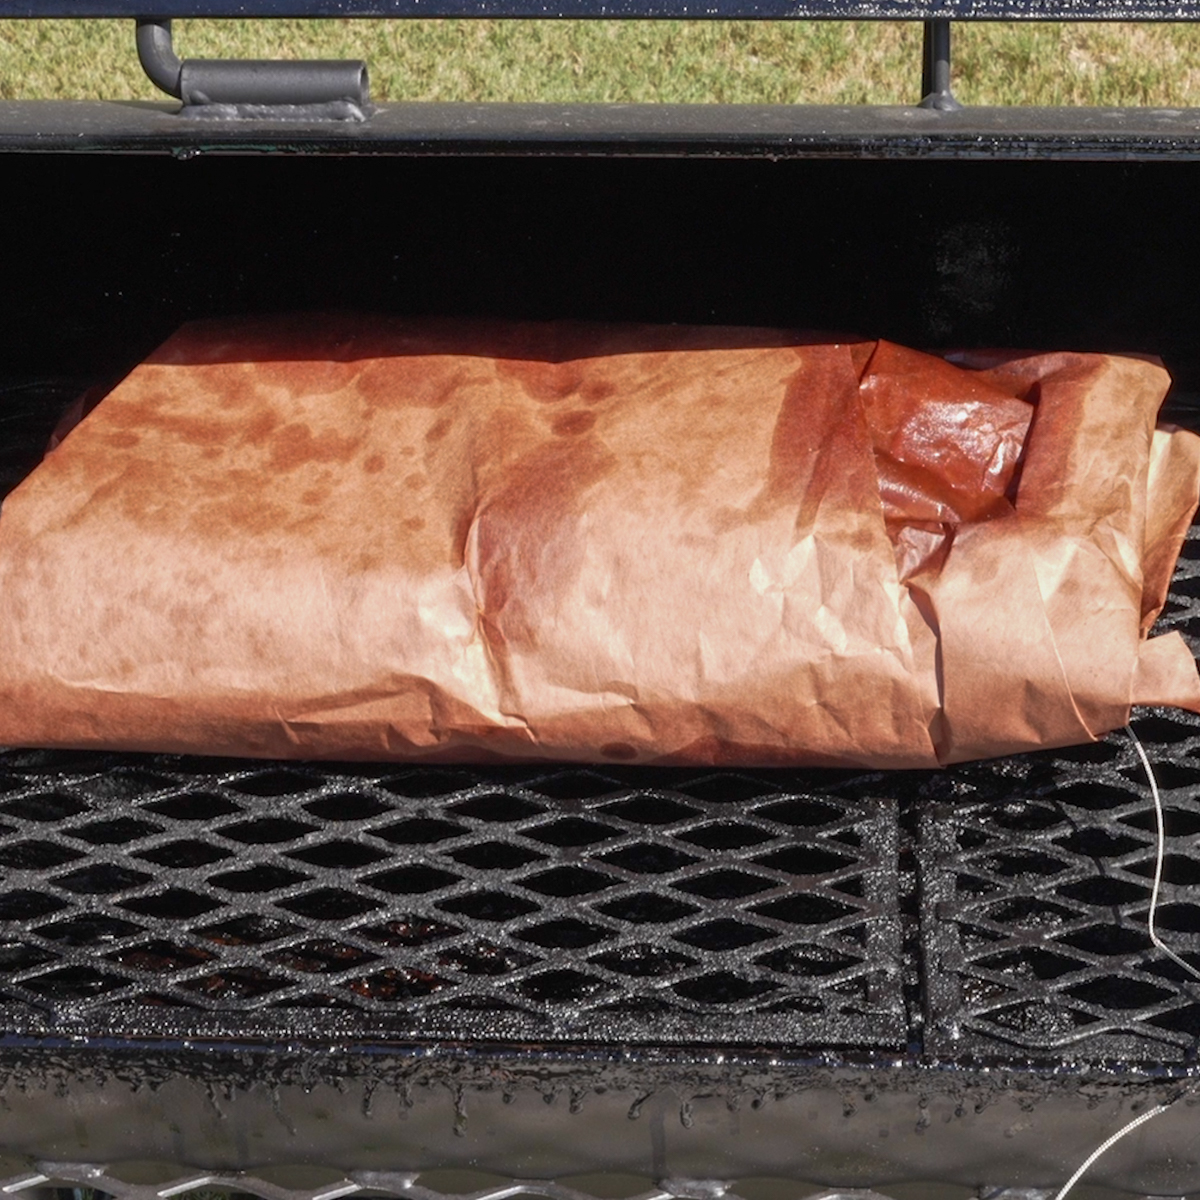
Wrapping the Brisket
It’s no secret that most every pit master in Texas wraps their brisket. It’s an essential part of the whole cooking process because it helps keep the brisket moist and prevents it from drying out.
Learning how to wrap brisket in peach paper is easy. Just lay two pieces down on a table with about a 6" overlap. Lay the brisket in one corner, fold it over, then fold both sides in and the roll up the rest. It’s basically a “butcher wrap” using two pieces of paper. Place the roast back in the smoker in the same orientation that it was before being wrapped. Remember, you are no longer smoking the brisket while it is in the peach butcher paper wrap. Smoking is over and no additional smoky flavor will penetrate the peach butcher paper, and that's OK. At this point, it's about preserving the remaining moisture in the meat, not adding more smoke.
Foil vs. Peach Butcher Paper
A brisket can be wrapped in aluminum foil, a technique called the "Texas Crutch." The foil basically steams the brisket and produces an end product a bit like a pot roast. The taste will be fine, but the texture of the meat will be loose.
Many BBQ gurus, including Aaron Franklin and cookbook author Steve Raichlen, now use peach butcher paper exclusively. The peach butch paper allows the brisket to breathe, resulting in a moist brisket with a better texture. Peach butcher paper is easy to find online. I bought mine at webstaurant.com. See my post on Will Pink Butcher Paper Burn in a Smoker?
It may not be conventional, but I add a bit of Wagyu beef tallow to both the brisket and the paper prior to wrapping. I think it helps keep it most and adds a bit of flavor.
The Second Stage of Cooking
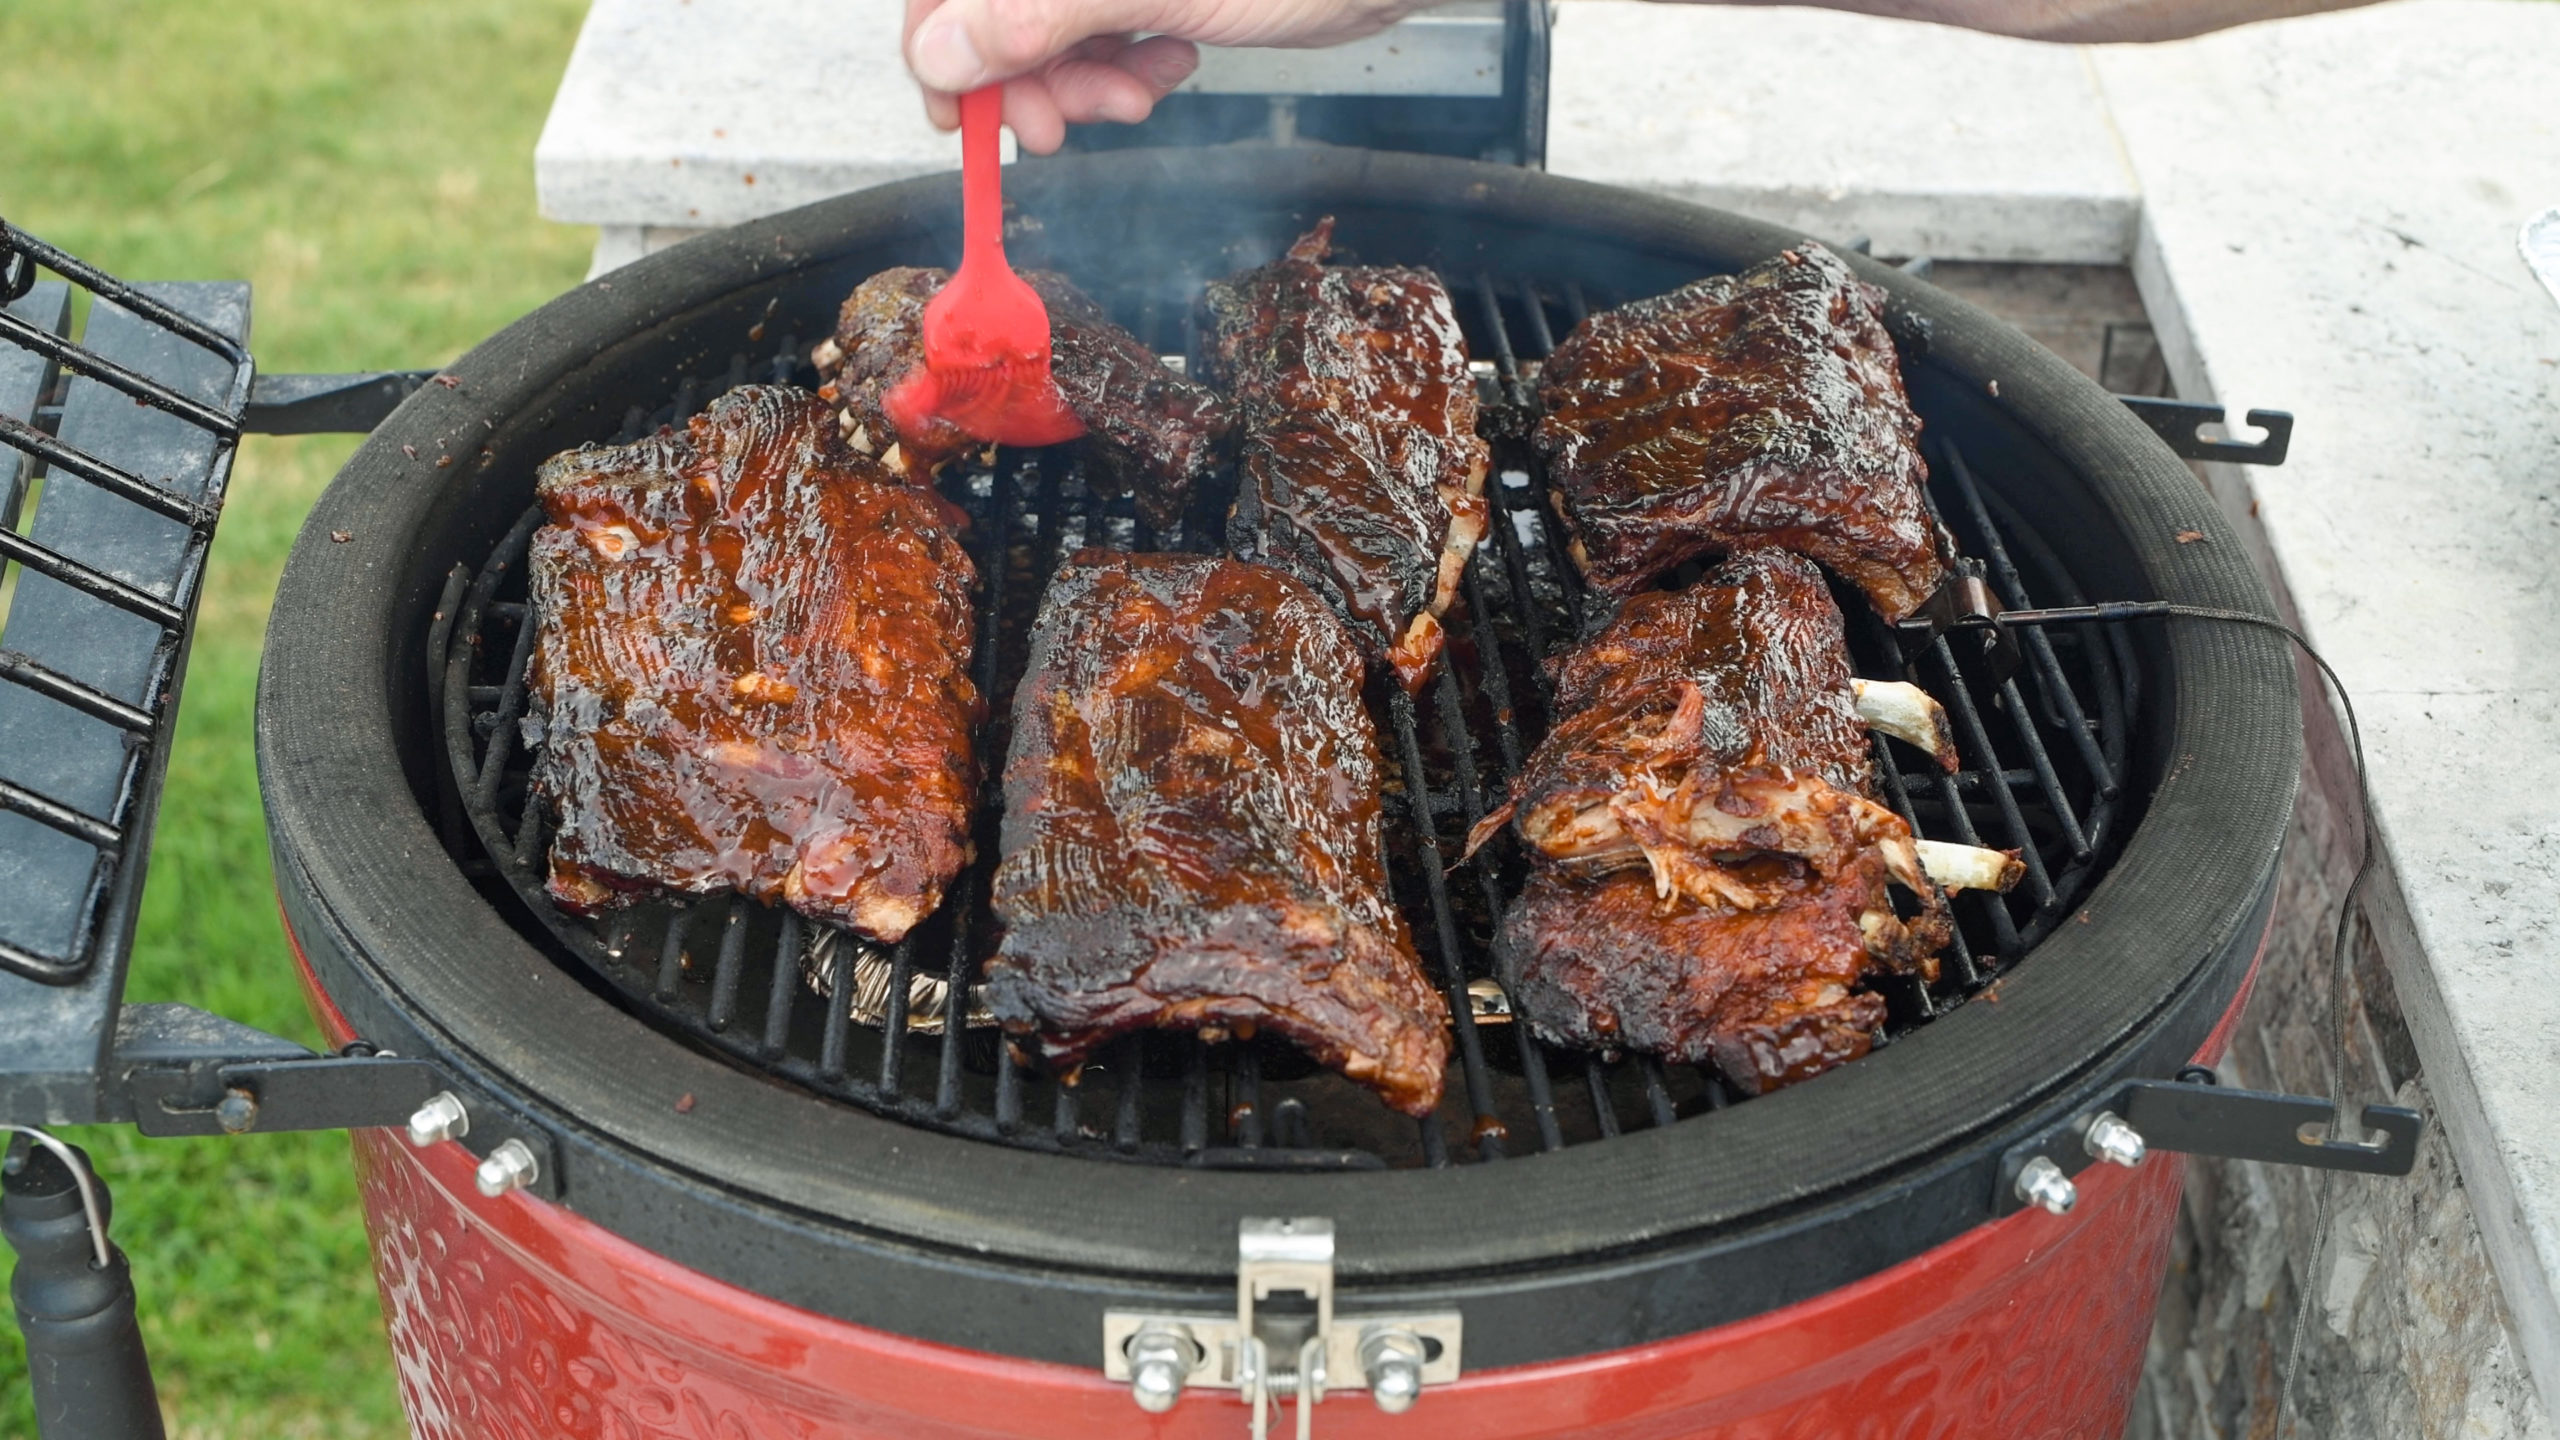
Now that the stall is over, the internal temperature of the brisket will once again steadily climb. This is the second stage of cooking a brisket and it is where the connective tissue breaks down, resulting in tender meat. It’s also the stage where a lot of the fat will finally be rendered. Continue to cook the brisket until the internal temperature reaches 203°F. This could easily take another 2 – 4 hours or more, depending on the size of the brisket.
Some brisket enthusiasts like to increase the temperature of the smoker at this point to 275°F. The theory is that a wrapped brisket is less affected by direct heat so the temperature can go up a bit resulting in a shorter cooking time. I have tried it and I am not a fan. The brisket needs to come out at 203°F and if the temperature inside the smoker is higher, it's easier to overshoot 203°F. I prefer to not risk having a dry brisket. I like to leave the temperature where it is and open a beer instead.
Testing When the Brisket is Done
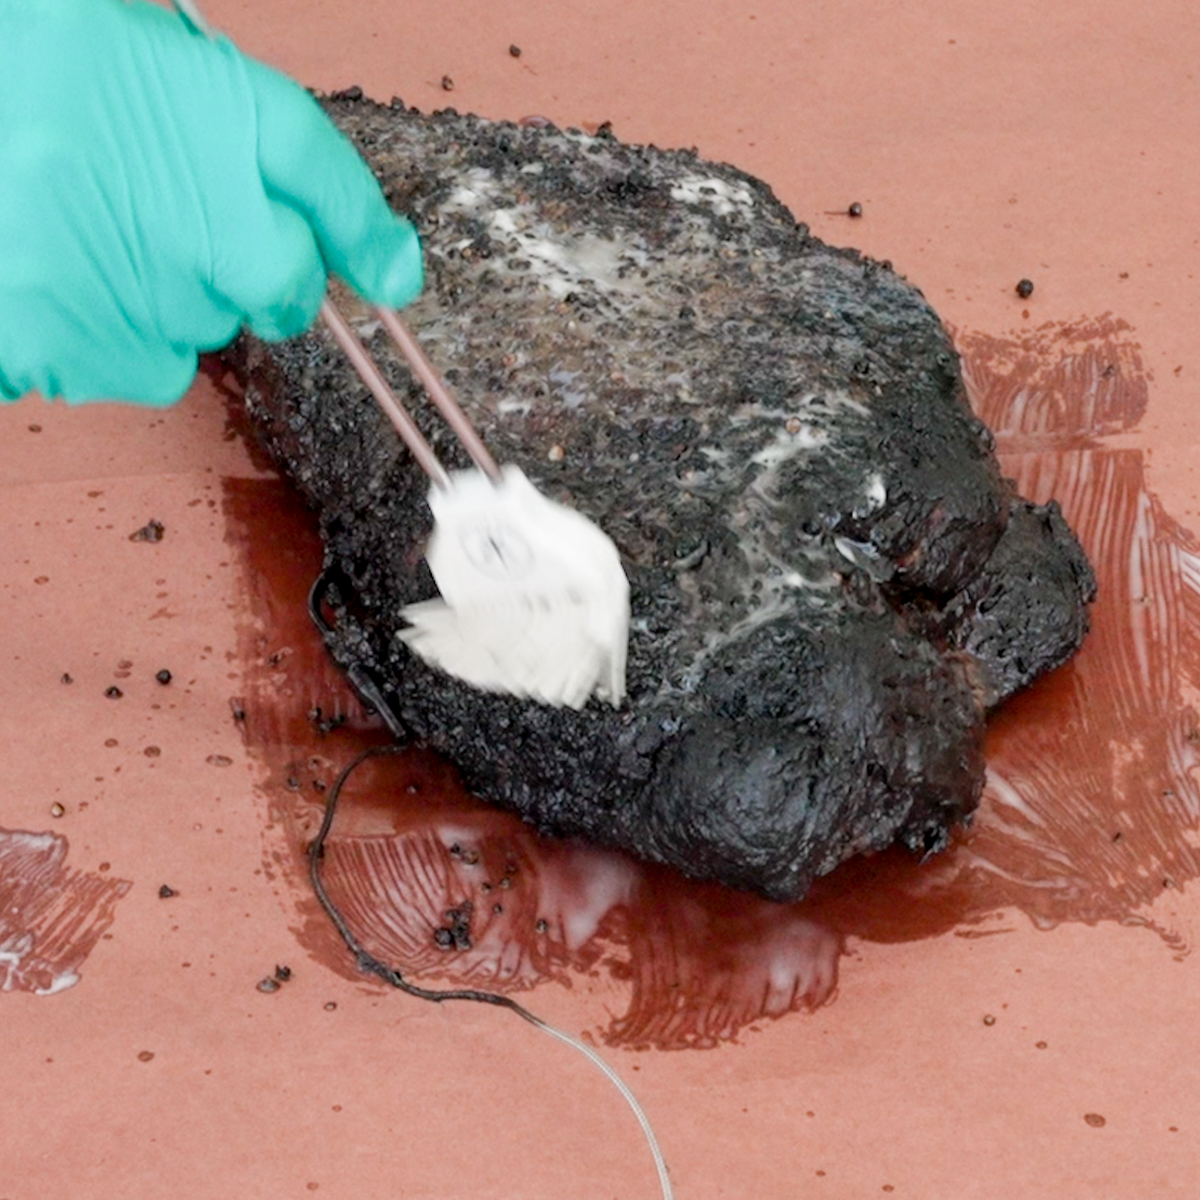
There will be no visual clues that your brisket is done. The surface of the meat will have a nice dark crust no matter what the internal temperature is. Assuming that the brisket has been cooked using the slow cooking method outlined above (at 225°F) the internal temperature for a properly cooked brisket will be 203°F.
For accomplished pit masters, like Aaron Franklin and Steve Raichlen, internal temperature is just one indicator that a brisket is done. While they will target a temperature range of about 200°F up to 208°F, they will also unwrap the brisket and employ a variety of novel tests including the bend test, the probe test and the jiggle test to ensure a juicy brisket. Aaron Franklin judges doneness by feel. He wants to see the fibers pull apart easily. He also looks for a brisket to be “pliable” and “jiggly” in his hands. I have tried it and can't tell jiggly from pliable, bendy, supple or malleable. Maybe I will get it when I have cooked another 1,000 briskets.
I consistently get the best results by employing a long cooking time at a low temperature and target a final internal temperature of 203°F. That is the best internal temperature for brisket. Unless you are an experienced pit master, the internal temperature is the best way ensure a perfect brisket.
See my post on Check out my other BBQ posts on and How to Smoke a Brisket on a Charcoal Grill and How Long to Cook a 15 Pound Brisket for Best Results.
Let the Brisket Rest
Once your brisket has reached the ideal temperature, it doesn’t mean it’s ready to eat. It must rest first. Slice the brisket now and all of the juice will run out and you will have a perfectly cooked and incredibly dry brisket. The brisket below was sliced after resting for only 10 minutes. Look at how dried out it is.
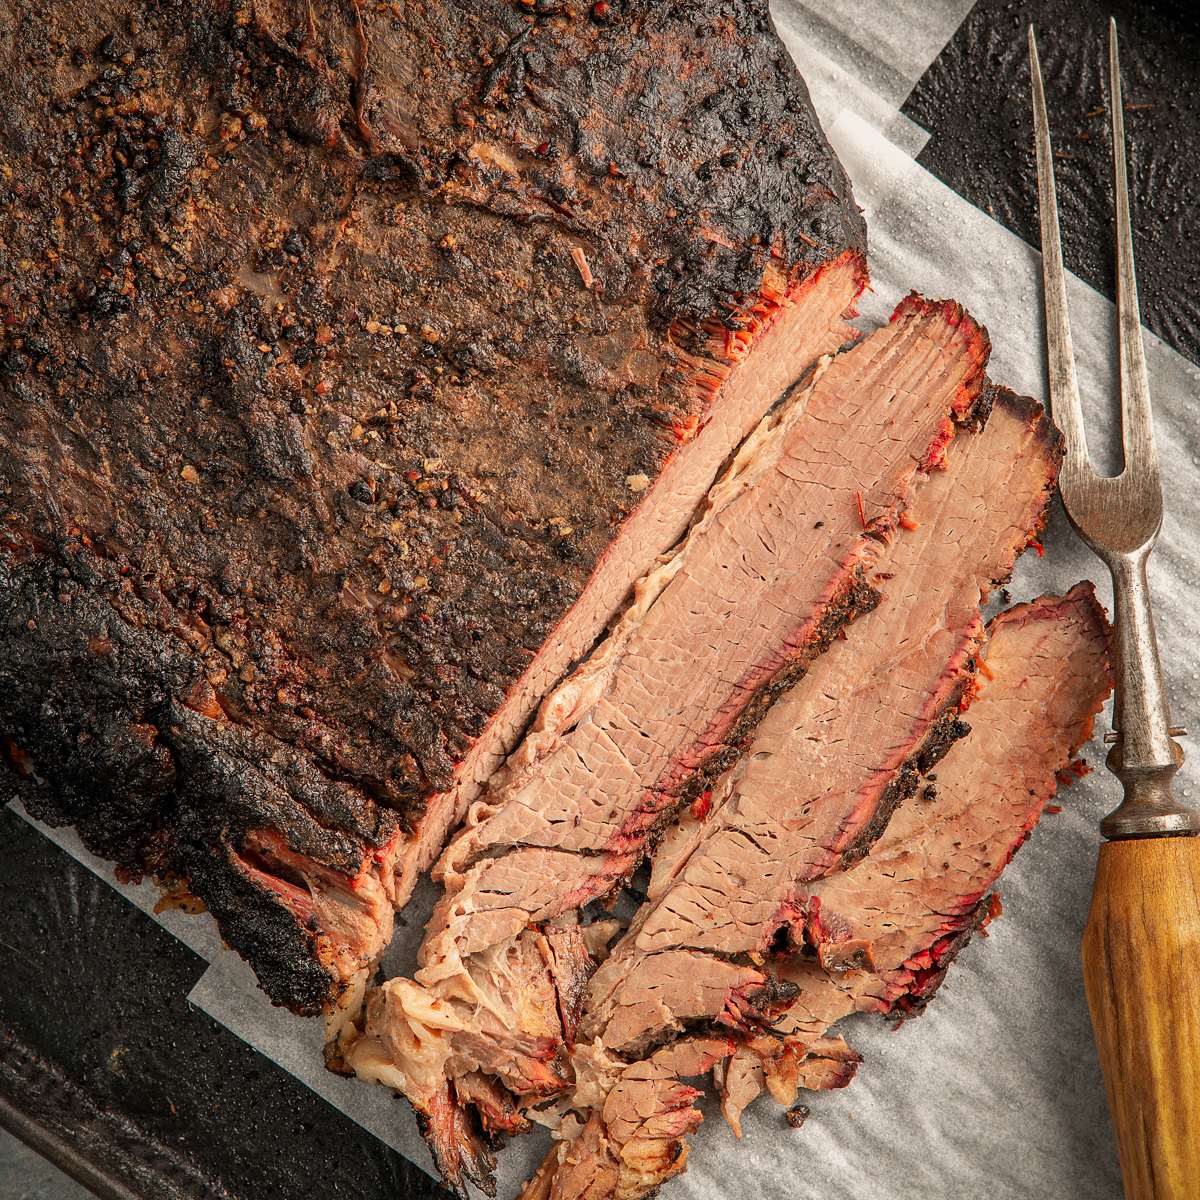
For a juicy brisket, let the brisket rest for awhile. I wrap my brisket in plastic wrap first then a few bath towels before placing it inside a small insulated cooler for an hour or two. This allows the muscle fibers to relax and keeps the juice in the meat where it belongs.
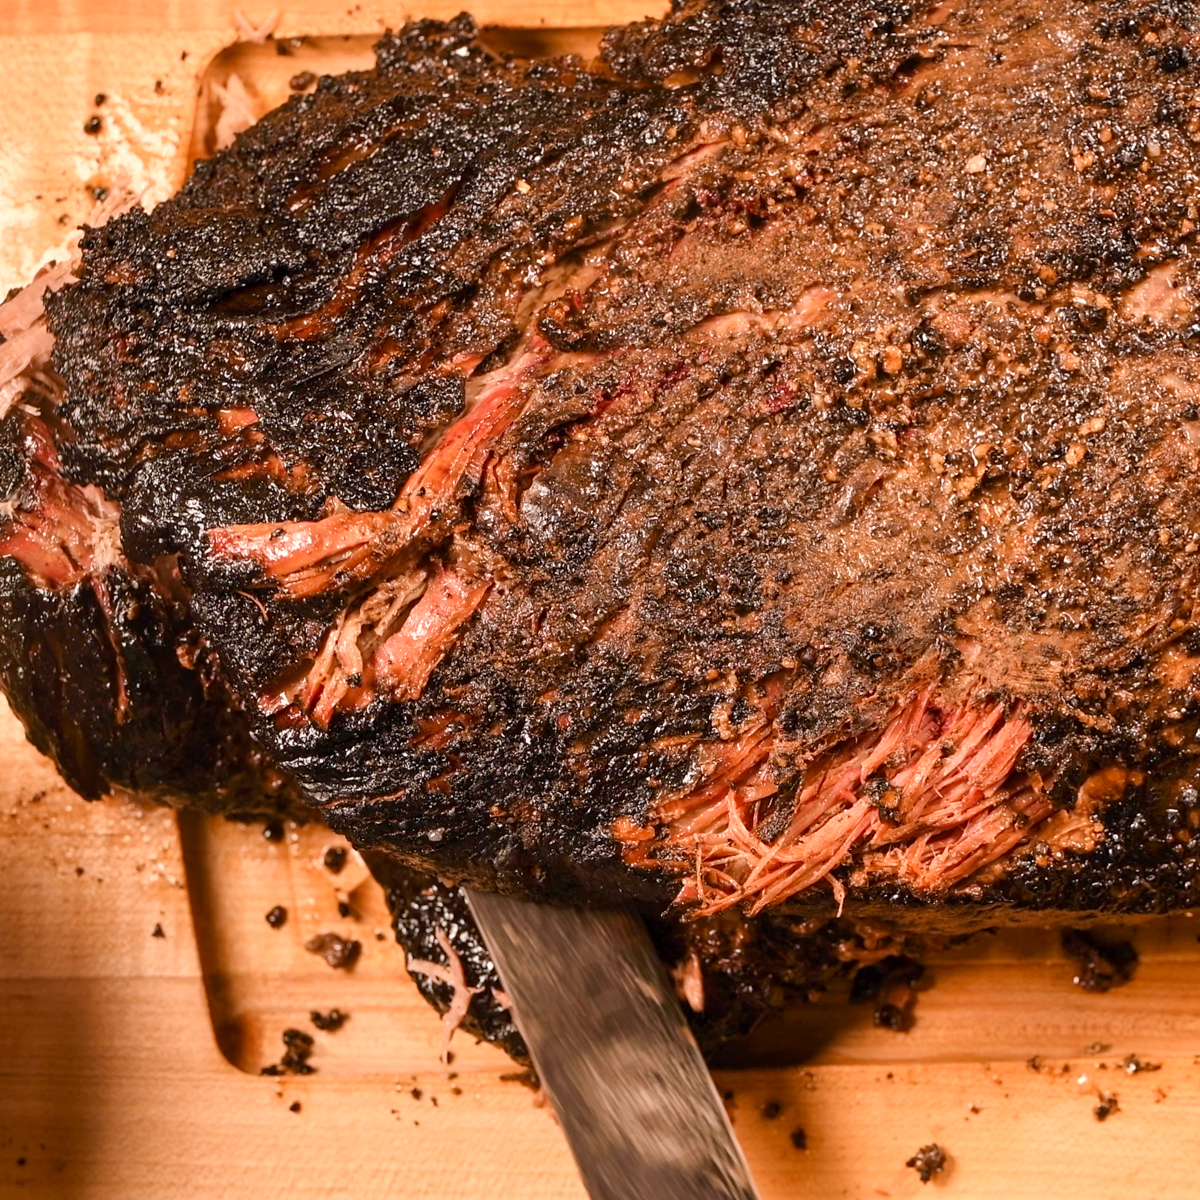
Carving
When it comes time, cut the brisket across the grain. Watch my video on Smoked Beef Brisket and Burnt Ends for tips on how to make cutting across the grain easier.
I prefer to first separate the point from the flat and use the point for burnt ends. Take a look at my recipe for Smoked Brisket and Burnt Ends for more information. However, you may prefer to leave the point intact and carve both fatty and lean brisket. In either case, start carving at the tip of the flat section and use a carving knife with a gentle back and forth slicing motion. Cut across the grain making ¼ inch thick slices. If the point has been removed, continue slicing the flat using this process.
If you have left the point intact, you will encounter the deckle (the layer of fat between the point and the flat) about halfway through the carving process. When you see this, turn the brisket 90 degrees and carve the point muscle.
If you are going to invest the time and money into making the perfect smoked brisket, then you should also consider making your own BBQ sauce. It's easy to make and taste great. Take a look at my Bourbon Barbecue Sauce recipe for inspiration.
Top Tips
- Invest in a remote thermometer
- Cook low and slow at 225°F
- Wrap the brisket when it comes out of the stall
- Remove the brisket when it reaches 203°F, wrap it up and place it in a cooler for an hour or two
- Cut across the grain
Related
Looking for other recipes like this? Try these:

Leave a Reply