There's nothing quite like the juicy, flavorful taste of a brined and slow-roasted rotisserie chicken. Whether you're using a Kamado Joe, Big Green Egg or another grill with a rotisserie attachment, you can achieve restaurant-quality chicken at home, with crispy skin and tender, flavorful meat.
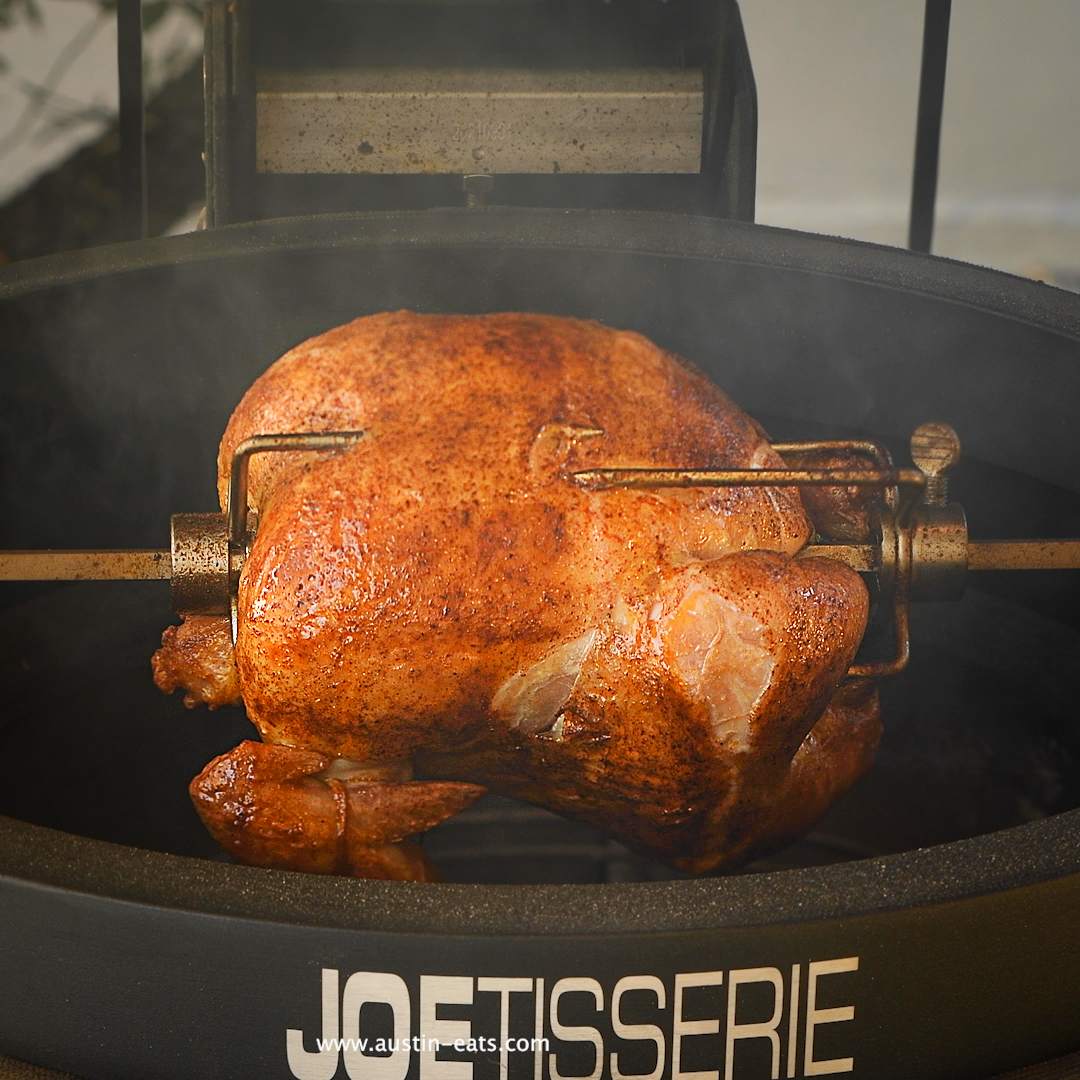
This recipe incorporates two special techniques for making a very tender and juicy roasted chicken. The first technique is brining. A wet brine is a solution of water, salt, sugar and spices. It tenderizes and changes the meat at a cellular level, allowing the cells to retain moisture. A chicken will actually weigh more after it is brined because it takes on additional moisture during the brining process. The second technique is cooking the chicken on a rotisserie. In this case, it was on a Kamado Joe setup for direct heat at 350°F over lump charcoal. The chicken will pick up plenty of smoky flavor from the charcoal, so wood chips are not needed. The result is a wonderful bird with crispy skin and juicy meat that everyone will love.
In this post, I will walk you through the entire process-from preparing a flavorful brine to trussing the bird and finally roasting it on the rotisserie spit. Get ready for the best rotisserie chicken you've ever tasted!
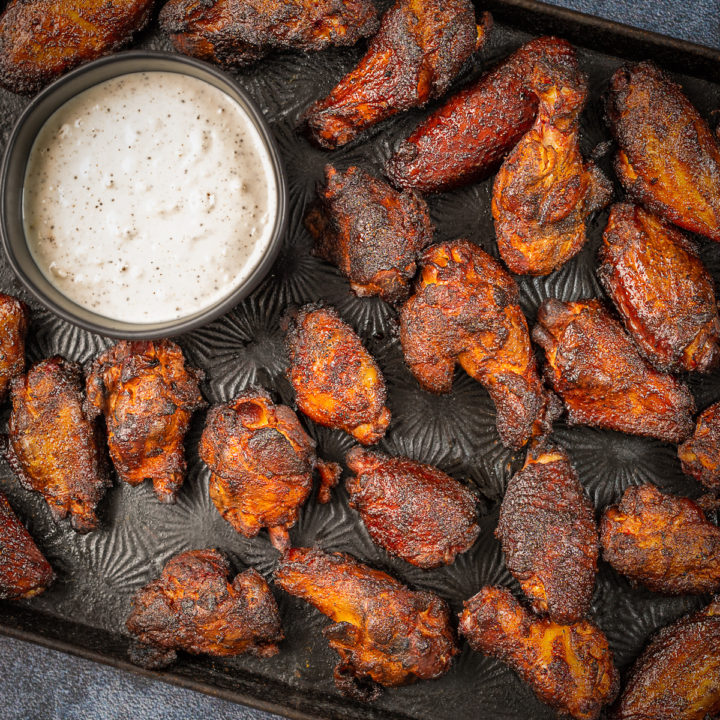
Try my other recipes for King Ranch Chicken Casserole: A Tex-Mex Comfort Classic, Brined and Smoked Chicken Wings - Texas Style and Chicken Pot Pie with Morel Mushrooms.
Ingredients
Brine Ingredients
- Kosher salt
- Brown sugar
- Yellow onion
- Whole peppercorns
- Fresh rosemary
- Bay leaves
- Garlic
- Vegetable stock
- Water
Rotisserie Chicken Ingredients
- Whole chicken
- Kosher salt
- Black pepper, freshly ground
- Ground paprika
See recipe card for quantities.
Instructions
Brine the Chicken
In a large pot, combine the vegetable stock, kosher salt, brown sugar, peppercorns, rosemary, bay leaves, and garlic. Bring the mixture to a boil, stirring until the sugar and salt dissolve. Turn off the heat and let it cool completely.
Once the brine cools, add the iced water to the pot. Remove the chicken from the packaging and discard the neck and gizzard. Rinse the chicken in cold water. Submerge the whole chicken, breast-side down, in the brine, ensuring that the cavity of the chicken is filled with the brine solution. Add additional cold water if there is not enough brine to cover the chicken. Cover the pot and refrigerate for 4 hours.
After brining, remove the raw chicken from the brine, rinse it under cold water and pat it dry with paper towels.
Prepare the Chicken
Using butcher's twine, truss the chicken by tying the legs together and tying the wings together behind the bird. This helps prevent the wings from burning during the cooking process.
Coat the entire chicken with olive oil. Then, sprinkle with kosher salt, freshly ground black pepper and paprika.
Setup your grill and rotisserie attachment. Slide the rotisserie rod down the center of the chicken. Carefully place the spit forks onto the rod. Slide them down until the tines are firmly inserted into the chicken to hold it in place. Tighten the thumb screws to secure the tines in place. Use a pair of pliers to gently tighten the thumb screws just past finger tight. Don't make it too tight or the screws can break off. If the screws are not tight, they can loosen during cooking. If that happens the tines back out of the bird and then the bird stops spinning. You will end up with a chicken that is raw on one side and burned on the other. Tighten the screws and check it periodically.
Roast the Chicken
Setup a Kamado Joe or Big Green Egg for direct heat at 350°F (the vent will be almost closed, open only about ¼"). Place the chicken into the rotisserie attachment directly over the hot coals, start the motor and close the lid. If you are using a rotisserie with a heating element to the rear, place a drip pan directly below the chicken to catch the fat drippings, which will make cleanup easier.
A 4-5 pound chicken will cook in about 1 hour and 10 minutes to 1 hour and 30 minutes. To check the internal temperature, insert an instant-read thermometer into the thickest part of the breast. Once your chicken reaches the 160°F, use heatproof gloves or hot pads to carefully remove it from the grill and place it on a cutting board with a juice trough. Tent the chicken with aluminum foil and let it rest for about 10 minutes. This will allow the juices to redistribute throughout the meat, giving you moist, tender and flavorful chicken.
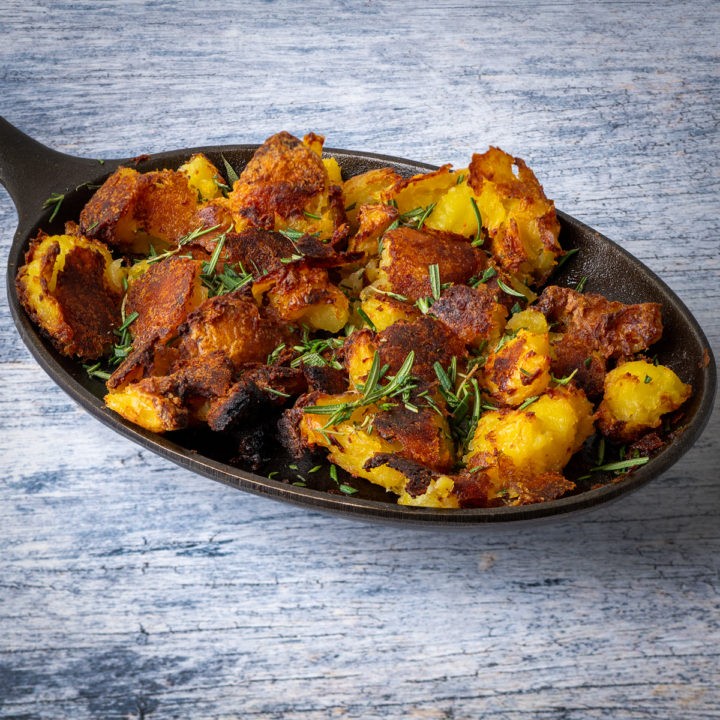
After the chicken has rested, remove the rotisserie spit and rotisserie forks, then carve the chicken into pieces. Serve it with sides like grilled vegetables and garlic mashed potatoes. Use the leftovers for delicious meals like chicken Caesar salad or homemade chicken enchiladas.
Equipment
A rotisserie produces a moist and tender chicken because it basically makes the bird self basting.
Storage
Store leftover rotisserie chicken in an airtight container in the refrigerator for up to 3 days.
Top Tip
Don't skip the brine-this is the secret to incredibly moist and flavorful rotisserie chicken.
Final Thoughts
Cooking a whole rotisserie chicken on a Kamado Joe or Big Green Egg is a great way to achieve restaurant-quality results at home. The rotisserie cooking method creates a moist, tender, and flavorful chicken with crispy skin. The next time you fire up your charcoal grill, try this rotisserie chicken recipe and enjoy the satisfaction of making the best roasted chicken right in your backyard.
Related
Looking for other recipes like this? Try these:


Pairing
These are my favorite dishes to serve with this recipe.
📖 Recipe
Perfect Rotisserie Chicken on a Kamado Joe Recipe
Ingredients
Equipment
Method
- In a large pot, combine the vegetable stock, kosher salt, brown sugar, peppercorns, rosemary, bay leaves, and garlic. Bring the mixture to a boil, stirring until the sugar and salt dissolve. Turn off the heat and let it cool completely.
- Once the brine cools, add the iced water to the pot. Remove the chicken from the packaging and discard the neck and gizzard. Rinse the chicken in cold water. Submerge the whole chicken, breast-side down, in the brine, ensuring that the cavity of the chicken is filled with the brine solution. Add additional cold water if there is not enough brine to cover the chicken. Cover the pot and refrigerate for 4 hours.
- After brining, remove the raw chicken from the brine, rinse it under cold water and pat it dry with paper towels.
- Using butcher's twine, truss the chicken by tying the legs together and tying the wings together behind the bird. This helps prevent the wings from burning during the cooking process.
- Coat the entire chicken with olive oil. Then, sprinkle with kosher salt, freshly ground black pepper and paprika.
- Setup your grill and rotisserie attachment. Slide the rotisserie rod down the center of the chicken. Carefully place the spit forks onto the rod. Slide them down until the tines are firmly inserted into the chicken to hold it in place. Tighten the thumb screws to secure the tines in place. Use a pair of pliers to gently tighten the thumb screws just past finger tight. Don't make it too tight or the screw can break off.
- Setup a Kamado Joe or Big Green Egg for direct heat at 350°F (the vent will be almost closed, open only about ¼"). Place the chicken into the rotisserie attachment directly over the hot coals, start the motor and close the lid. If you are using a rotisserie with a heating element to the rear, place a drip pan directly below the chicken to catch the fat drippings, which will make cleanup easier.
- A 4-5 pound chicken will cook in about 1 hour and 10 minutes to 1 hour and 30 minutes. To check the internal temperature, insert an instant-read thermometer into the thickest part of the breast. Once your chicken reaches the 160°F, use heatproof gloves or hot pads to carefully remove it from the grill and place it on a cutting board with a juice trough. Tent the chicken with aluminum foil and let it rest for about 10 minutes. This will allow the juices to redistribute throughout the meat, giving you moist, tender and flavorful chicken.
- After the chicken has rested, remove the rotisserie spit and rotisserie forks, then carve the chicken into pieces. Serve it with sides like grilled vegetables and garlic mashed potatoes. Use the leftovers for delicious meals like chicken Caesar salad or homemade chicken enchiladas.

Leave a Reply