Barbecue enthusiasts know that maintaining a steady temperature over a long time is essential for low and slow barbecue cooking. It's the key for achieving perfectly cooked brisket, ribs and pork shoulder.
I live in Austin, Texas. BBQ is big here and I like to smoke meat, frequently. Brisket, pork shoulder, beef ribs, pork ribs, tri-tip, beef tenderloin, turkey and chicken are commonly found in my smoker. That means I do a lot of low and slow cooking.
When I first started smoking meat, I struggled trying to maintain a steady low temperature inside my smoker. I was always out there fiddling with the vents and I have ruined a few dinners because of a flare-up. There is nothing more frustrating than having to relight your smoker at 2:00 AM in the middle of an overnight cook because the fire went out. I have done it more than once. That began my quest to find an automatic temperature control device to monitor and control the temperature inside my smoker.
Using a BBQ temperature controller will absolutely make low and slow cooking easier by maintaining a constant temperature inside the grill and monitoring the internal temperature of the meat. That means no more flare-ups, overdone meat or sudden drops in temperature.
The best BBQ temperature controllers are the FireBoard 2, the Flame Boss 500, the BBQ Guru DigiQ DX, the ThermoWorks Signals, and the SmartFire Controller. In this guide, we'll explore the features of the FireBoard 2 Drive, discuss its pros and cons and provide tips to get the most out of this device.
Jump to:
- Grill vs. Barbecue vs. Smoker
- The Challenges of Cooking Low and Slow
- How Does a Temperature Controller Work
- Why the FireBoard 2 Drive?
- FireBoard Models
- The Temperature Controller
- The Fan
- The Probes
- The App
- How I Use the FireBoard 2 Drive
- Technical Issues
- Setting the Vents
- Temperature Controller Features
- Top Tips
- Final Thoughts
- FAQ
- Related
Grill vs. Barbecue vs. Smoker
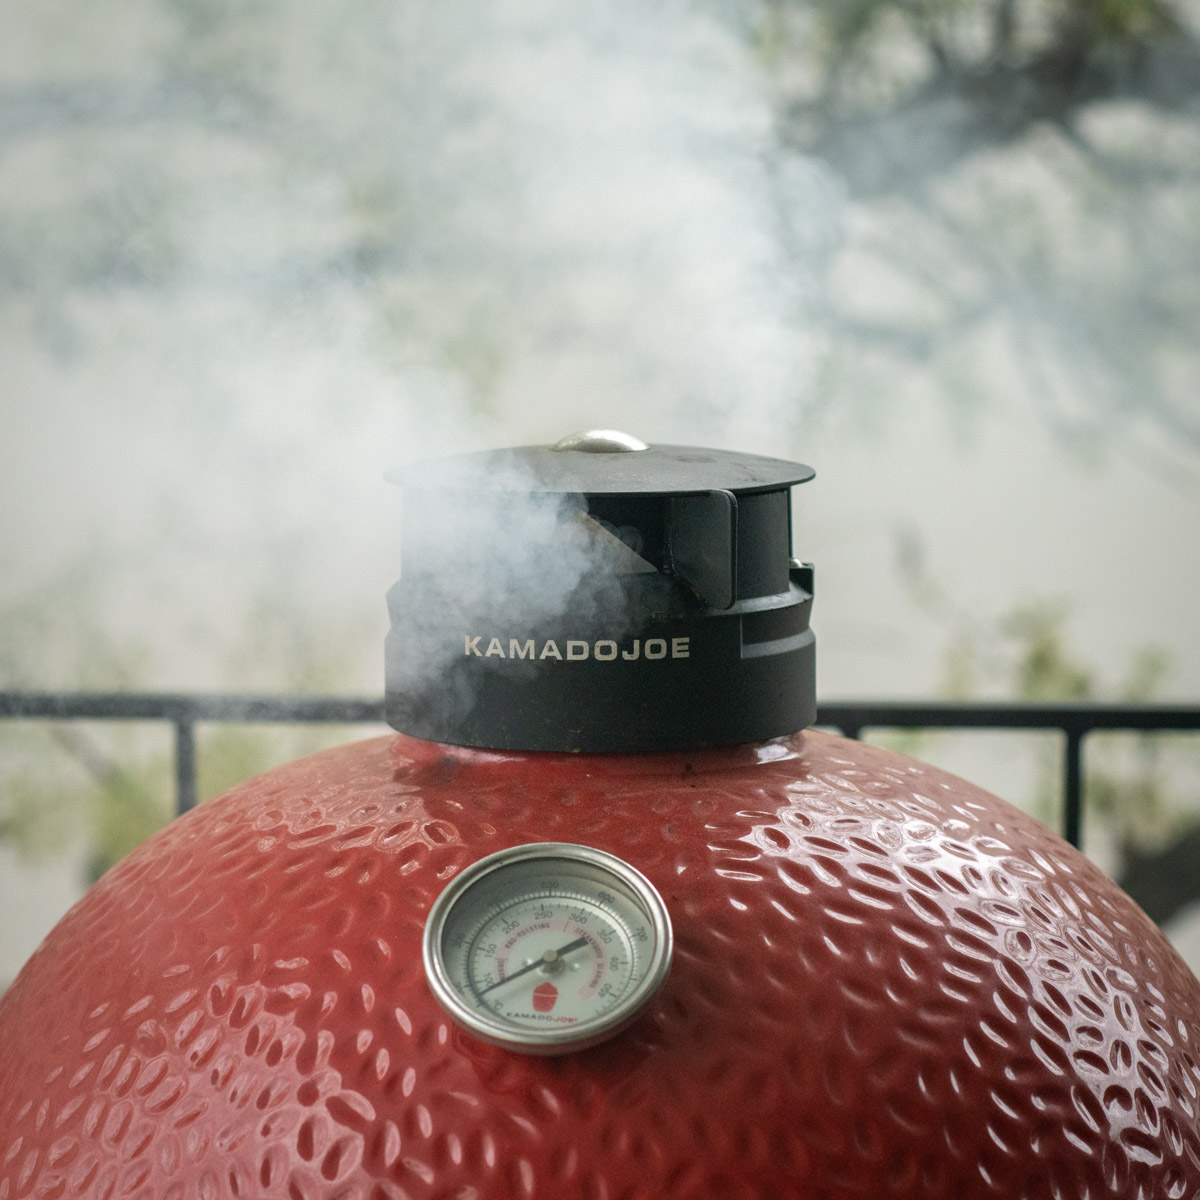
I have owned and used a Big Green Egg, a Weber Smokey Mountain smoker, a Yoder Cheyenne offset smoker and now a Kamado Joe Classic. In this post, I use the words grill, barbecue and smoker interchangeably. I think of a Kamado Joe as a grill when I'm searing a steak, a barbecue when I'm cooking burgers and a smoker when I'm making a brisket. They all mean the same thing in this post.
The Challenges of Cooking Low and Slow
Manually controlling a constant temperature for low and slow cooking is difficult to do. It requires constant adjustment of the air vents to increase or decrease the flow of air and it's not easy to do manually. Tiny air vent adjustments can cause wild fluctuations in temperature inside the smoker. Too much air and the temperature will soar, too little and the fire goes out. To make matters worse, the built-in thermometers on most grills are never accurate.
How Does a Temperature Controller Work
A smoker temperature controller is a device designed to regulate the temperature of your grill or smoker by managing the airflow while monitoring the food and ambient temperatures. It typically consists of a control unit, at least two temperature probes, a fan and often a mobile app for remote monitoring.
A controller will monitor the temperature inside the smoker with a small ambient temperature probe, usually placed near the grate. The controller will watch the ambient temperature and compare it to the target cooking temperature, say 250°F. If the controller detects a drop in ambient temperature, it will turn on a small fan attached to the bottom vent in your smoker. That will increase the airflow inside the smoker and bring the temperature back up. When the ambient temperature gets back up near the target temperature, the controller will shut off the fan. This on/off cycle will continue until you run out of charcoal.
Beyond the basics, the various temperature controllers differ in their screen size, connectivity, remote control and the number of probes.
Why the FireBoard 2 Drive?
Personal experience is the answer. I have owned more than a few temperature control devices. I've got a bucket of them in my garage. I kept buying different ones because none of them worked like I thought they should. My first controller was not very accurate and struggled to maintain a constant temperature. I would often see temperature swings of +/- 20°F. Another device lacked a smartphone interface so I was constantly going in and out to see what was happening inside my smoker. A third device had probes that were just not very good and would frequently fail in the middle of cooking cycle. One by one, they all found their way to the bucket.
A few years ago, I tried the original FireBoard with my Kamado Joe and it was a game changer. It just worked. The probes were high quality and provided precise temperature control really well. I was so excited that I made a brisket overnight. Success! A year later I upgraded to the FireBoard 2 Drive because I wanted a bigger screen.
Reliability is my #1 criteria with a grill temperature controller. I have been using a FireBoard for over 5 years and have never had one fail. I can't say that about some of the other units that I've owned.
FireBoard Models
FireBoard currently offers three different temperature control models. The FireBoard 2 is a base model that supports six probes but requires a drive fan cable to allow it to communicate with the fan and drive the fan speed. The FireBoard 2 Drive also supports 6 standard probes and has a special port to drive the fan without an additional cable. Finally, the FireBoard 2 Pro has 3 ports that use professional Type K thermocouples that can handle higher temperatures and has a special port to drive the fan.
I own the FireBoard 2 Drive. I did not buy the base model because it needs a second power supply to power the fan, much like the original FireBoard, and I didn't need more wires to get in the way. For me, it made sense to get the FireBoard 2 Drive because it can power an external fan without a second cable or power supply. The FireBoard 2 Pro was not out when I upgraded to the FireBoard 2 Drive, but I don't think I would have picked that model largely because I am not a fan of Type K connectors. I have an old ThermoWorks thermometer with Type K connectors. The connectors lacked any sort of positive retention (i.e., no click). Any movement of the wire and the connector would slip out of the thermometer.
The Temperature Controller
The FireBoard 2 Drive is slightly larger than a deck of cards. It has a large screen that is easy to read and intuitive buttons on the side. It is weather resistant which means it can handle a rain shower. When I use it in the rain, I will place a plastic bowl upside down over the controller to protect it in case the rain shower turns into a washout. I live in Texas. It can come down in buckets here.

The Fan
The 20 CFM variable-speed fan installs in the bottom vent of my Kamado Joe and plugs into the FireBoard. The variable-speed feature is nice. The FireBoard will provide as much or as little power as needed depending on the ambient temperature inside the smoker.
I had another temperature controller that had a fan that was either on 100% or off. That was the unit that struggled to maintain a constant temperature.
The Probes
The FireBoard 2 Drive utilizes two different types of probes. A small ambient temperature probe attaches to the grill with a clip and connects to port #1. Slightly larger meat probes connect to ports #2 - #6. Both probes use a 2.5mm audio plug that positively "clicks" into the FireBoard and stays put.
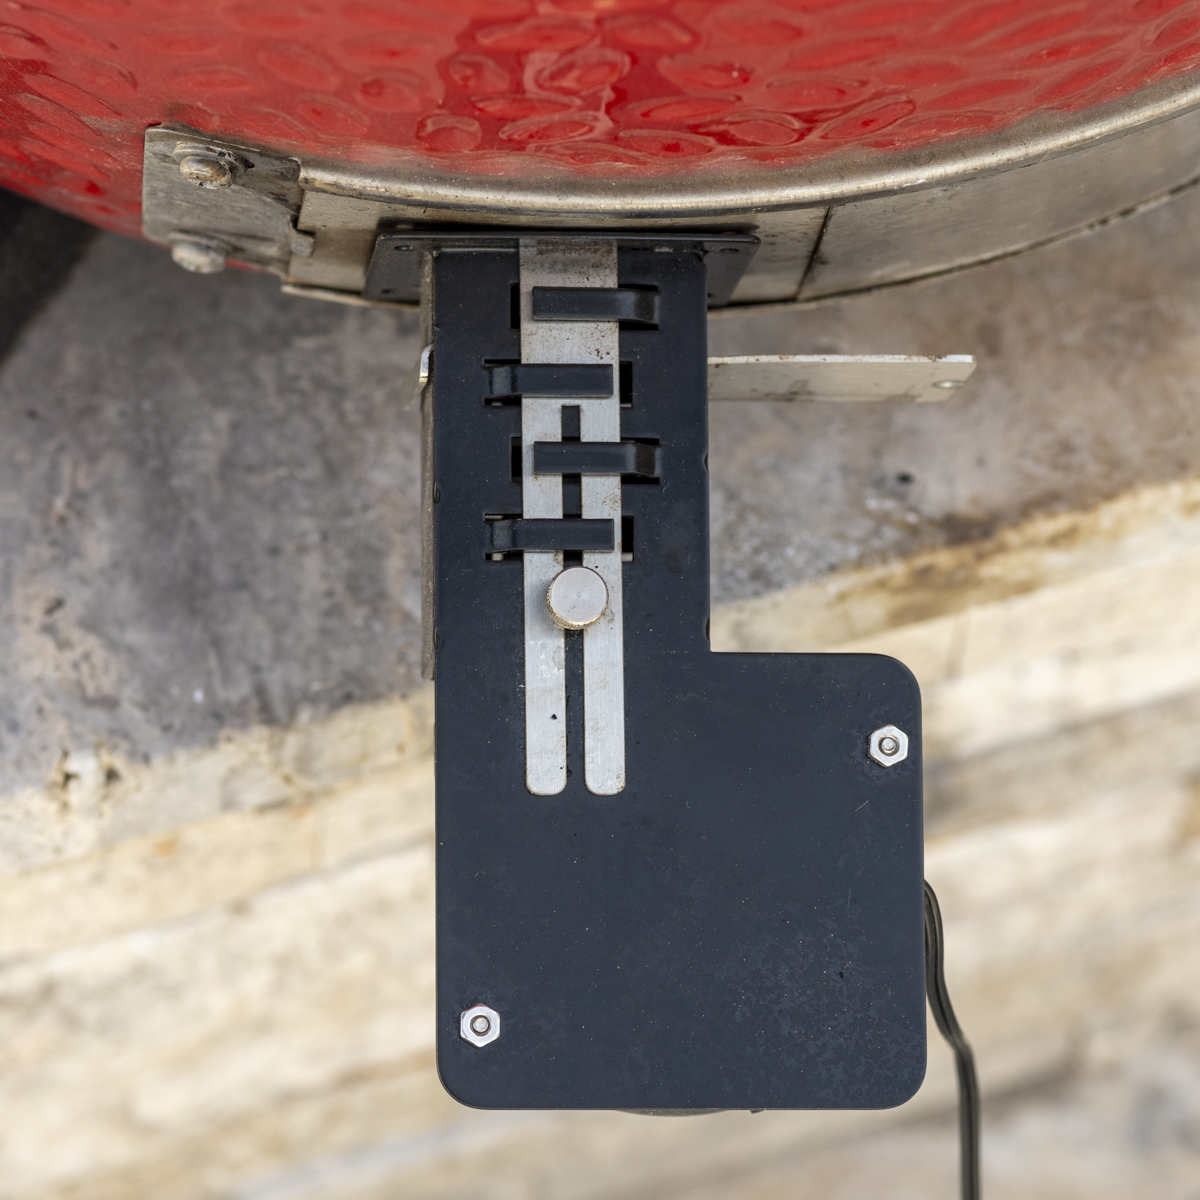
The FireBoard 2 Drive fan attaches to the bottom vent of a Kamado Joe or Big Green Egg.
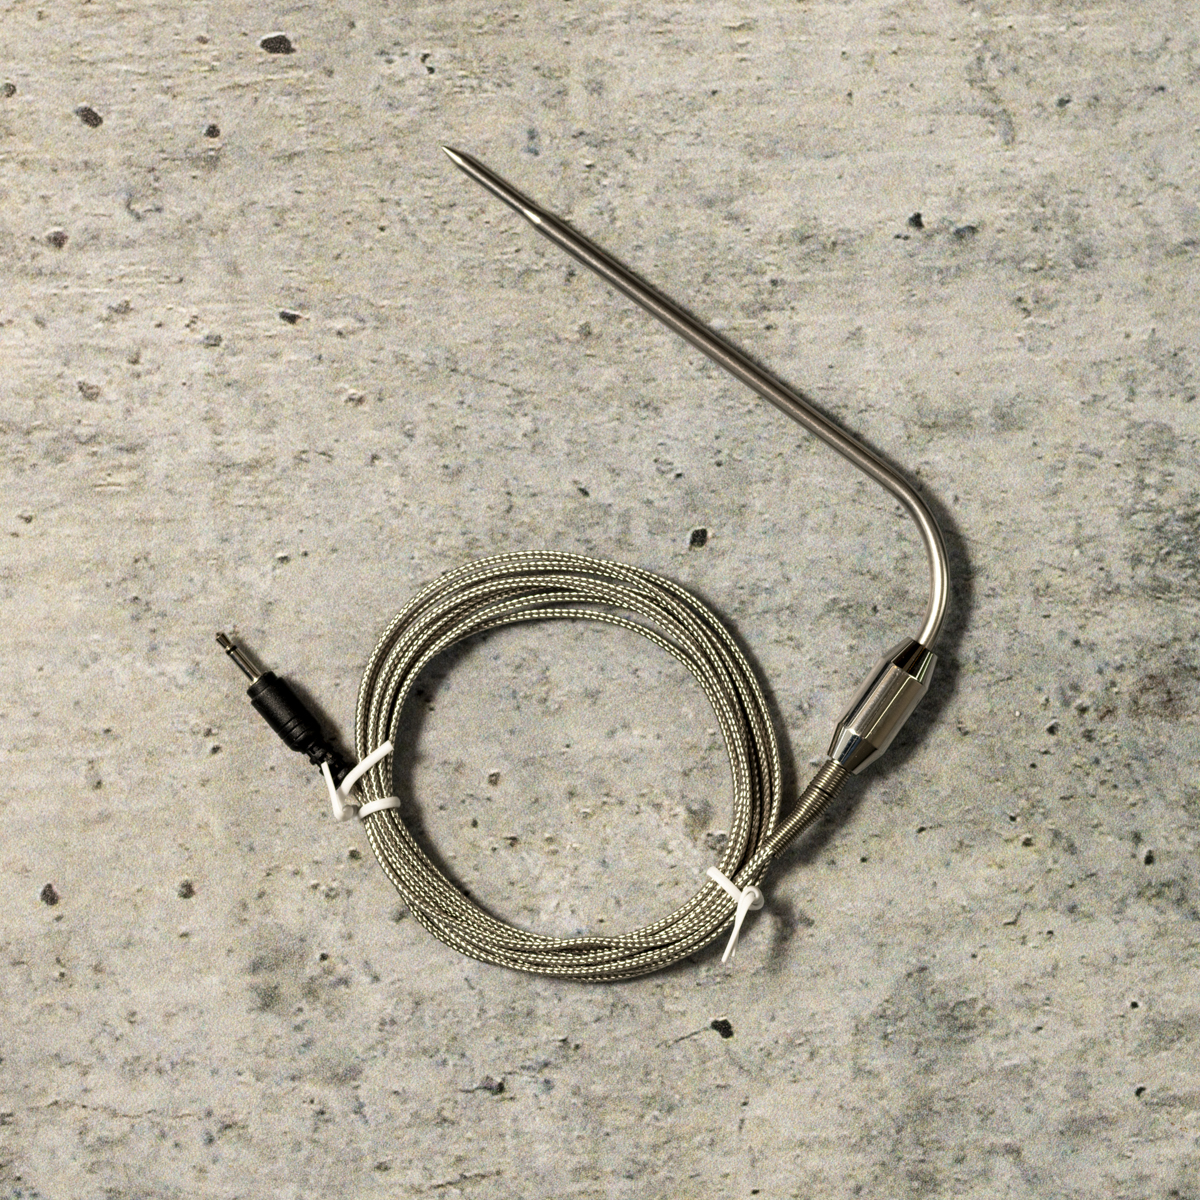
The meat probe can handle temperatures up to about 550°F,
The App
The thing that I really like about this device is the user interface. There's a simple, intuitive app that connects with the FireBoard. I have mine connected via Wi-Fi, but it can be used with Bluetooth. I chose Wi-Fi because I've got a good signal in my backyard and Bluetooth has some limits on its range.
In addition to being able to set target temperatures for the ambient temperature and the meat probes, the app allows you to set alarms. For example, I can set an ambient temperature alarm for +/- 10°F from my set temperature. If the fire goes out, it's going to set off an alarm and let me know. I can also set an alarm to alert me when my meat probe detects the target temperature that I set.
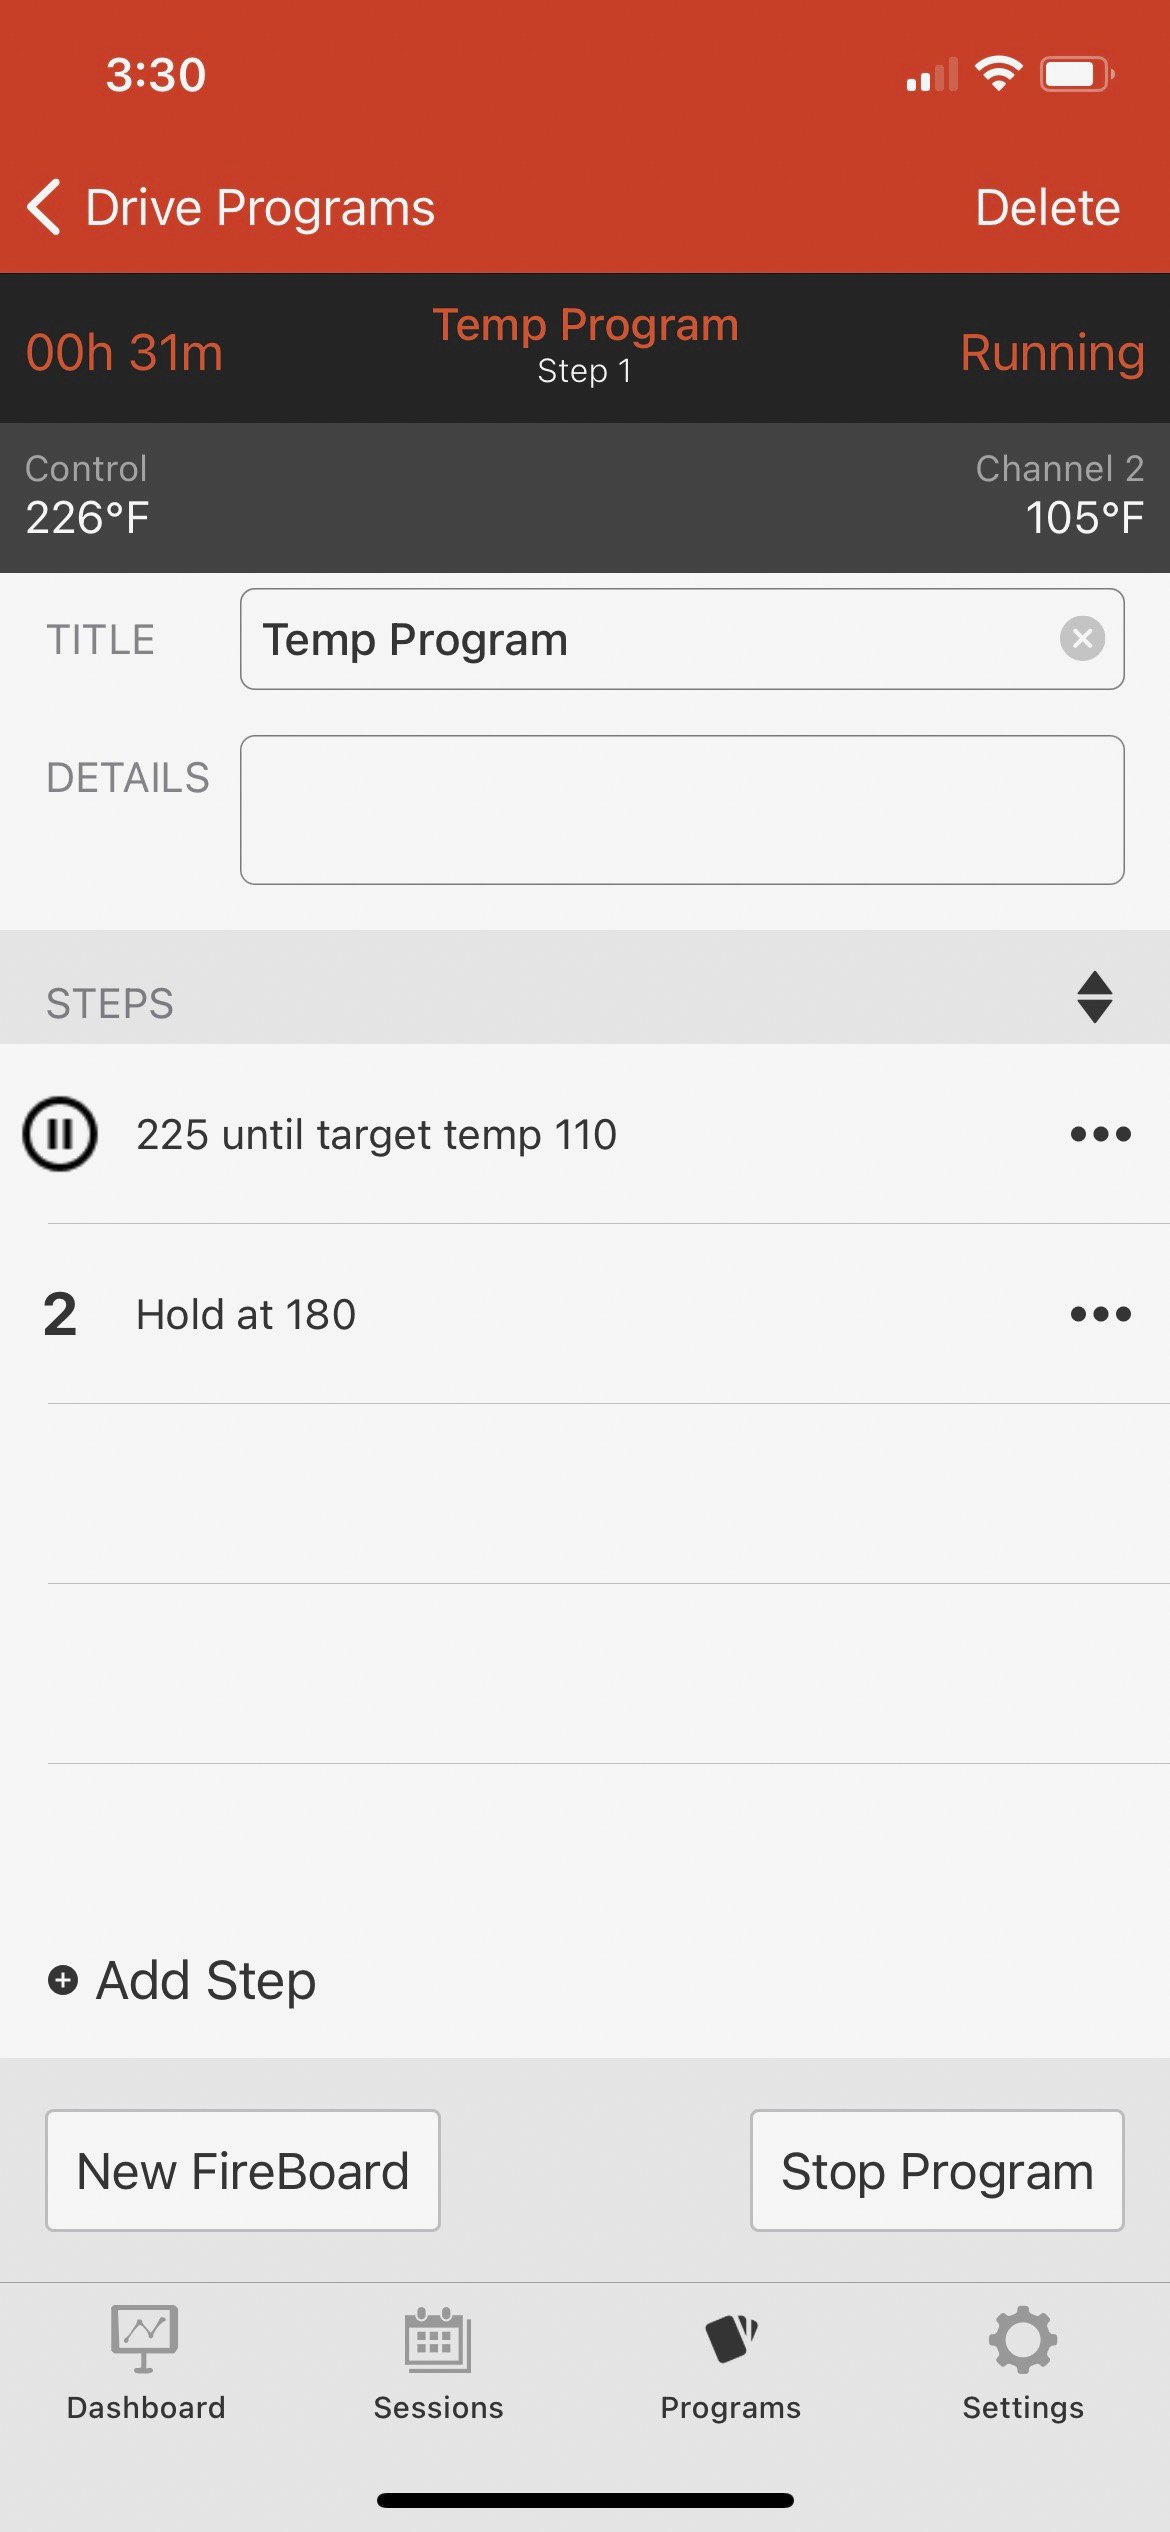
The FireBoard 2 Drive is programmed through the app.

The app shows what is happening inside the smoker. Channel 1 is the ambient temperature. Channel 2 is the meat temperature.
How I Use the FireBoard 2 Drive
I typically setup my FireBoard 2 Drive next to my Kamado Joe and plug it into an extension cord. While the FireBoard 2 Drive can run on an internal battery, external power is necessary to drive the fan at high speed, so I always plug it in. Besides, internal batteries can fail. If I have the device connected to power, it's one less thing to go wrong.
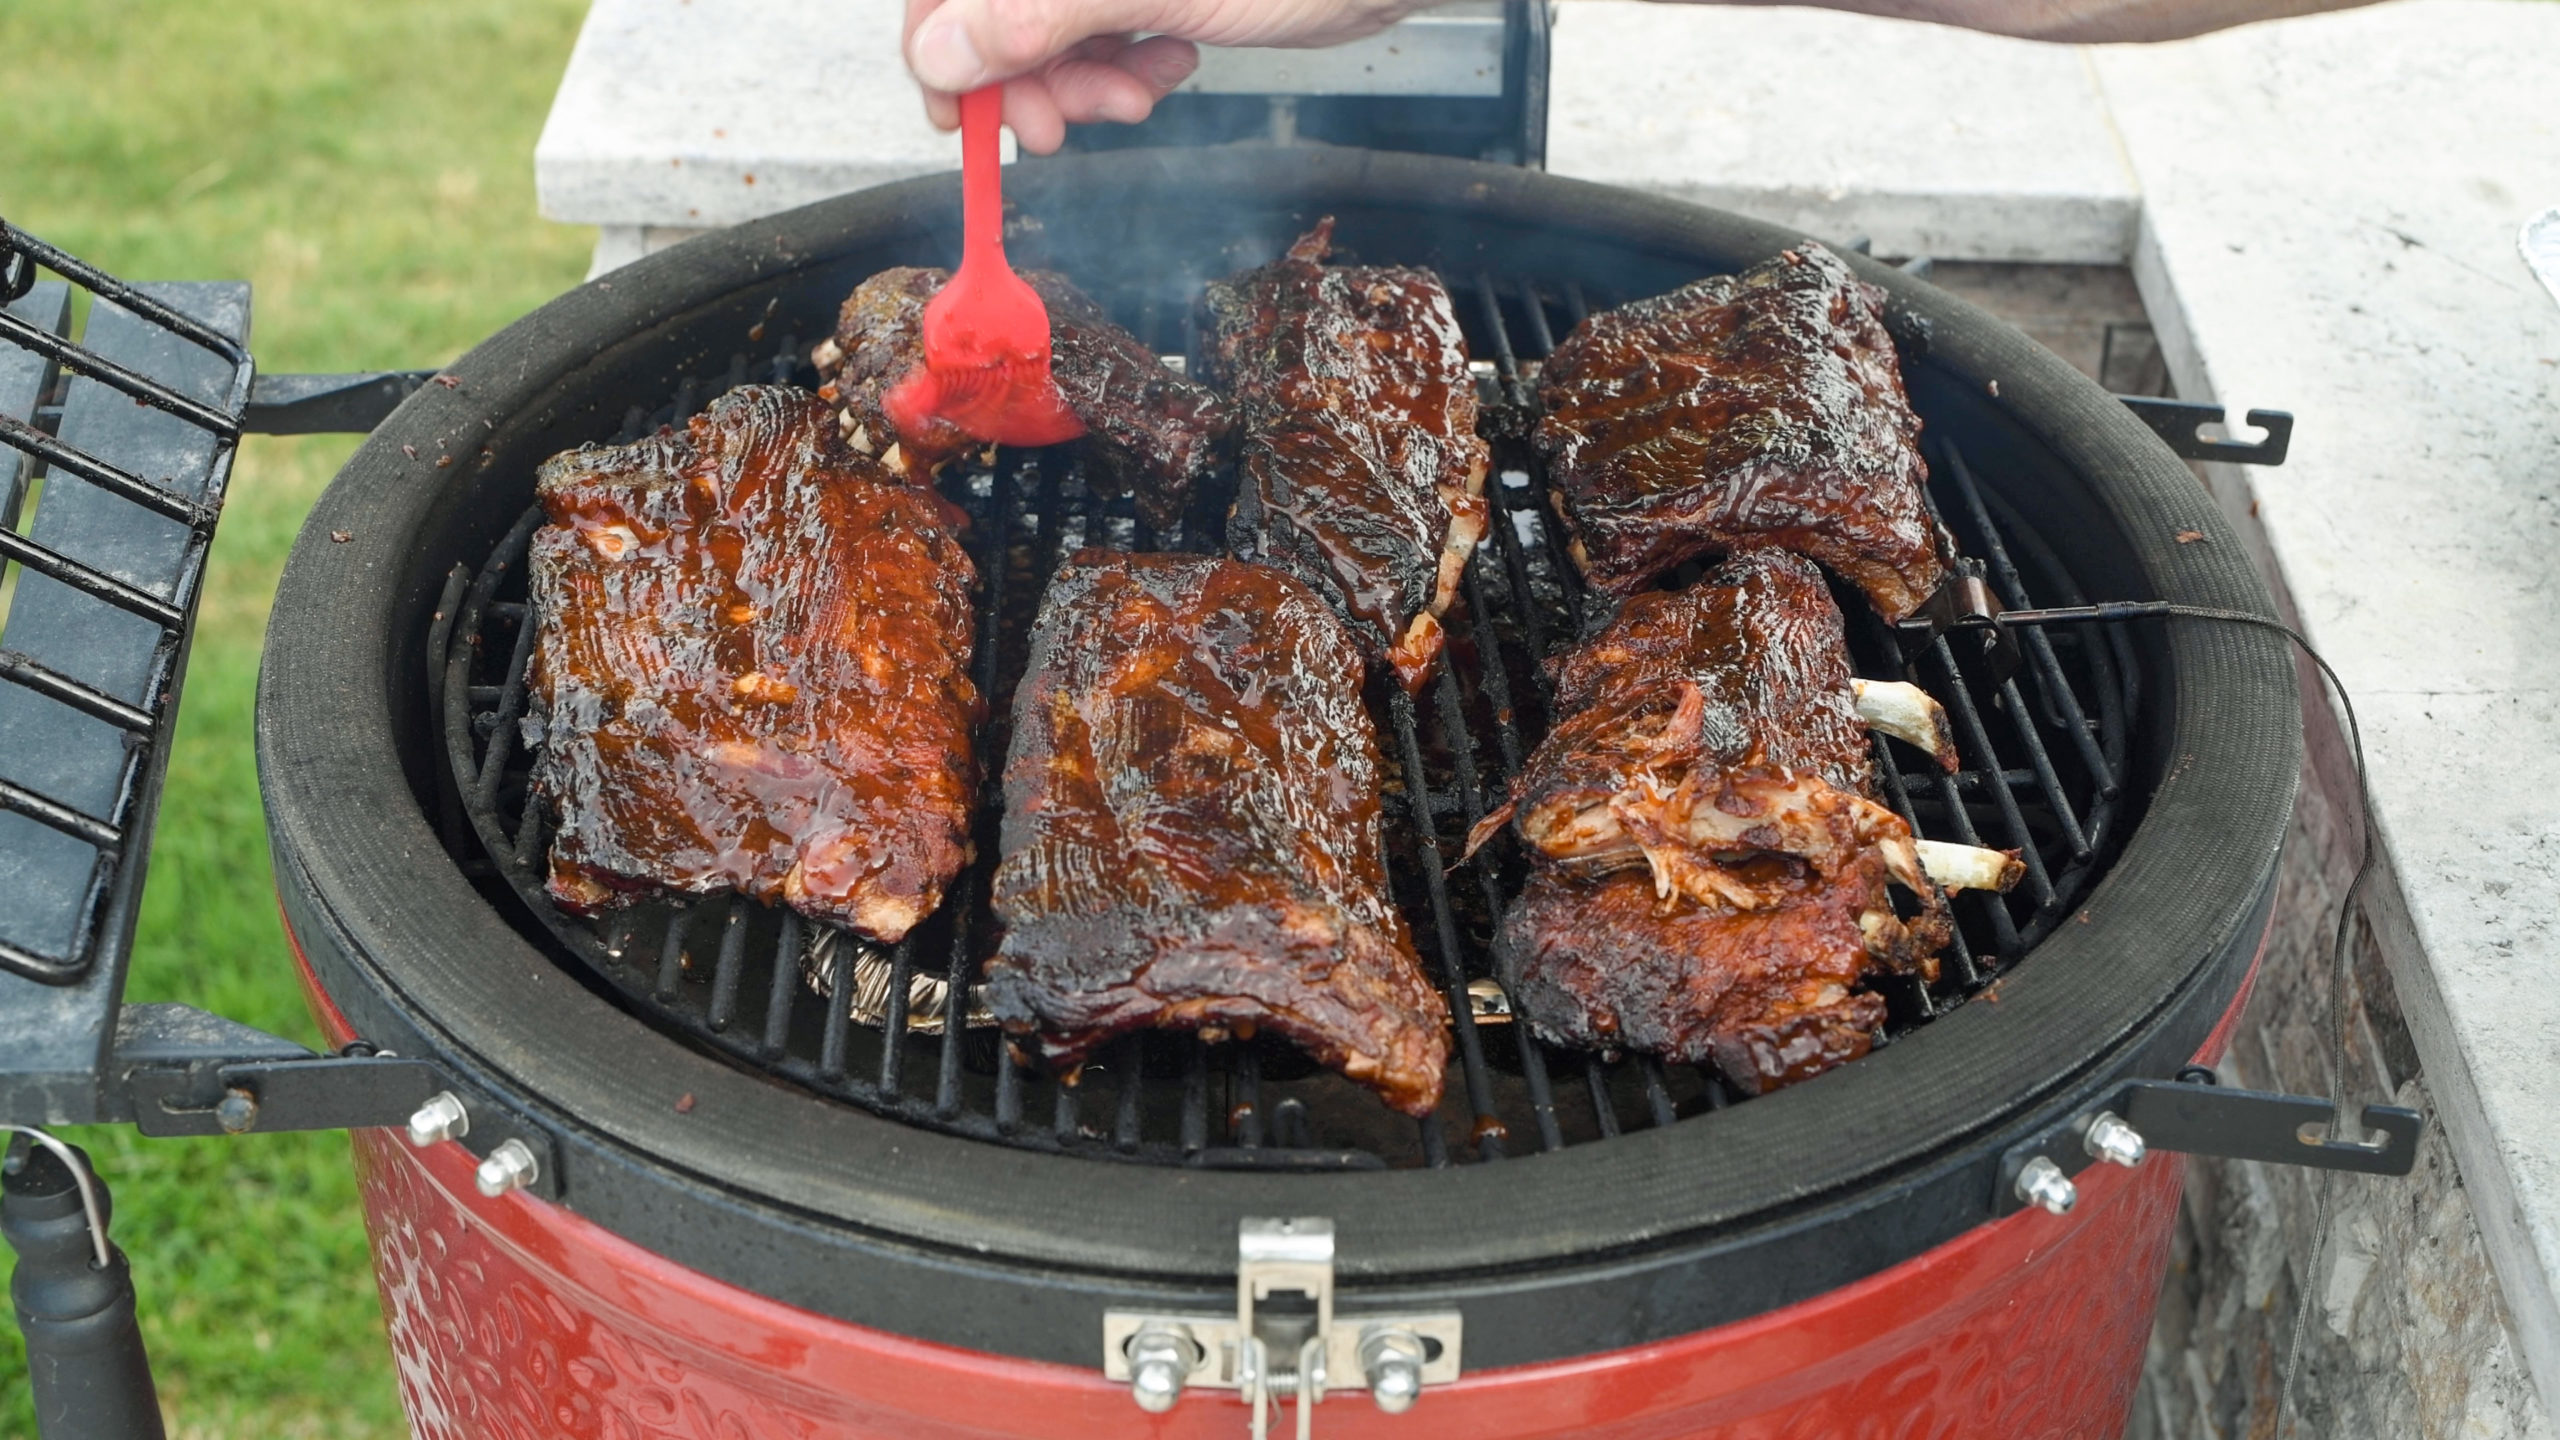
Cooking Ribs
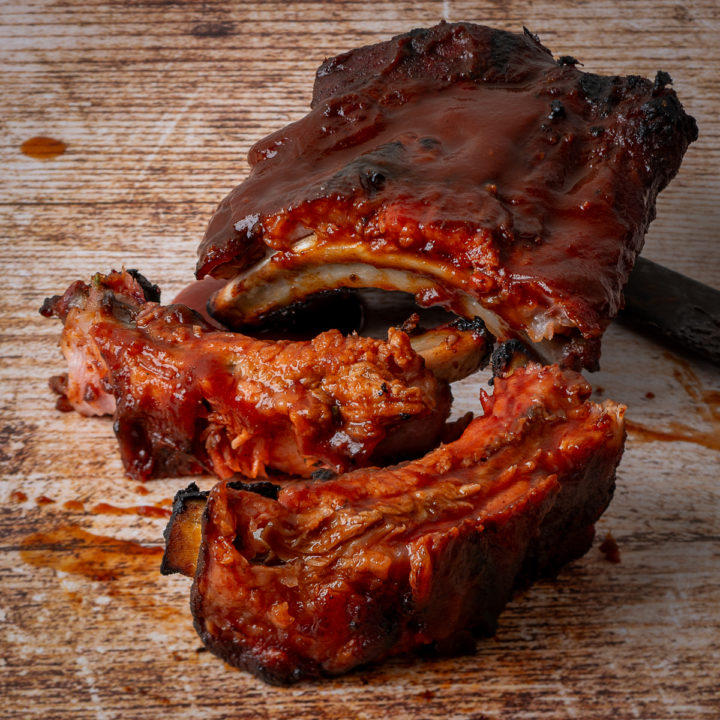
When I make baby back ribs using the 3-2-1 method, I begin by smoking the ribs for 3 hours. I setup my Kamado Joe for indirect heat and program the FireBoard to maintain 250°F for three hours. I put my ribs in, come back three hours later and go onto the next step. When I cook ribs, I only use the ambient temperature probe. The meat on baby back ribs is a little thin to be putting a meat probe in, and if you get it next to a bone, it's going to mess up the reading. Pork ribs can easily be cooked by time and I know how to test for doneness. So, no meat probe for ribs.
Cooking a Roast
When I cook a pork shoulder, I place a food probe in the roast and plug it into port #2. If I have a second roast, I add another probe and plug it into port #3. I will likely never use 5 meat probes at the same time since I'm limited to the space that I have inside my classic Kamado Joe, but it's nice to have the capability if I ever need it.
I then program the FireBoard to cook at 225°F until the internal temperature of the roast reaches 165°F. At that point, I will wrap up the roast in pink butcher paper and put it back in my Kamado Joe. I will then reprogram the FireBoard to cook at 250°F until the pork shoulder hits 195°F. At that point, I want the FireBoard to alert me and reduce the ambient temperature to 180°F.
These are the two methods that I typically use in cooking with my FireBoard. It has a lot of other features and there's a lot of things that you can do with it. For example, you can create more complicated programs with a lot of steps, but that's not how I use it.
Technical Issues
There are two weak links with all temperature controllers. They are manageable, but you need to know about them.
Probes
The first weak link is the probes. The problem is more user error than a design or quality problem. The probes are designed to handle temperatures up to about 550°F. Beyond that, they burn up. Therefore, I only use my FireBoard for cooking with indirect heat, never direct heat. If the fire flares-up and gets close to a probe, it's shot. When I'm searing a steak, I will use an instant-read meat thermometer to determine when it's done.
While I only use my FireBoard for indirect cooking, I have still burned up my ambient temperature probe. How did I do that? User error, that's how. My roast was done and the alarm went off. I opened the lid, removed the roast and walked away without closing the lid. Because the lid was open, the air caused a flare-up along the side of the indirect diffuser panels and burned up the probe. Lesson learned.
Always have extra probes on hand. There is nothing more frustrating than coming out and finding out that your probe doesn't work, so I highly recommend having a couple of extra ambient temperature probes and a couple of extra food probes. I also recommend buying extra ambient temperature probe clips. This little clip goes between two rails on the grill and the ambient temperature probe slides in. Last year, I was setting up my FireBoard 2 Drive when I dropped the clip and it bounced off the patio and into my pool. Buy extra clips too.
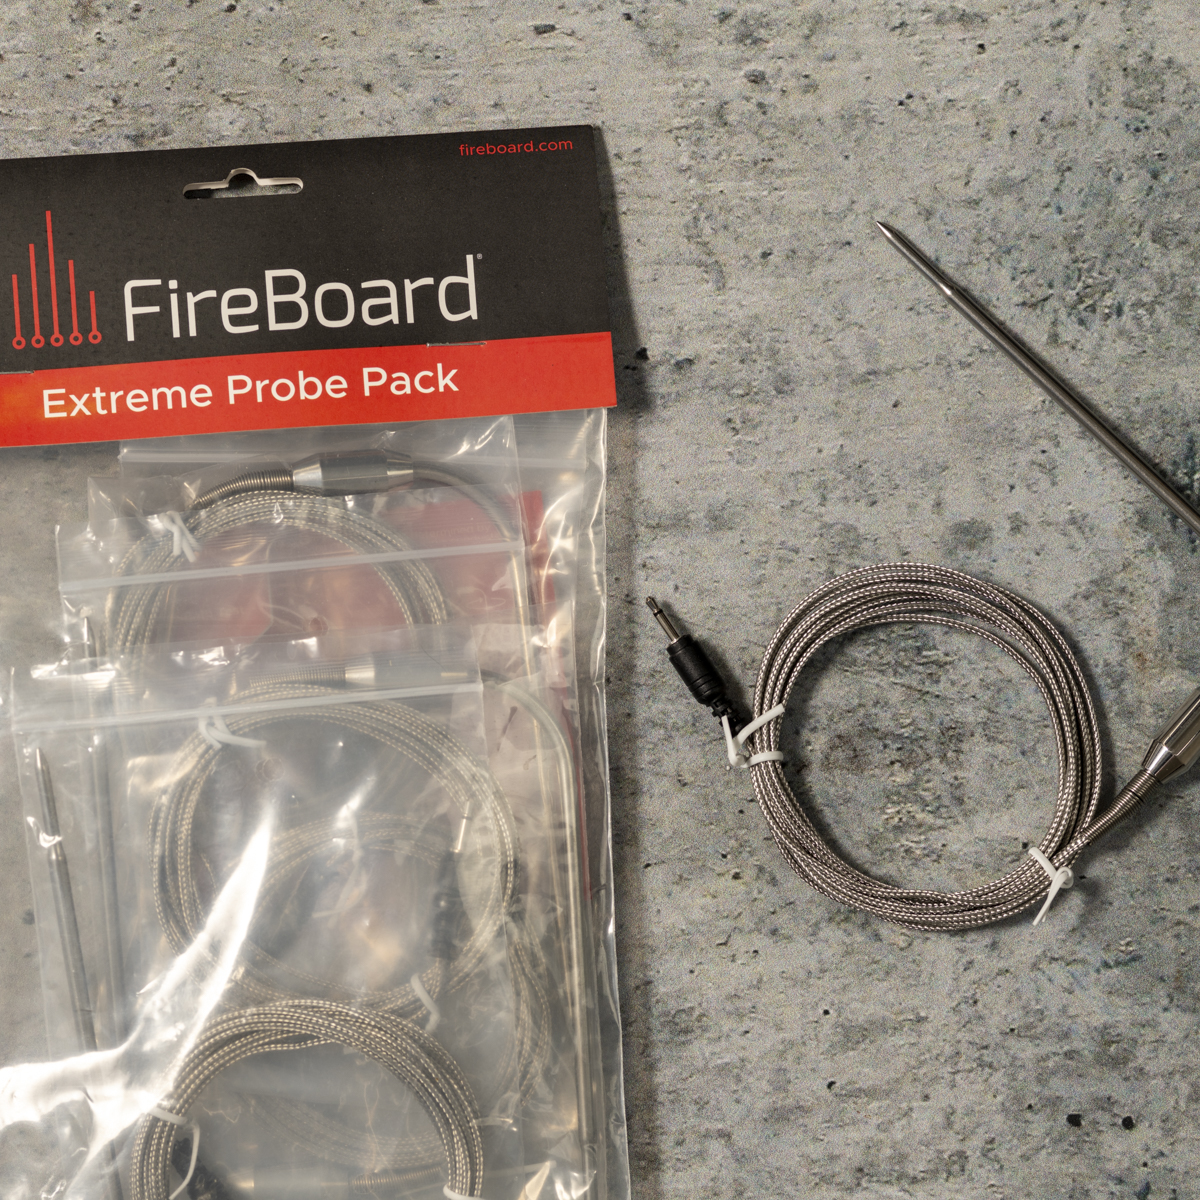
Always have extra meat and pit probes on hand.
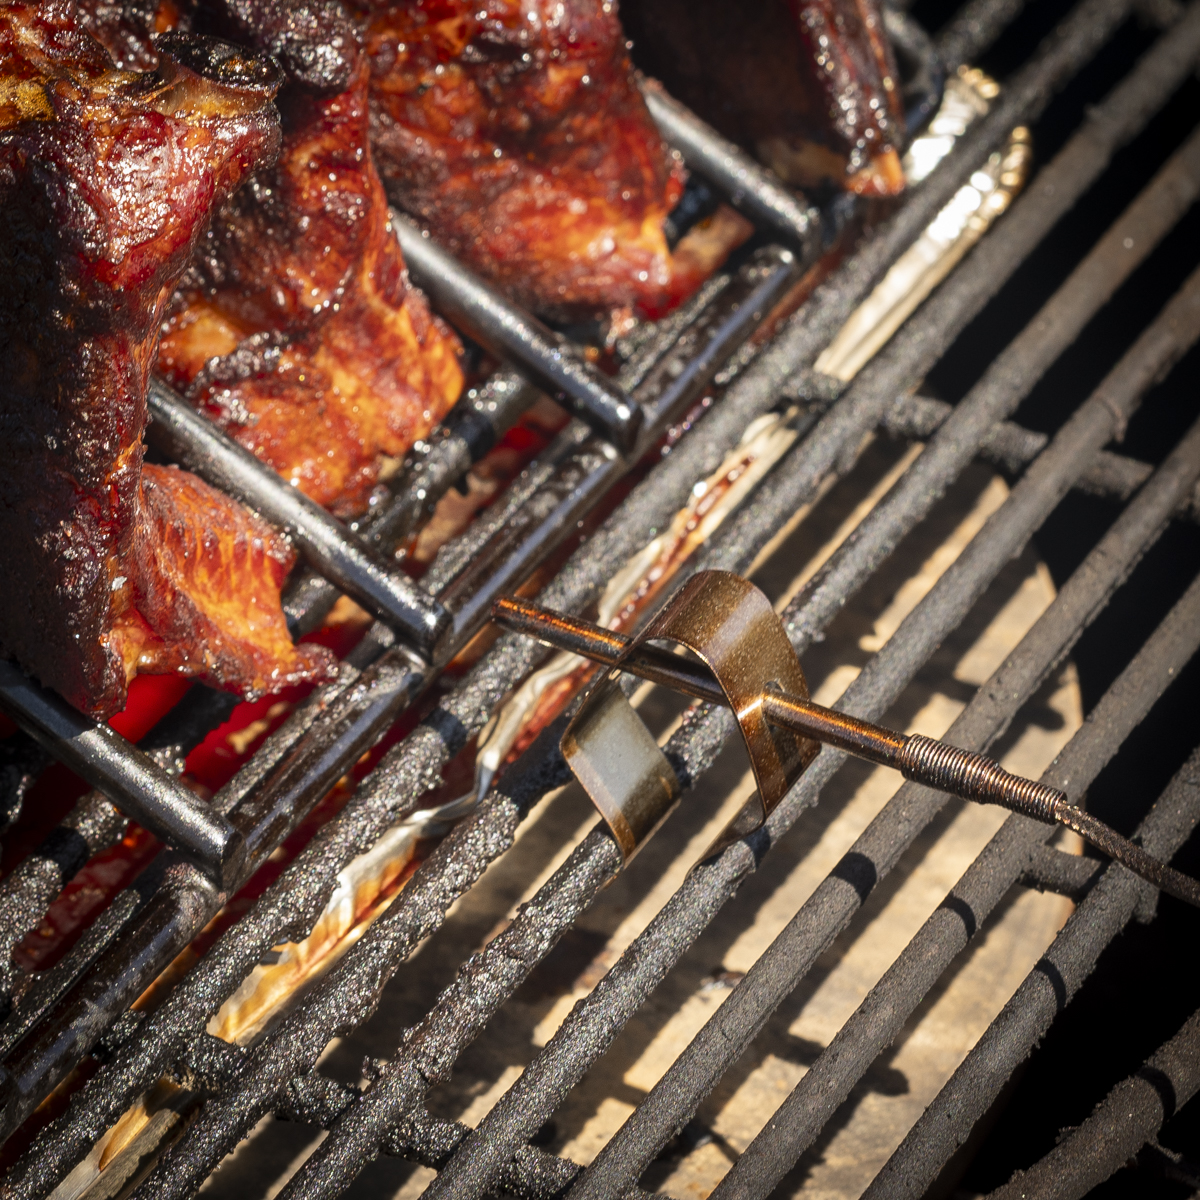
This is the clip that attaches the pit probe to the grate.
Power Supply
The second weak link with all of these controllers is the 12-volt power supply. My power supply gets plugged into an extension cord that lays on my patio. I recently stepped on the power supply and partially broke one of the wires. I had to MacGyver a splint out of popsicle sticks to keep the wire in the right place while I finished cooking. Always have an extra power supply. If the original one breaks, you have a backup.
As far as the FireBoard is concerned, the one feature that I miss is a speaker. If I'm away from my phone and the alarm goes off, I don't know it because the device does not have a speaker. Also, I have had my phone on me but the notification was silenced because of a setting on my iPhone. I hope FireBoard adds a speaker in a future version.
Setting the Vents
When setting up a temperature control device, it's important to properly configure your air vents before you begin. Start by completely closing the top vent. The FireBoard fan is more than capable of pushing enough air even with the top vent closed. If the top vent is left open even a little bit, the internal temperature can easily creep up well above your target temperature. The only thing the FireBoard can do is alert you. So, close the top vent and set alarms for low and high ambient temperatures.
Close the top vent to avoid a flare-up.
In addition to the top vent, you need to pay attention to the bottom air intake vent where that fan attaches. By default, the bottom vent needs to be fully open to attach the fan. However, the fan has an adjustable gate that is easy to forget about. I seem to do this a lot. I recently setup my FireBoard 2 Drive and could hear the fan going. But the temperature kept falling. Why? I inadvertently closed the fan gate so no air was going into the smoker. Duh!
I like to start out with the fan gate fully open and will only close it down if necessary. If I'm cooking at 225°F in August, I may need to partially close the gate to keep the temperature from creeping up.
Temperature Controller Features
When choosing a temperature controller, consider the following features found in the best temperature controllers. They are:
- Compatibility: Choose a controller compatible with your grill or smoker. Most manufacturers will have special plates that attach the fan unit to the bottom vent of your smoker.
- User Interface: Look for a controller with an intuitive user interface and easy-to-read screen.
- Smart Device Integration: Look for a controller that connects with a mobile device using a smartphone app. Some controllers will also connect to a smart device like Amazon Alexa.
- Temperature Probes: High-quality meat probes and pit temperature probes that can handle temperatures up to 550°F are essential.
- Variable Speed Fan: A variable speed fan is better than a constant speed fan for maintaining a constant temperature.
- Additional Features: Features like ramp mode and open lid detection are nice to have.
- Power Source: Ensure the device has a reliable AC power source.
- Connectivity: Wi-Fi and/or Bluetooth are essential if you want to monitor your grill from indoors.
Top Tips
- Start with a clean smoker. Small pieces of coal from previous cooking sessions can clog up the airflow inside the smoker. If that happens, any temperature control device will struggle to maintain the set temperature if it can't move the air. Before smoking, remove all of the old charcoal pieces, clean the airflow holes, and reload with fresh lump charcoal.
- If your smoker has heat deflection plates for indirect cooking, install them. Then setup your pit probe away from the edge of the deflection plates. This helps get a more accurate reading of the true ambient temperature. If your grill does not have heat deflection plates, position your coals on one side of the grill and place the pit probe on the other side as far away as possible.
- Place the controller on a flat surface near your grill, but not right next to or on your grill. They cannot handle high heat.
- Start with a closed the top vent and open the fan gate. Adjust the fan gate only if necessary.
Final Thoughts
The FireBoard 2 Drive is a serious BBQ tool. It's reliable and makes my low and slow cooking much more enjoyable. I don't worry about what's happening inside my smoker anymore and can actually get a good night's sleep during a long overnight cook.
If you're serious about cooking BBQ low and slow, you need to own a temperature control device and I highly recommend the FireBoard 2 Drive because it works, and it works well. Every barbecue recipe on this website that was made in a Kamado Joe or Big Green Egg was made with the help of a FireBoard.
If you are going to buy a FireBoard, do it right and buy everything that you need, not just the FireBoard 2 Drive. Here is the list of what you should buy:
- FireBoard 2 Drive
- A Drive Blower G3 Fan
- Either a Ball Valve Adapter or a Drive Blower Nozzle Adapter, depending upon what brand grill you have
- Extra Food Probes
- Extra ambient temperature Pit Probes
- An extra ambient temperature probe Grill Clip
- An extra USB-C charger
The links below will take you to the FireBoard website for more information.
Get Drive - Information on the various FireBoard 2 models
FireBoard 2 Drive Bundle - Includes the FireBoard 2 Drive, competition food probes and a fan (you still need an adapter to mount the fan to your grill)
FireBoard 2 Drive - Includes the FireBoard 2 Drive, 2 food probes and an ambient temperature probe (you still need a fan and an adapter to mount it to your grill)
Here is a link to see a video review that I made on using the Fireboard 2 Drive.
FireBoard 2 Drive Fan - This is their latest and greatest fan for the FireBoard 2 Drive.
Happy grilling!
FAQ
I looked at their website and the FireBoard 2 Drive comes with two meat probes and one pit probe. Do I really need to buy more?
Yes, you do. One flare-up and the ambient temperature probe will stop working. You won't be able to use the FireBoard to control the internal temperature until you get a new probe. It's much better to have extra probes in a drawer ready to go.
Related
Looking for some good BBQ recipes like this? Try these:
- Mastering the BBQ: Baby Back Ribs with the 3-2-1 Method
- Brined and Smoked Chicken Wings - Texas Style
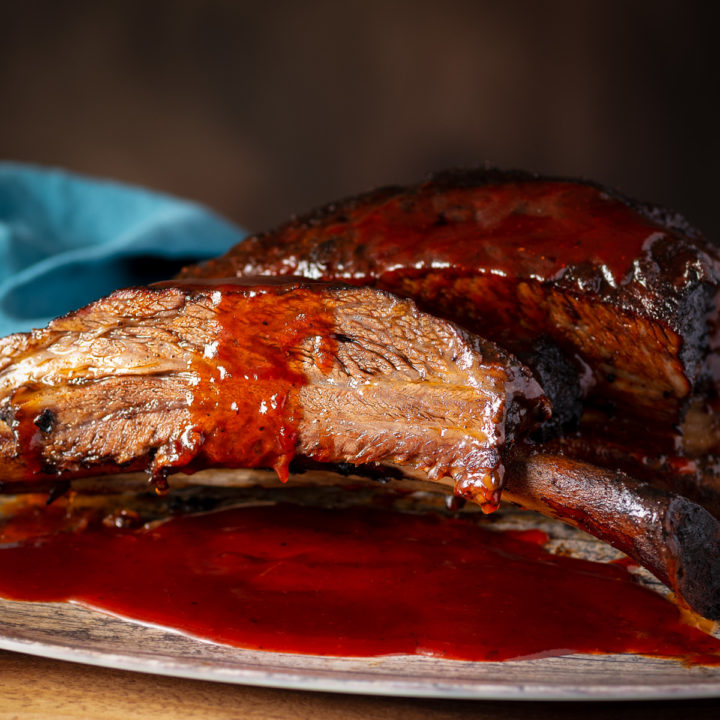
- Smoked Beef Dino Bones with Bourbon BBQ Sauce
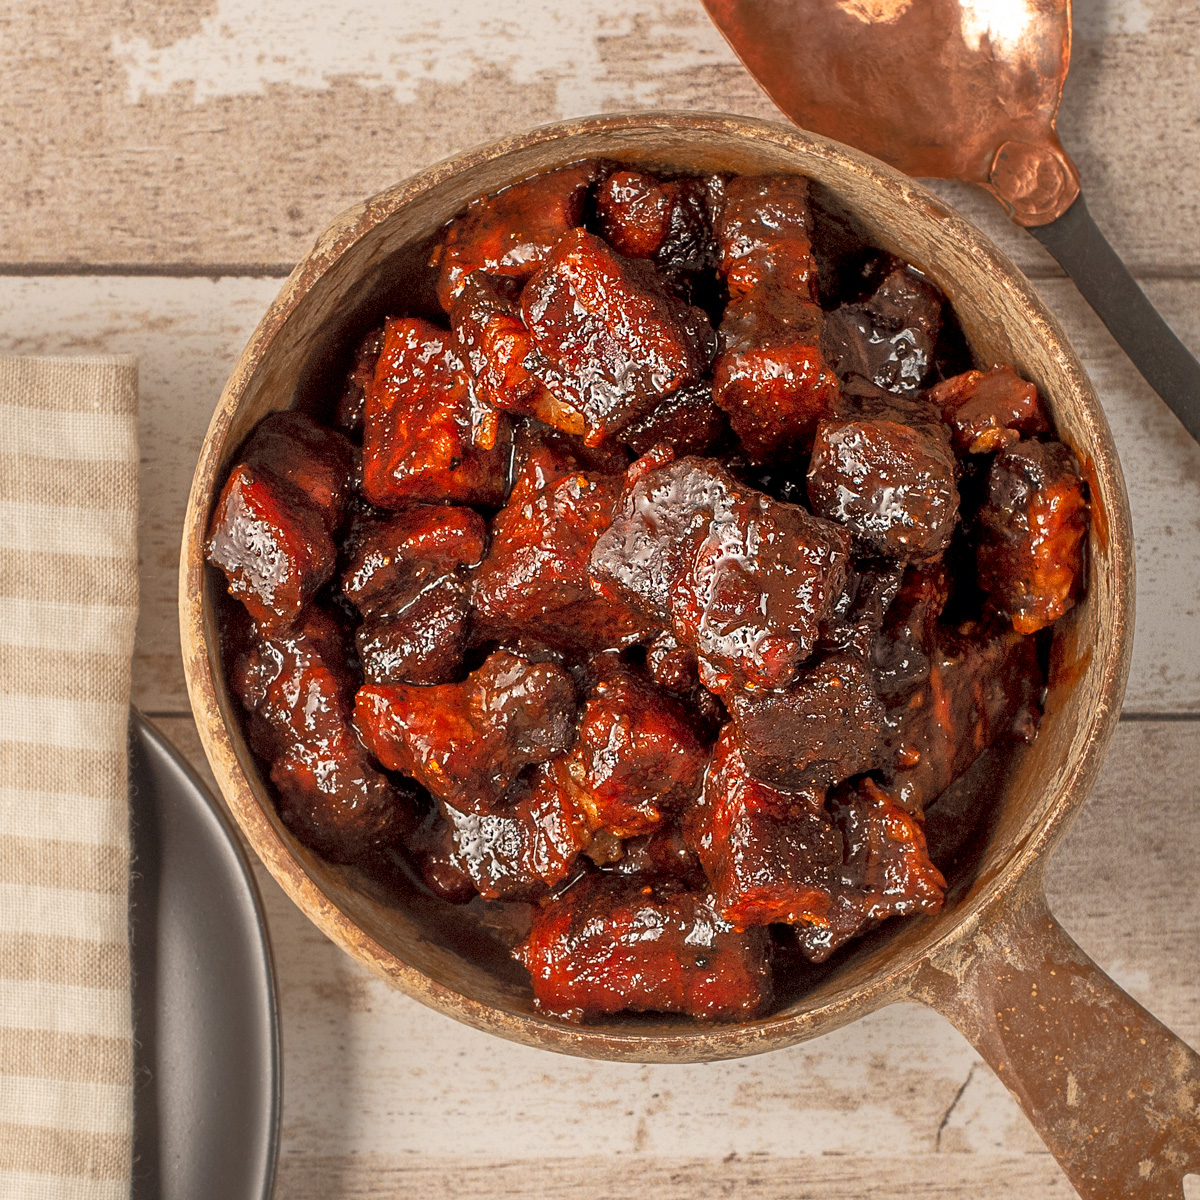
- Smoked Brisket and Burnt Ends - The Ultimate Texas BBQ
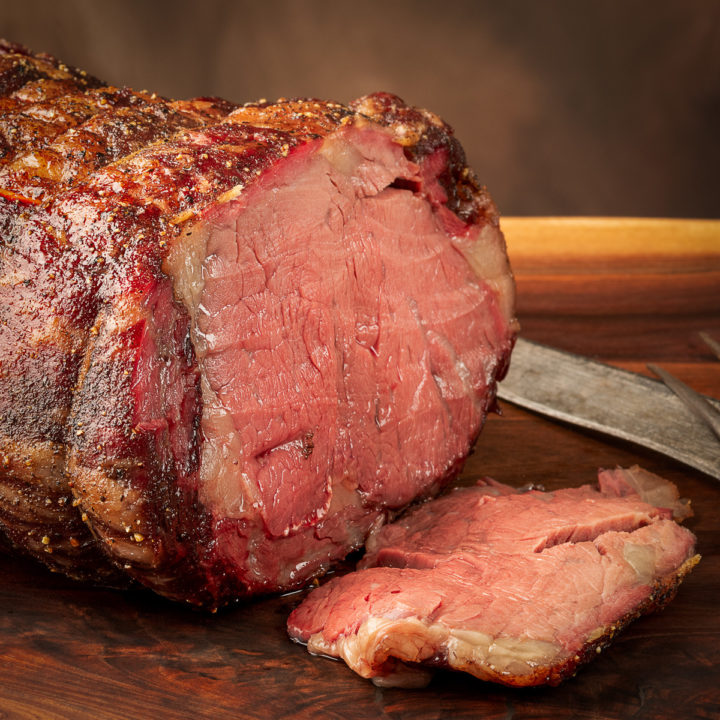
- Dry-Aged Prime Rib Reverse Seared for Incredible Flavor
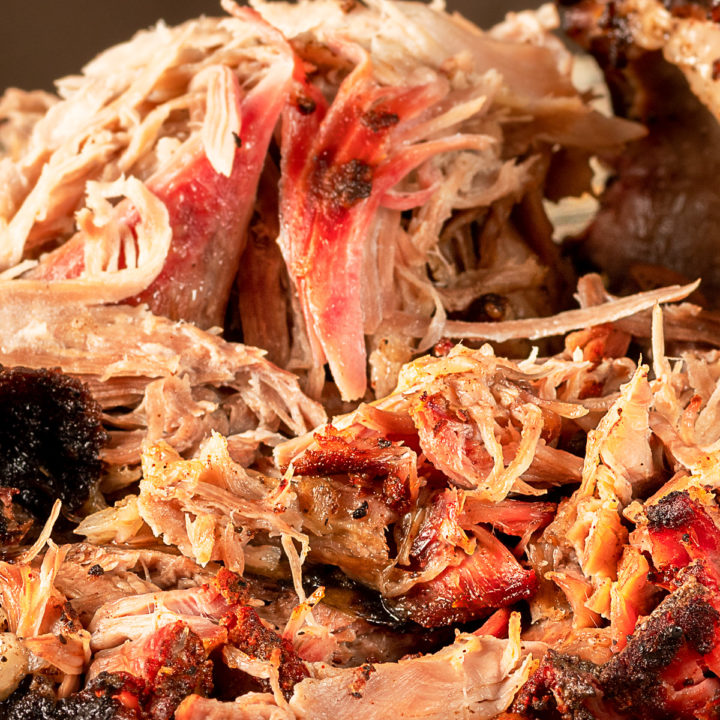
- Smoked Pulled Pork - Tender, Juicy and Easy to Make
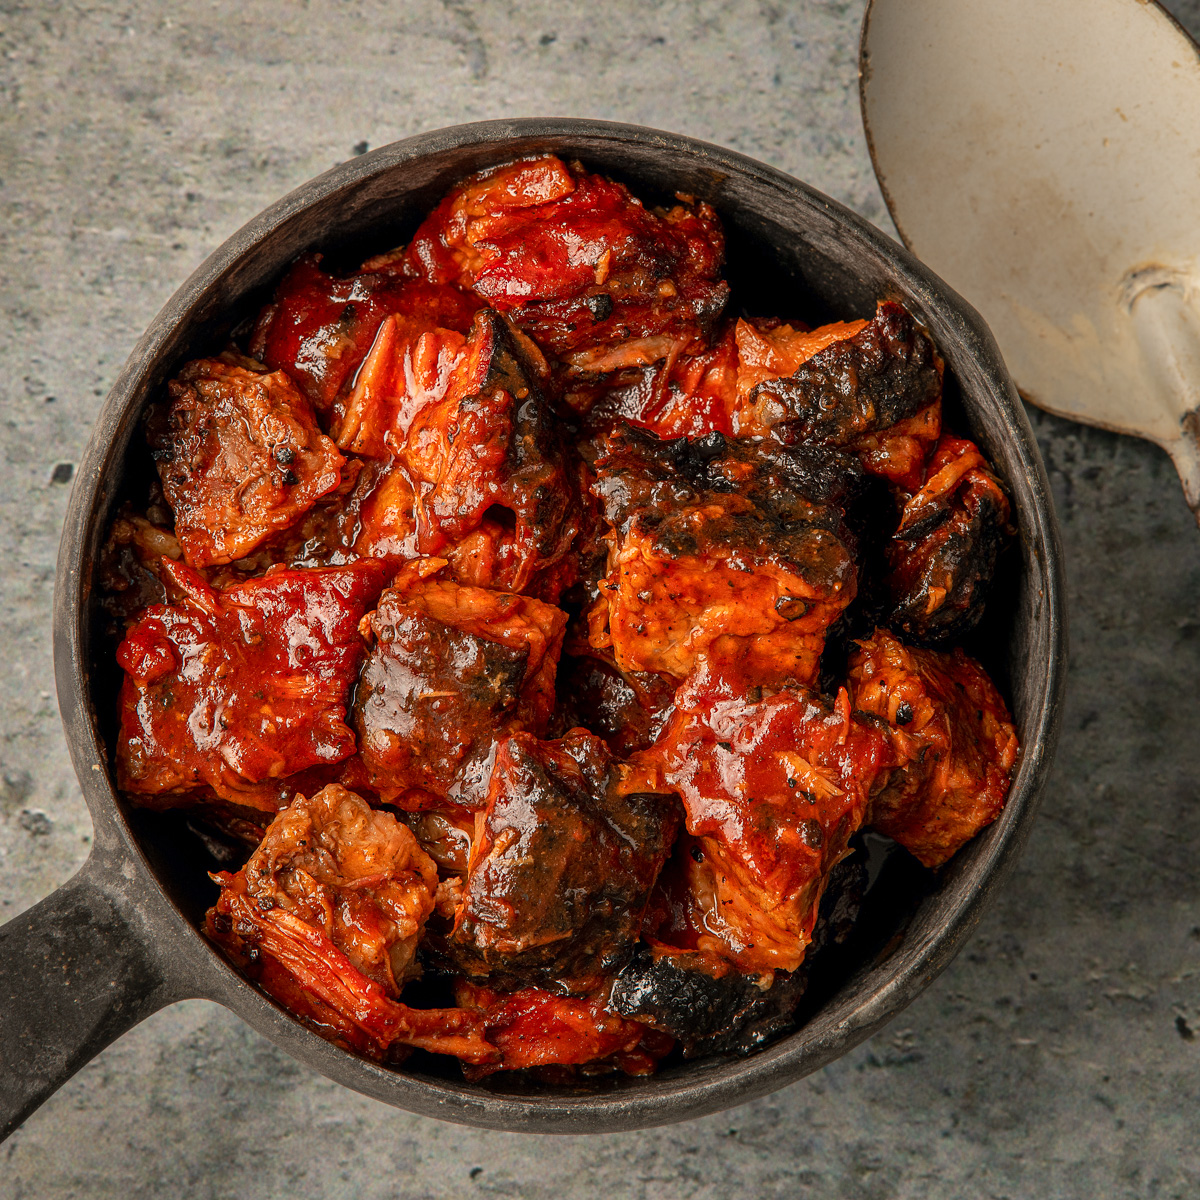
- Easy Smoked Pork Belly Burnt Ends on Your BBQ
- Best Homemade Bourbon BBQ Sauce for Pulled Pork

Don says
I have an offset smoker. What fuel do you use? Charcoal, wood (chunks or log) or both?
dvscott902 says
For my offset smoker, I like to put a small amount of cheap charcoal (e.g. briquettes) in the bottom of the firebox and then load kiln dried post oak on top of that. Here is where I buy it. https://www.cuttingedgefirewood.com/collections/cooking-wood-16-cooking-wood-logs/products/oak-cooking-wood-rack
I keep the wood on their steel rack in my garage. Hope that helps.
Dave